There is nothing more frustrating than pulling a classic system out of storage only to find it won't turn on, or worse, it shuts down right as you're hitting a boss fight. Most of the time, a "dead" console isn't actually trash; it's just suffering from age-related power decay. Whether it's a blinking light, random rebooting, or a total lack of life, these symptoms usually point to a few specific culprits. If you have a bit of patience and a few basic tools, you can often bring these machines back from the brink.
Quick Summary
- Start with external checks (cables, outlets, and vents) before opening the case.
- Use a multimeter to verify if your power adapter is actually delivering the correct voltage.
- Look for leaking or bulging electrolytic capacitors, especially in systems like the Game Gear or Xbox.
- Clean your PCB with 90% isopropyl alcohol after removing old components to prevent corrosion.
- Always match capacitance and voltage ratings exactly when replacing parts.
Identifying the Symptoms of Power Failure
Power problems don't always look like a dead screen. Sometimes they are subtle. You might notice your audio quality dropping, or find yourself constantly cranking the volume up because the sound is fading-this is often a sign that capacitors are starting to fail. Other times, you'll deal with "random power cycling," where the system restarts for no apparent reason. In some cases, the console might start up for a few seconds and then abruptly cut out, which usually signals a failure in the internal power management on the Printed Circuit Board (or PCB), a set of connected electronic components that forms the heart of the console's hardware.
If you see blinking indicator lights or experience overheating that leads to automatic shutdowns, you're likely dealing with a thermal or voltage regulation issue. Dust buildup in the vents is a common trigger here, forcing the system to kill power to protect the CPU from melting.
The External Checklist: Rule Out the Simple Stuff
Before you reach for the screwdriver, perform these basic checks. It sounds obvious, but you'd be surprised how many "broken" consoles are just plugged into a faulty power strip.
- The Outlet Test: Plug the console directly into a wall socket. Power strips and surge protectors can fail or trip, cutting off the current.
- Cable Inspection: Check for frays or kinks in the power cord. If the cable feels brittle or looks chewed, replace it.
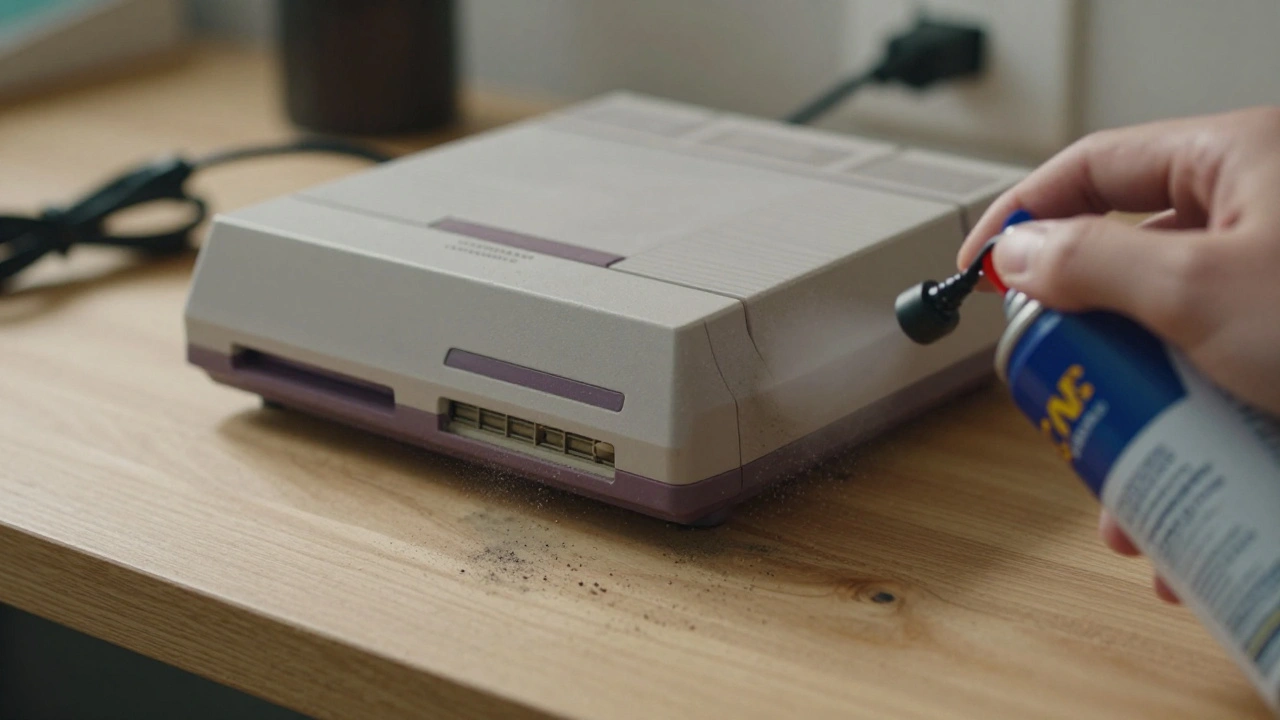
- Ventilation Clear-out: Use a can of compressed air to blow out dust from the intake and exhaust ports. If a system can't breathe, it will shut down to prevent permanent damage.
- The Xbox Reset: For those with an early Xbox, try unplugging the power cable for 10 seconds, plugging it back in, and holding the power button to reset the internal power supply.
Using a Multimeter for Technical Diagnosis
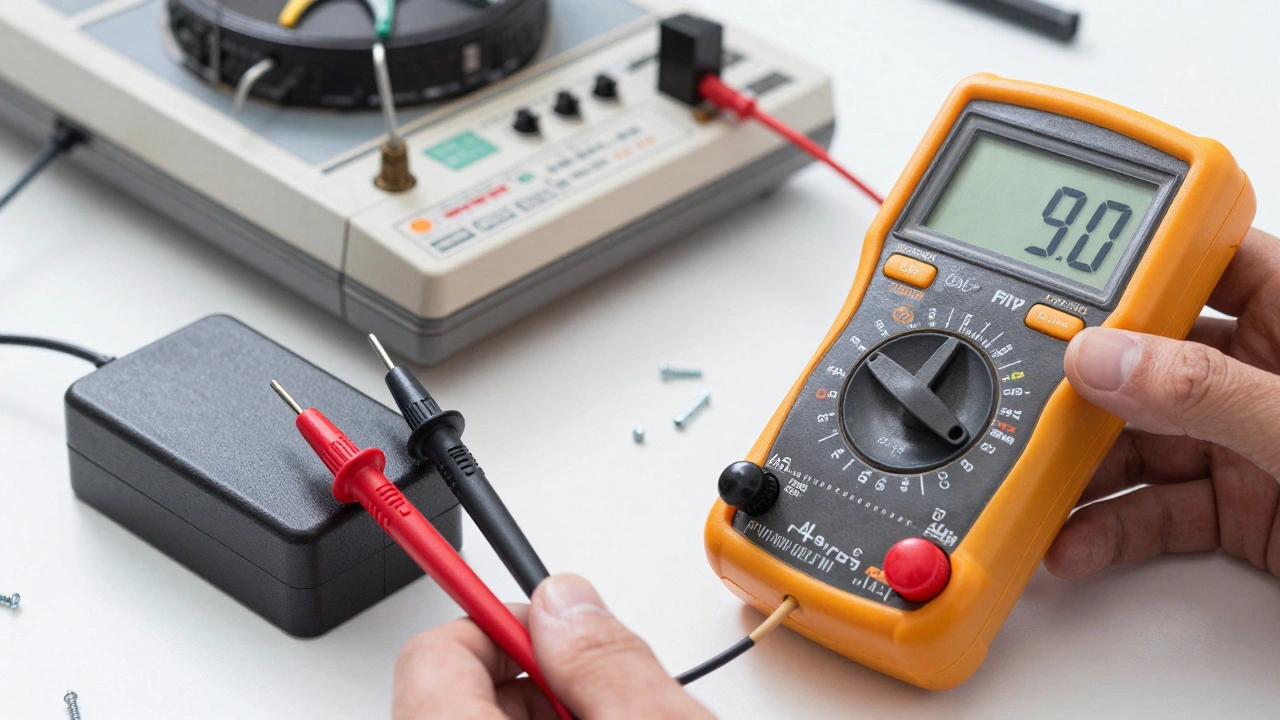
When external checks fail, it's time to get technical. A Multimeter is a device used to measure electric current, voltage, and resistance, and it is the most important tool in a repair kit. Set your meter to DC voltage mode to test your power adapter.
Most vintage consoles require an input between 12V and 19V. If your adapter is rated for 12V but only outputs 8V, your console won't have enough "juice" to boot, leading to instability. Once you've confirmed the adapter is good, you can probe the PCB. Look for Voltage Regulators, which are components that ensure a constant voltage level is delivered to sensitive chips. These should be outputting specific levels, usually 5V or 3.3V. If these numbers are off, you've found your problem area.
| Test Point | Expected Value | Symptom if Low/Absent |
|---|---|---|
| Power Adapter Output | 12V - 19V (Model dependent) | Total power failure |
| Main Logic Rail | 5V | System won't boot or crashes |
| Low Voltage Rail | 3.3V | CPU/RAM instability |
The Capacitor Crisis: Why They Fail
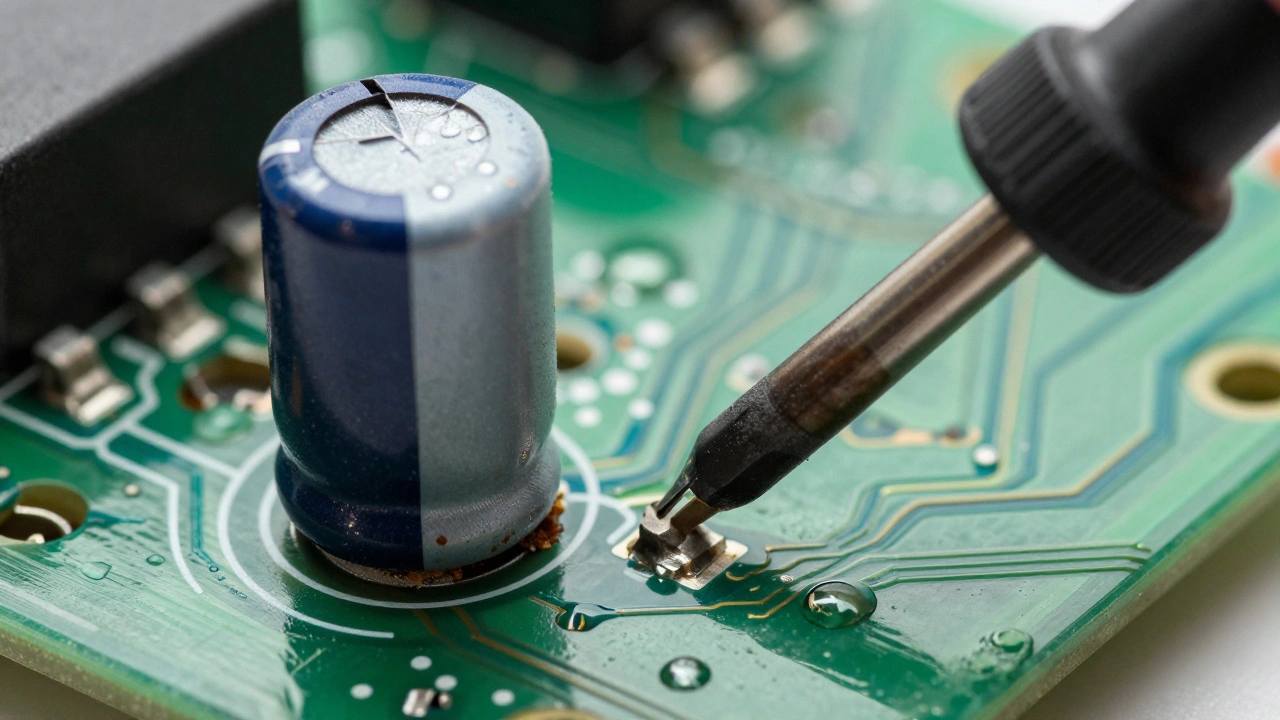
If you're working on a console from the 80s or 90s, you're almost certainly dealing with Electrolytic Capacitors. These are components that store electrical energy and filter signals, but use a liquid electrolyte that dries up or leaks over time. When they fail, they don't just stop working; they leak a corrosive fluid across the PCB that eats through the copper traces and destroys other components.
Visual cues are your best friend here. Look for capacitors with bulging tops (like a soda can about to pop) or a crusty, brownish residue around the base. Certain systems are notorious for this: the Sega Game Gear, PC Engine, and early Amiga computers are famous for requiring "recapping" (the process of replacing all old capacitors) just to stay functional. Even the Sega Mega CD Model 1 is prone to these failures.
Step-by-Step Capacitor Replacement
Replacing a capacitor is a straightforward process if you have a steady hand and a soldering iron. Here is how to do it without damaging your board.
- Identify Specs: Read the side of the old capacitor. You'll see two numbers: the capacitance (e.g., 1000μF) and the voltage rating (e.g., 16V). Your replacement must match the capacitance and have a voltage rating equal to or higher than the original.
- Desolder: Set your iron to about 300°C (572°F). Heat the solder joint on the board and gently pull the capacitor out with tweezers.
- Clean the Area: This is a critical step. Use a brush and Isopropyl Alcohol (90% concentration or higher) to scrub away any leaked electrolyte and old solder residue. If you leave the corrosion, it will continue to eat the board.
- Install and Polarize: Slide the new capacitor in. Warning: Electrolytic capacitors are polarized. The negative leg is usually marked with a stripe on the casing. Ensure this matches the marking on the PCB.
- Test: Solder the connections, clean the board one last time, and power up the system to verify stable operation.
Preventive Maintenance and Longevity
You don't have to wait for a console to die to fix it. A bit of proactive care can save a system from becoming a doorstop. I recommend a visual inspection every six months. Open the case and look for that dreaded bulging or leakage. If you catch a leaking capacitor early, you can replace it before the acid destroys the rest of the circuitry.
Beyond the internal hardware, use a high-quality surge protector. Vintage power supplies weren't designed for the volatile power grids of 2026, and a single spike can fry a voltage regulator instantly. Keeping your systems in a climate-controlled environment also helps, as extreme heat accelerates the drying process of those problematic capacitors.
Can I use any capacitor as long as the size fits?
No. You must match the capacitance (measured in microfarads, μF) exactly. While you can use a capacitor with a higher voltage rating (e.g., using a 25V capacitor where a 16V was original), using one with a lower voltage rating will cause it to explode or fail immediately.
What is the safest way to clean a vintage PCB?
Use 90% or higher Isopropyl Alcohol (IPA) and a soft-bristled toothbrush. IPA evaporates quickly and doesn't leave a residue, making it ideal for removing corrosive electrolyte leaks and old flux without damaging the circuit traces.
My console turns on and off repeatedly. Is it definitely the capacitors?
Not necessarily. While bad capacitors can cause instability, "boot-looping" can also be caused by a failing power adapter, a shorted component on the PCB, or overheating. Always test the power adapter with a multimeter first to ensure it's providing a steady voltage.
Do I need to replace all capacitors even if only one is leaking?
In many vintage systems, yes. This is called a "full recap." Since all capacitors were manufactured in the same batch and have been exposed to the same heat and age, if one has failed, the others are likely close to failing too. It's more efficient to replace them all at once than to repair the system every few months.
Is it safe to use a modern universal power adapter?
Only if the voltage and amperage match exactly. Check the console's requirements (e.g., 9V DC, 1A). If the adapter provides too much voltage, you will fry the internal regulators. Also, ensure the polarity (center positive or center negative) is correct, as reversing this can destroy the motherboard instantly.
Next Steps for Different Scenarios
If you're a beginner: Stick to external troubleshooting and cleaning. If the console doesn't respond to a new power adapter and a dusty vent cleaning, it's time to seek a professional. Don't attempt soldering if you've never done it; you risk lifting a trace and making the board unrepairable.
If you're an enthusiast: Start by investing in a decent digital multimeter and a temperature-controlled soldering station. Practice on a "junk" board before touching your prized collection. Focus on learning how to identify polarity and how to use a solder sucker or desoldering wick.
If the board is heavily corroded: If you see green or black oxidation around the capacitor legs, the damage might be deeper than just the component. You may need to scrape away the corrosion and potentially bridge broken traces with tiny copper wires (bodge wires) to restore the connection.