Most people think of video game collecting as stacking boxes on a shelf or lining up cartridges in a case. But if you’ve ever tried to document your collection-whether for personal archives, resale listings, or just to share with fellow fans-you know how hard it is to get a clean, consistent shot. A blurry controller, uneven lighting, or a reflection on the plastic case can ruin hours of work. That’s where building a dedicated photography station for cataloging video games changes everything.
Why a Dedicated Station Matters
You don’t need a professional studio to get pro-level results. But if you’re serious about cataloging, you need consistency. Every photo should look like it came from the same place, under the same conditions. That’s the only way to compare games side by side, track condition over time, or build a reliable database. A photography station removes guesswork. It gives you control over lighting, angle, and focus-whether you’re shooting physical copies or capturing in-game moments.Physical Station: Shooting Game Boxes and Cartridges
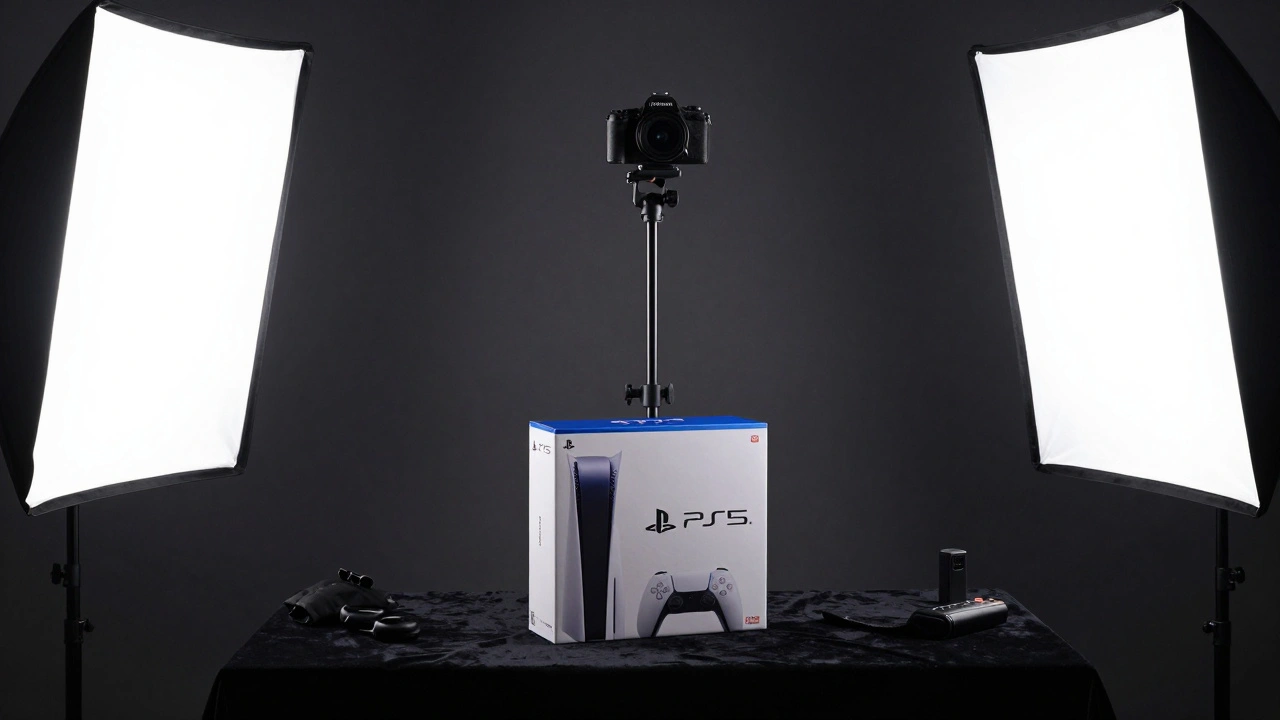
If you’re cataloging physical games, you need a setup that holds your camera steady and lights your subjects evenly. The most reliable system uses a C-stand-a heavy-duty metal arm used in film and product photography. It’s not just a tripod. It’s a full system: a weighted base, a vertical column, and a horizontal boom that lets you position your camera directly above the game you’re shooting.Here’s how it works in practice:
- Place your game box or cartridge on a flat, non-reflective surface-black velvet or matte white foam board works best.
- Mount your camera on a ball head attached to the boom. The ball head lets you tilt and rotate the camera for perfect top-down shots.
- Use sandbags to anchor the C-stand. Even a small bump can knock the camera out of alignment.
- Lighting should come from two softboxes placed at 45-degree angles on either side. This eliminates harsh shadows and reflections.
- Use a remote shutter release or timer to avoid camera shake. Even your breath can blur the image.
This setup costs around $400-$600 if you buy used gear. A basic C-stand runs $150, a ball head $80, two LED softboxes $120 each, and sandbags $30. It’s not cheap, but it’s reusable for years. And once you’ve shot 50 games this way, you’ll realize how much time you saved.
In-Game Photography: Capturing Digital Moments
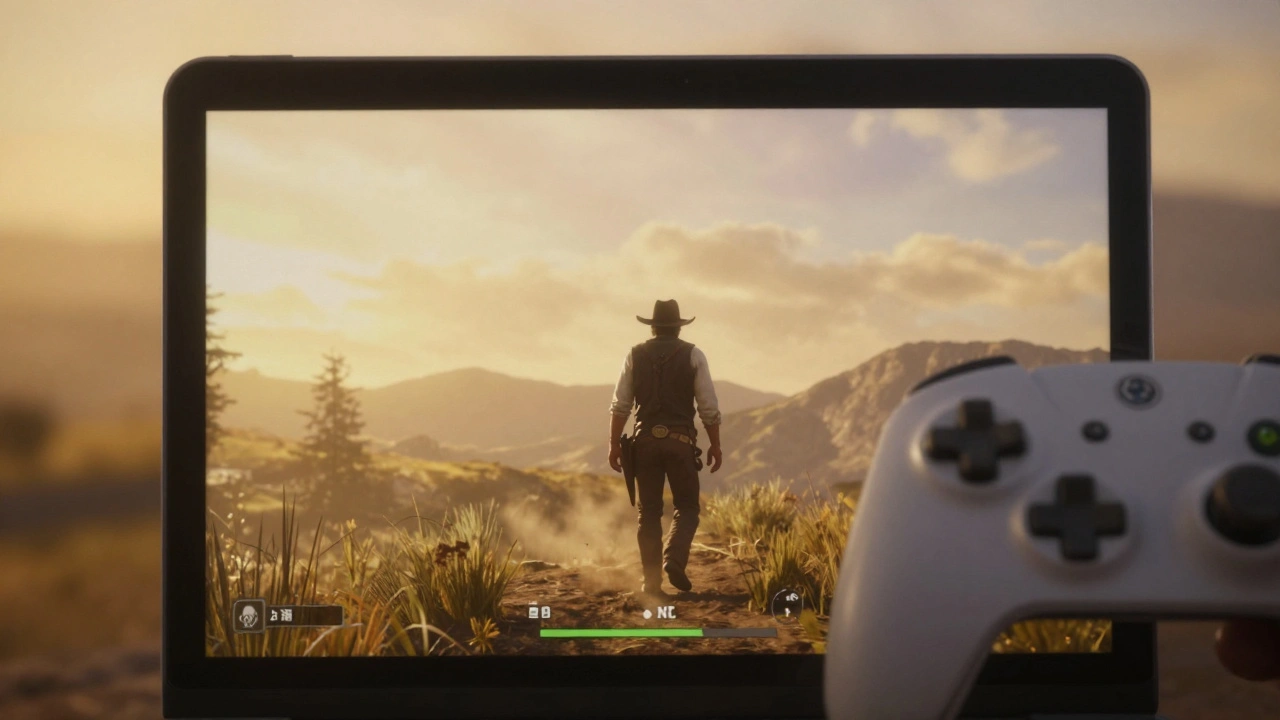
Not every game you want to catalog is physical. Some of the most memorable moments happen inside the game itself-like a character standing alone in a rain-soaked city, or a hidden Easter egg tucked behind a waterfall. That’s where in-game photo mode comes in.Modern consoles and PCs now include built-in photo modes. In games like Red Dead Redemption 2, Horizon Forbidden West, or Final Fantasy XVI, you can pause the game and take full control of the camera. You can move it freely, zoom in, adjust lighting, and even change the time of day.
Here’s what matters most:
- Field of View (FOV): Set it between 60-80 degrees. Too wide and you get distortion. Too narrow and you lose context.
- Depth of Field: Use f/2.8 or f/4. This blurs the background just enough to make your subject pop.
- Lighting: Play with time-of-day settings. Golden hour (sunset) gives warm, dramatic shadows. Overcast skies reduce harsh contrasts.
- Post-Processing: Increase clarity by +5-10%. Add a touch of film grain if the scene feels too clean.
Some games, like Animal Crossing: New Horizons, don’t have photo modes. But you can still capture great shots by pausing the game, turning off UI elements, and using your console’s screenshot function. The key is patience. Wait for the right moment-a character mid-laugh, a pet sleeping under a tree-and then shoot.
Organizing Your Catalog
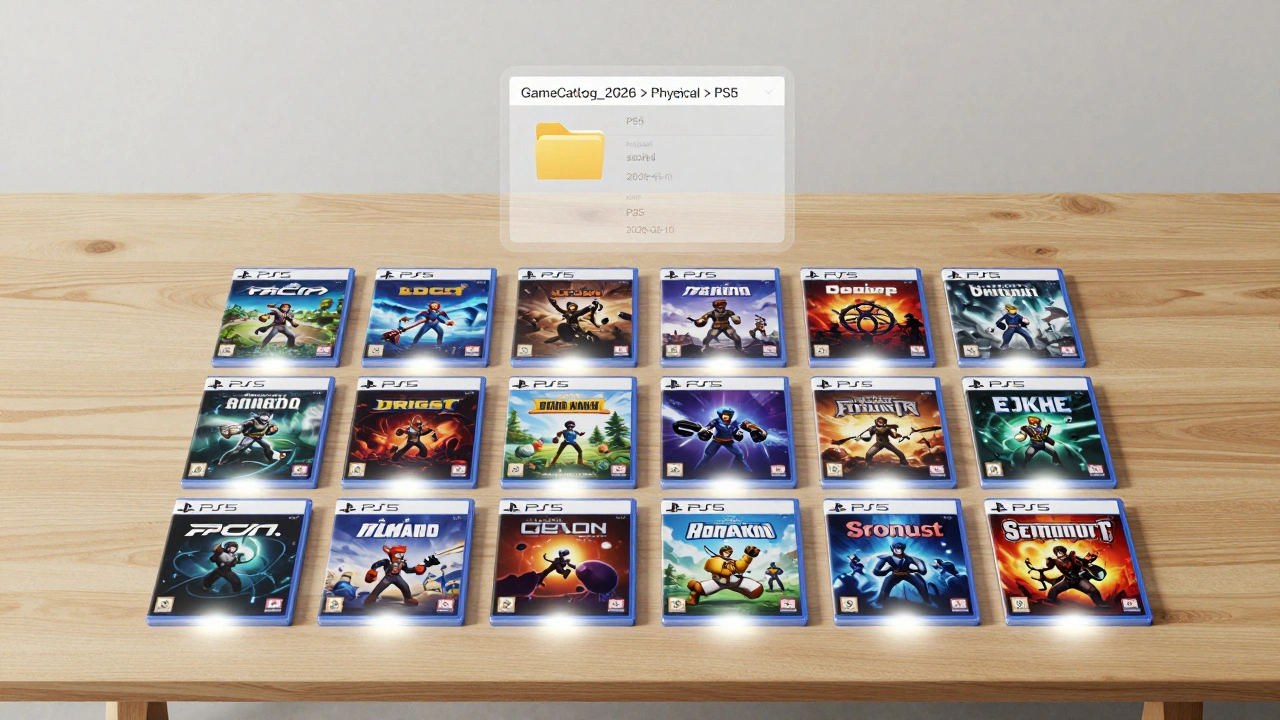
Taking photos is only half the job. The real challenge? Finding them later. If you’ve shot 200 games, you can’t rely on file names like “IMG_0483.jpg.”Create a simple folder system:
- Root folder: GameCatalog_2026
- Subfolders: Physical and In-Game
- Inside each: PS5, Xbox Series X, PC, Switch, etc.
- Use naming: [Game Title]_[Platform]_[Date].jpg (e.g., Metroid Dread_Switch_2026-03-10.jpg)
Tag your files with keywords: box, cover, condition, rare, sealed. Use free tools like Adobe Bridge or FastStone Image Viewer to batch-tag images. Add metadata like camera settings and lighting conditions. This makes searching later a breeze.
What You Don’t Need
You don’t need a $2,000 camera. A recent Canon EOS M50 Mark II or even a iPhone 15 Pro with manual mode works fine. You don’t need a green screen. You don’t need fancy software. You don’t need to shoot in 4K. What you need is consistency.Don’t waste money on ring lights or studio tents. They create flat, lifeless lighting. Softboxes give you dimension. Natural light? It’s unpredictable. A controlled setup means your photos look professional no matter when you shoot.
Common Mistakes to Avoid
- Shooting with flash-creates glare on plastic and glossy covers.
- Using phone auto-focus-locks on the wrong part of the box.
- Ignoring background clutter-dust, cables, or a messy desk ruin the shot.
- Not calibrating white balance-your photos will look too warm or too cold.
- Skipping metadata-your catalog becomes useless in a year.
Test your setup before you start. Take five test shots of one game. Look at them on a computer screen, not your phone. Zoom in. Is the text on the box readable? Are the shadows natural? Is the color accurate? If not, tweak the lighting or camera angle. Fix it now, before you shoot 100 games.
Why This Matters Beyond Your Collection
Cataloging isn’t just for collectors. It’s for historians. For archivists. For people who want to preserve gaming culture. Games disappear. Servers shut down. Physical copies get lost. Your photos become a record. Someone 10 years from now might search for “what did the cover of Dragon Age: Origins look like?” and find your shot.And if you’re into photography, this is a free classroom. In-game photo mode teaches you composition, lighting, and depth. You learn how to frame a subject, how shadows tell stories, how color affects mood-all without leaving your couch.
Do I need a C-stand to catalog physical games?
No, but it’s the most reliable option. You can use a tripod with a boom arm or even stack books to hold your phone at the right height. But a C-stand gives you precision, stability, and room to add lighting gear. If you’re serious about cataloging more than 20 games, it’s worth the investment.
Can I use my smartphone for in-game photography?
No. In-game photography means capturing moments inside the game using its built-in photo mode. You can’t use your phone to take a screenshot of your TV screen-that’s just a photo of a photo. Use the game’s own camera controls. They’re designed for high-quality, artifact-free captures.
What if my game doesn’t have a photo mode?
You can still capture screenshots using your console or PC’s built-in function. Pause the game, turn off HUD elements, and adjust lighting manually by changing the time of day or moving characters. It takes more time, but you can still get great results. Games like Stardew Valley and Undertale have no photo mode, but their pixel art looks stunning in clean, well-framed shots.
How do I avoid reflections on game cases?
Use polarizing filters on your camera lens, or shoot at an angle instead of straight down. You can also place black velvet behind the game to absorb stray light. Avoid shiny surfaces near your setup-windows, mirrors, or glossy tables will bounce light onto the case.
Should I catalog digital games too?
Yes. Digital games are just as collectible. Take screenshots of your library screen, the game’s icon, and a key moment from gameplay. Add metadata like purchase date and platform. You might not have a box, but you still have a digital artifact worth preserving.
If you’ve ever stared at a messy shelf of games and thought, “I wish I could show this properly,” you’re not alone. A photography station doesn’t just make your collection look good-it makes it last. And in a world where games vanish, your photos might be the only thing left to remember them by.