When you’re selling a used video game-whether it’s a sealed copy of Super Mario Bros. on NES, a scratched-up disc of Half-Life 2, or a worn-out GameCube controller-the photo you take can make or break the sale. Buyers don’t just want to see the game; they want to see exactly what they’re getting. A blurry, poorly lit image won’t cut it. You need photos that tell the whole story: the box, the disc or cartridge, the manual, the inserts, and every scratch, dent, or sticker that affects value.
Why Photography Matters More Than You Think
On eBay, Etsy, or even local collector forums, listings with clear, consistent photos sell faster and for 20-40% more than those without. A 2024 survey of 1,200 video game collectors found that 78% said they’d walk away from a listing if the photos didn’t show the disc’s surface, the box’s corner wear, or the manual’s missing pages. Buyers aren’t just buying a game-they’re buying condition. And condition is judged by light, angle, and detail.
Think of it like selling a car. You wouldn’t just snap a quick shot of the hood and call it done. You’d show the tires, the interior wear, the dents, the odometer. Same with video games. The difference? You’re dealing with tiny, fragile items that degrade in specific, predictable ways.
What You Need to Get Started
You don’t need a $2,000 camera. But you do need three things:
- A plain white or neutral gray background (a large sheet of poster board works)
- A softbox or two LED lamps with diffusers (no direct flash-it creates hot spots)
- A smartphone with manual mode or a basic DSLR (even a 2020 iPhone or Canon Rebel T7 is enough)
Most collectors use natural daylight from a window, but if you’re shooting indoors, aim for 5500K white balance. That’s the color temperature of midday sun. Too warm? The box looks yellowed. Too cool? It looks unnatural. You want the photo to match what the buyer sees in person.
Step-by-Step Photo Checklist
Here’s what every game listing needs, in order:
- Front of the box (full view) - Place the box flat on the background. Shoot from directly above, centered. No shadows. Make sure the barcode and title are fully visible.
- Back of the box - Same angle, same lighting. Include the rating (E, T, M), screenshots, and any text. If there’s a sticker or price tag, photograph it clearly.
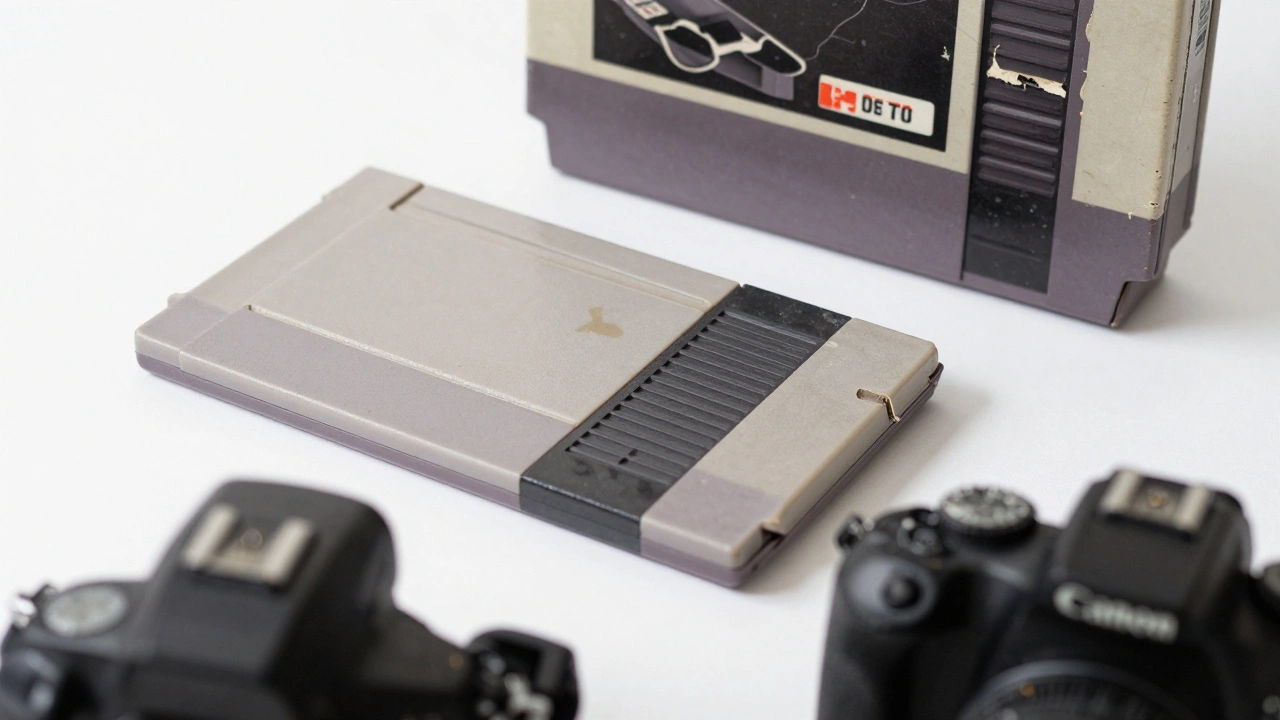
- Top and bottom edges - These show warping, corner dings, and spine wear. A small dent on the top right corner? Show it. Buyers hate surprises.
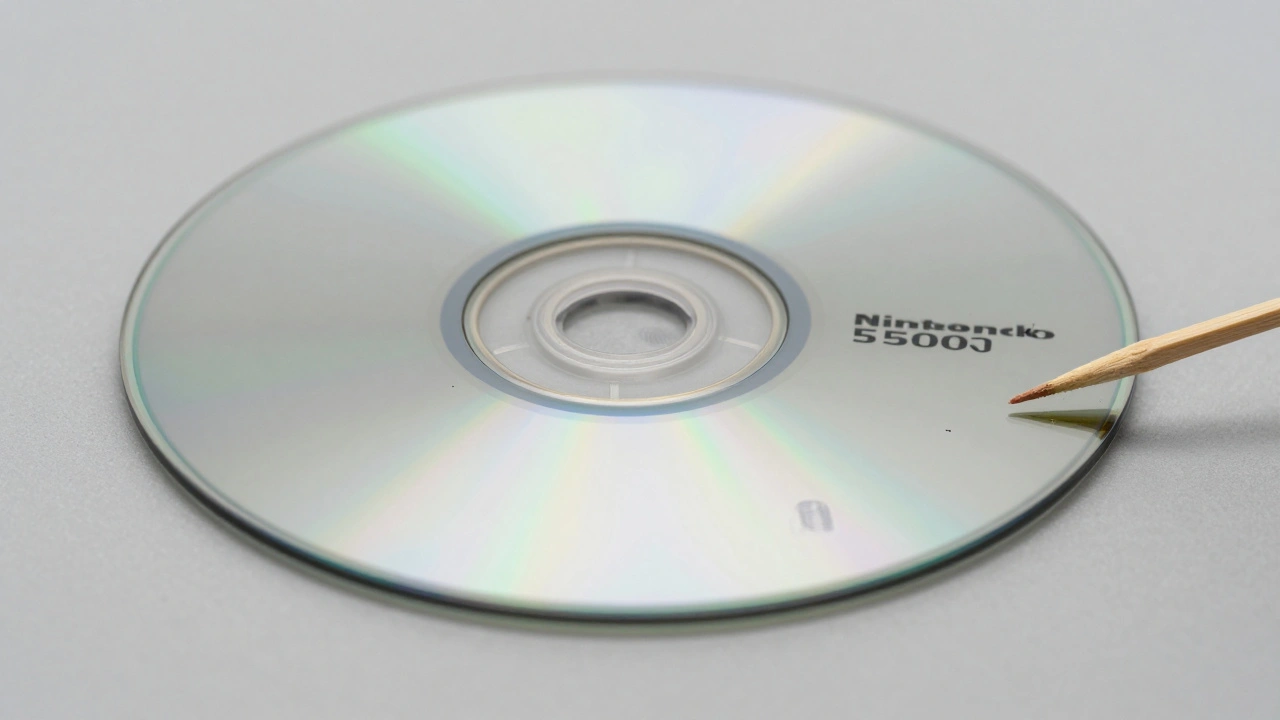
- Disc or cartridge - Place it on the background. Use a toothpick to gently lift the disc by the edge so it doesn’t touch the surface. Shoot from 45 degrees to show scratches. If there’s a label, make sure it’s readable. A fingerprint? Show it. A deep scratch? Show it. No hiding.
- Manual and inserts - Lay them flat. Shoot the front page of the manual. If pages are missing, staple torn corners, or have writing, photograph it. Highlight any stains or water damage.
- Game-specific defects - If the box has a price sticker, a broken hinge, or a faded color, get a close-up. Use the macro mode on your phone. Don’t assume the buyer can guess what’s wrong.
Take at least 6-8 photos per listing. More is better. Don’t skip the disc. One cracked disc can drop a game’s value from $150 to $20.
Condition Grading Standards You Should Know
There’s no official universal system, but most serious sellers follow the same scale used by CGC (Certified Guaranty Company) and major auction houses:
| Grade | Box | Disc/Cartridge | Manual/Inserts |
|---|---|---|---|
| Mint (MINT) | No wear, no creases, original shrink wrap | No scratches, no smudges, pristine label | Complete, no folds, no writing |
| Near Mint (NM) | Minor corner wear, no fading | One or two light scratches, not visible during play | Minor corner fold, no missing pages |
| Very Good (VG) | Visible corner wear, slight spine crease | Several visible scratches, but game still plays | Some folds, minor stains, all pages present |
| Good (G) | Significant wear, torn corners, fading | Deep scratches, label worn, may skip | Missing pages, water damage, writing |
| Poor (P) | Broken hinge, major stains, missing parts | Unplayable, cracked, label missing | Half missing, heavy damage |
Always state the grade clearly. Don’t say “looks good.” Say “Box: Near Mint. Disc: Very Good. Manual: Complete, one corner folded.” Buyers trust specifics.
Common Mistakes to Avoid
- Shooting in dim light - Shadows hide scratches. Use two lamps on either side of the game, not one overhead.
- Using a phone’s auto mode - It overexposes white boxes and underexposes dark discs. Switch to manual if possible. Lock focus on the disc.
- Not showing the back of the box - That’s where the rating and publisher info live. Buyers check for authenticity.
- Ignoring the manual - A missing manual can slash value by 30-50%. If it’s there, photograph it.
- Using colored backgrounds - Red, black, or patterned backdrops make color matching impossible. White or gray is the only safe choice.
How This Affects Your Sale Price
A sealed copy of The Legend of Zelda: Ocarina of Time in Mint condition sold for $1,200 on eBay in January 2026. The same game, with a torn box corner and a slightly scratched disc, sold for $450. The difference? The photos. The buyer who paid $1,200 saw every seam, every label, every unopened seal. The buyer who paid $450 saw a game that looked like it had been played.
Even small flaws matter. A single fingerprint on a disc can mean the difference between a VG and a G grade. A faded sticker on the box? That’s a $30 hit in value. Document everything.
Pro Tips from Longtime Sellers
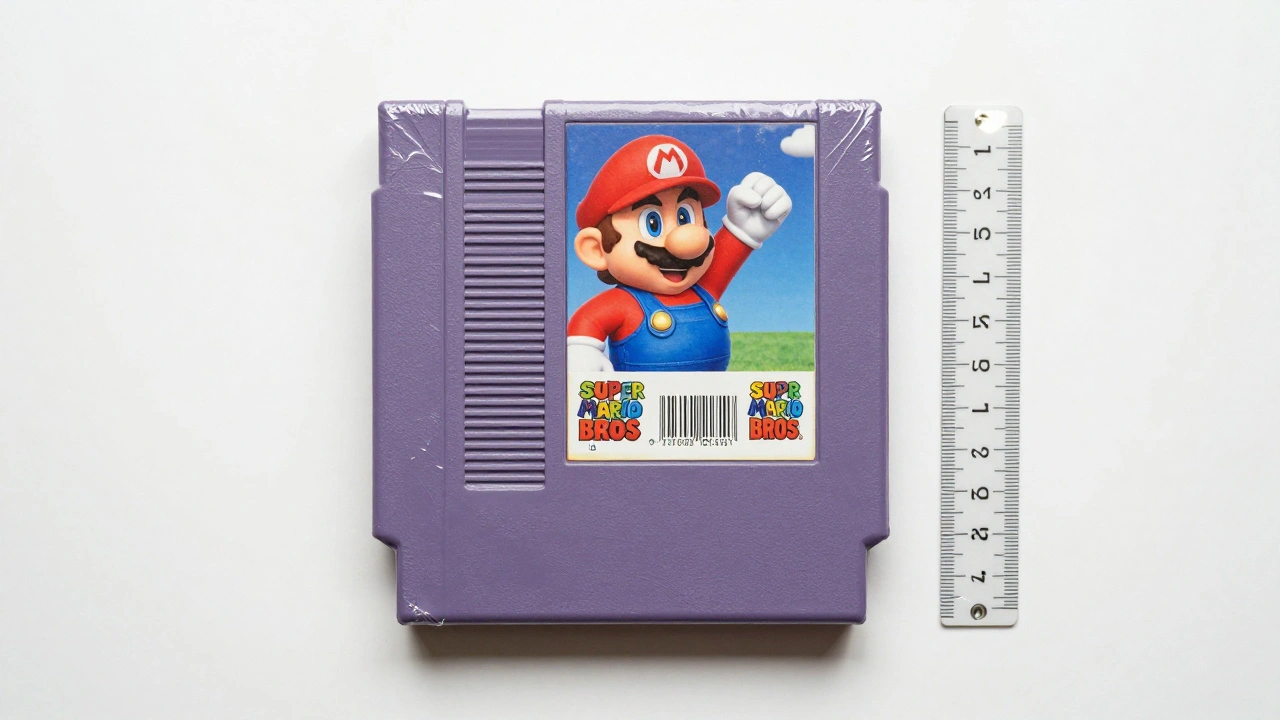
- Use a ruler next to the game in one photo. It gives buyers a sense of scale. A 12-inch ruler works.
- Take a photo of the game next to a known item, like a standard DVD case. Helps buyers compare size.
- Keep a log: note the date, game title, condition grade, and photo file names. You’ll thank yourself when you resell it in a year.
- For high-value items, shoot in RAW format (if using a DSLR). It lets you fix lighting later without losing detail.
- Never use filters. No Instagram filters. No sharpening. Just clean, honest photos.
What Buyers Look For
They’re not just looking for a game. They’re looking for proof. Proof that it’s authentic. Proof that it’s complete. Proof that it’s not a scam.
Here’s what they scan for in your photos:
- Is the serial number visible on the console or cartridge? (Helps verify authenticity)
- Are there factory seals? (Sealed games need unbroken plastic)
- Is the manual original? (Reproductions are worth 10% of original)
- Does the disc have a center hub ring? (Missing = bootleg)
- Is the box color true to the era? (A 1993 box with a 2000s font? Red flag.)
These details aren’t trivia. They’re red flags. One wrong detail can make a buyer think you’re hiding something.
Final Rule: Show Everything, Hide Nothing
The best listings don’t try to hide flaws. They own them. They say: “Here’s the scratch. Here’s the missing page. Here’s the price sticker. Here’s why it’s worth $80, not $120.”
Buyers respect honesty. They’ll pay more for a game with visible wear if they know exactly what they’re getting. They’ll walk away from a game that looks perfect but has no close-ups of the disc.
Photographing video games isn’t about making them look better. It’s about making them real. Clear. Honest. Trustworthy.
That’s how you sell faster. That’s how you get paid more. And that’s how you build a reputation as someone who doesn’t just sell games-they sell truth.