There is nothing worse than loading up your favorite classic RPG, only to find that your save file has vanished. You spent dozens of hours grinding for levels, and now the game thinks you are starting fresh. This isn’t a glitch or a corrupted disc. It’s a dead battery. Most cartridges from the 1980s through the early 2000s rely on tiny coin-cell batteries to keep your progress alive in RAM. When these batteries die, usually after 10 to 15 years, your saves disappear forever unless you act fast.
The good news is that you can fix this yourself. The process involves replacing the old CR2032 battery with a new one. It requires some basic soldering skills, but it doesn’t require professional engineering degrees. If you have a steady hand and a few dollars for tools, you can bring your retro games back to life. Here is exactly how to do it without frying your circuit board.
Gather Your Tools Before You Start
You cannot wing this repair with household items. You need specific electronics tools to avoid damaging the delicate Printed Circuit Board (PCB) inside the cartridge. First, you need a soldering iron. A temperature-controlled iron is best because it prevents overheating sensitive components. Keep a sponge or brass cleaner nearby to wipe the tip clean between uses.
Next, get 60/40 rosin core solder. This is the standard wire used for electronics repairs. You will also need a way to remove the old solder. A desoldering pump (often called a solder sucker) works well for beginners, but desoldering braid gives you more control and leaves less residue. Flux paste is optional but highly recommended; it helps the solder flow smoothly and makes removal easier.
Finally, you need the right screwdrivers. Many classic cartridges use security screws that look like standard Phillips heads but have a small pin in the center. For Super Nintendo Entertainment System (SNES) cartridges, you typically need a 3.8mm game bit driver. Sega Genesis carts often use a 4.5mm security bit. Sega Master System cartridges are easier, using standard Phillips head screws. Make sure you have the correct bits before you start prying open plastic shells.
Open the Cartridge Carefully
Start by removing the security screws. Place them in a small container immediately so they don’t roll under your desk. Some cartridges have plastic clips that hold the shell together. Use a guitar pick or a plastic spudger to gently separate the halves. Do not use metal pry tools here, as they can scratch the label or crack the plastic housing.
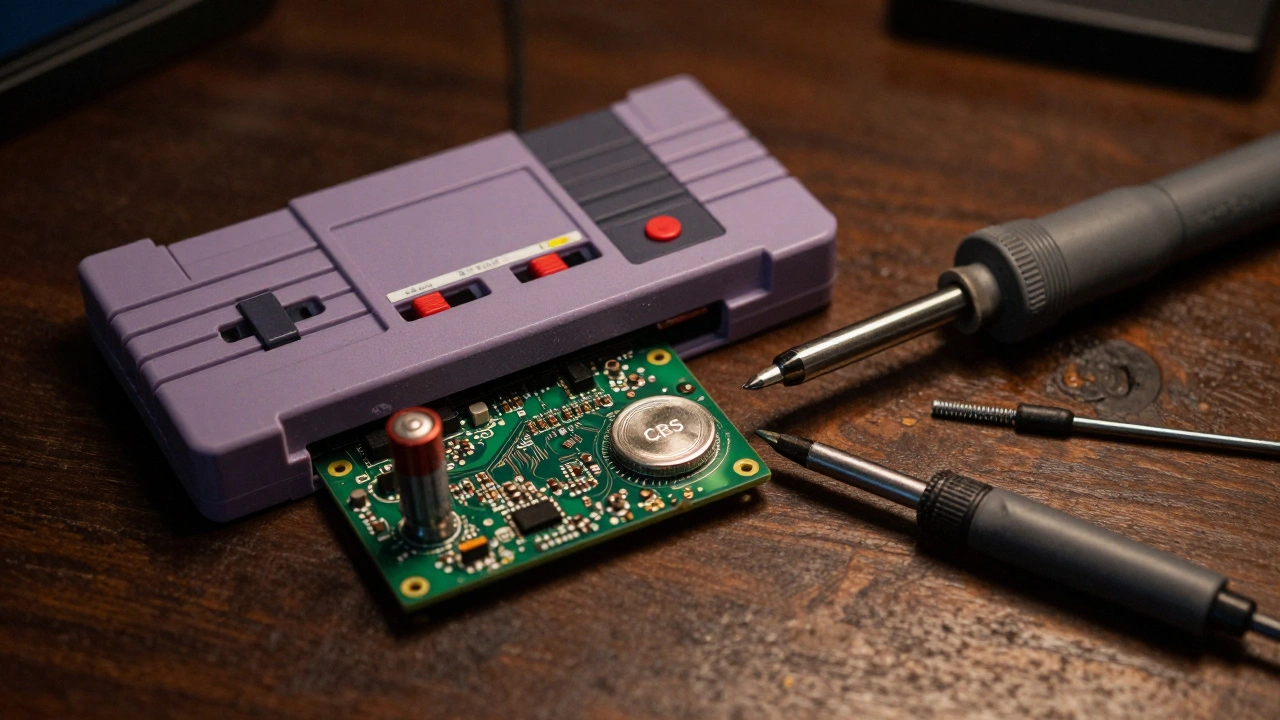
Once the shell is open, locate the battery. In most cases, it is a round, silver button cell soldered directly to the board. Look for two wires or tabs connecting the battery to the PCB. Note the polarity carefully. The positive side (+) is usually marked with a plus sign on the battery itself and often connects to the inner side of the board. The negative side (-) faces outward. Take a photo with your phone before you touch anything. This reference image will save you if you forget which way the battery goes later.
Desolder the Old Battery
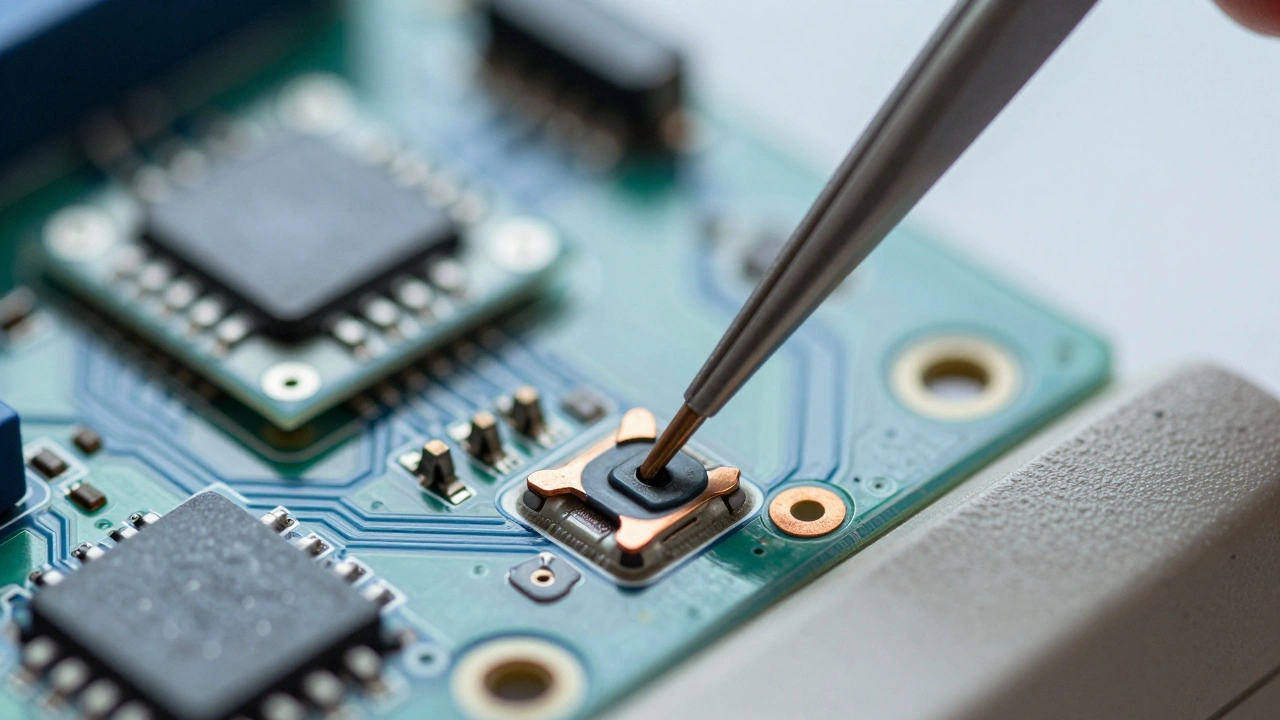
This is the trickiest part of the job. You need to melt the solder holding the battery tabs without lifting the copper pads off the board. Apply a small amount of flux to each connection point. Heat the solder joint with your iron until the solder melts. Quickly apply your desoldering pump or press the desoldering braid against the joint to absorb the molten solder.
Be gentle. The pads on older boards are fragile. If you pull too hard while the solder is still hot, you might rip the pad off, making the repair much harder. Once both sides are free, lift the old battery away. Dispose of it properly according to local recycling guidelines for lithium batteries.
Install the New CR2032 Battery
Take your new CR2032 battery. These are widely available at electronics stores or online. They provide 3.0 volts of power, which is what the cartridge expects. Position the battery over the holes or pads where the old one was. Double-check the polarity against your photo. Positive must match positive, and negative must match negative. Reversing this can damage the RAM chip instantly.
Solder the new connections. Touch the iron to the pad and the battery tab simultaneously, then feed a tiny bit of solder wire into the joint. You want a smooth, shiny cone of solder. Avoid creating large blobs that could bridge to nearby components and cause a short circuit. Let the joints cool completely before moving the board. Trim any excess leads from the battery tabs if they are sticking out too far.
Consider a Battery Holder for Future Ease
If you plan to restore multiple cartridges, consider installing a battery holder socket instead of soldering the battery directly. A common choice is the Harwin S8421-45R holder. This allows you to swap batteries in seconds without soldering next time. You may need to modify the holder slightly to fit inside the tight space of an SNES or NES cartridge shell. Ensure the height is low enough that the cartridge lid closes fully.
Preserving Your Save Data
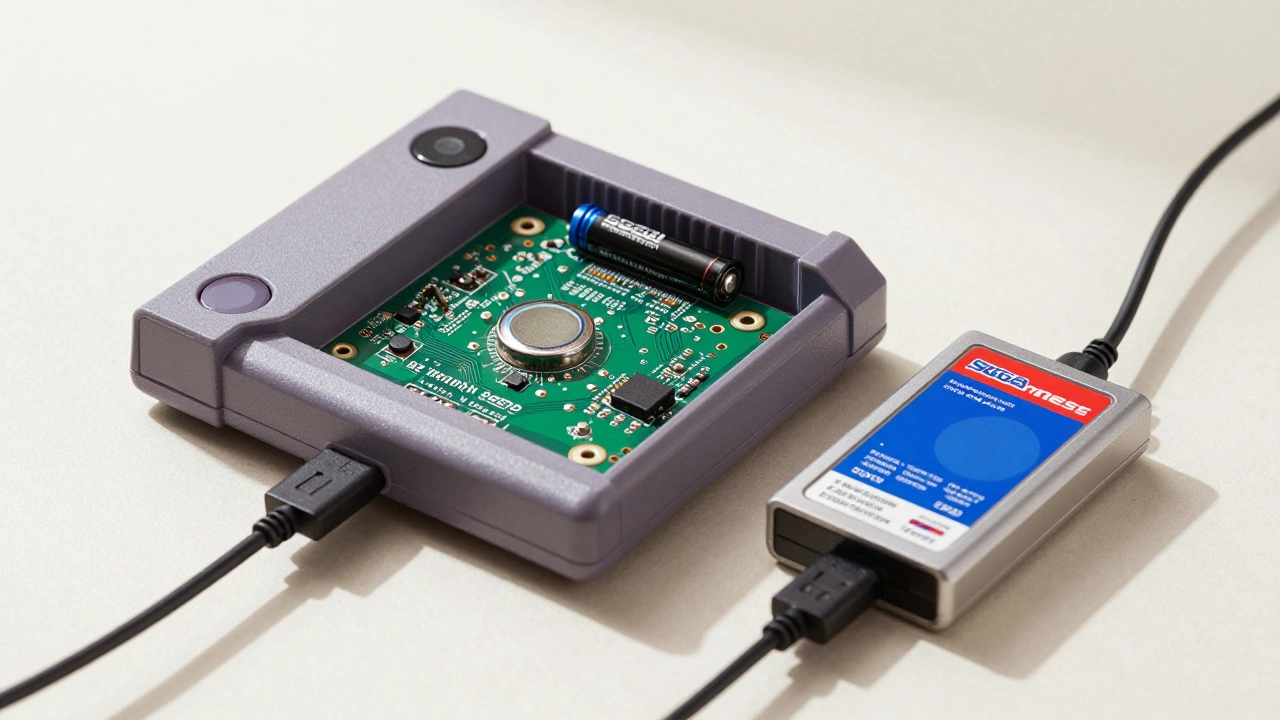
Here is the hard truth: soldering a new battery will erase your existing save data. The moment you break the electrical connection, the RAM loses its power and clears. If you have critical progress you cannot lose, you need a backup strategy before you open the cartridge.
Devices like the Retrode allow you to read the cartridge’s memory while it is still powered. You can extract the save file to your computer, replace the battery, and then write the save data back to the cartridge. This requires a compatible device and software, but it is the only safe way to preserve decades-old progress during a hardware repair.
Test and Reassemble
Before snapping the cartridge shell back together, test your work. Insert the cartridge into your console or flash cart adapter. Boot the game and check if the menu loads correctly. Create a new save file and exit the game. Reload it to ensure the data persists. If the game crashes or fails to save, double-check your solder joints for cold connections or shorts.
Once everything works, reassemble the cartridge. Align the plastic shells carefully and tighten the screws. Do not overtighten them, as this can strip the threads in the plastic housing. Your cartridge is now ready for another decade of adventures.
| Console | Screw Type | Size/Bit |
|---|---|---|
| SNES / Super Famicom | Security Bit | 3.8mm Game Bit |
| Sega Genesis | Security Bit | 4.5mm Security Bit |
| Sega Master System | Standard Phillips | PH1 or PH2 |
| NES (Most) | Security Bit | Varies (Check Model) |
Will replacing the battery erase my save data?
Yes, breaking the electrical connection to the battery will cause the RAM to lose power and clear all saved data. To preserve your saves, you must use a specialized device like a Retrode to back up the data before opening the cartridge.
Can I use any CR2032 battery?
Yes, standard CR2032 lithium coin cells are universally compatible with these cartridges. They provide the required 3.0 volts. Avoid rechargeable Li-ion versions unless you are certain of the voltage limits, as they can sometimes discharge below the minimum threshold needed for the game to function.
What if I lift a solder pad?
If you accidentally lift a pad, you can try to reattach it by threading a hair-thin piece of wire under the pad and soldering it to the trace. Alternatively, you can run a jumper wire from the lifted pad to a nearby component with a similar ground or power connection, though this requires advanced troubleshooting skills.
Do all classic cartridges use CR2032 batteries?
Most cartridges from the late 1980s to early 2000s use CR2032 batteries. However, some earlier models or specific regions may use different sizes like CR2025 or LR44. Always check the physical size and markings on the existing battery before purchasing a replacement.
Is it safe to solder near the RAM chip?
It is generally safe if you work quickly and keep the iron tip clean. Excessive heat can damage the silicon inside the RAM chip. Using a heat sink clip on the component legs can help dissipate heat, but for most casual repairs, quick, precise touches are sufficient.