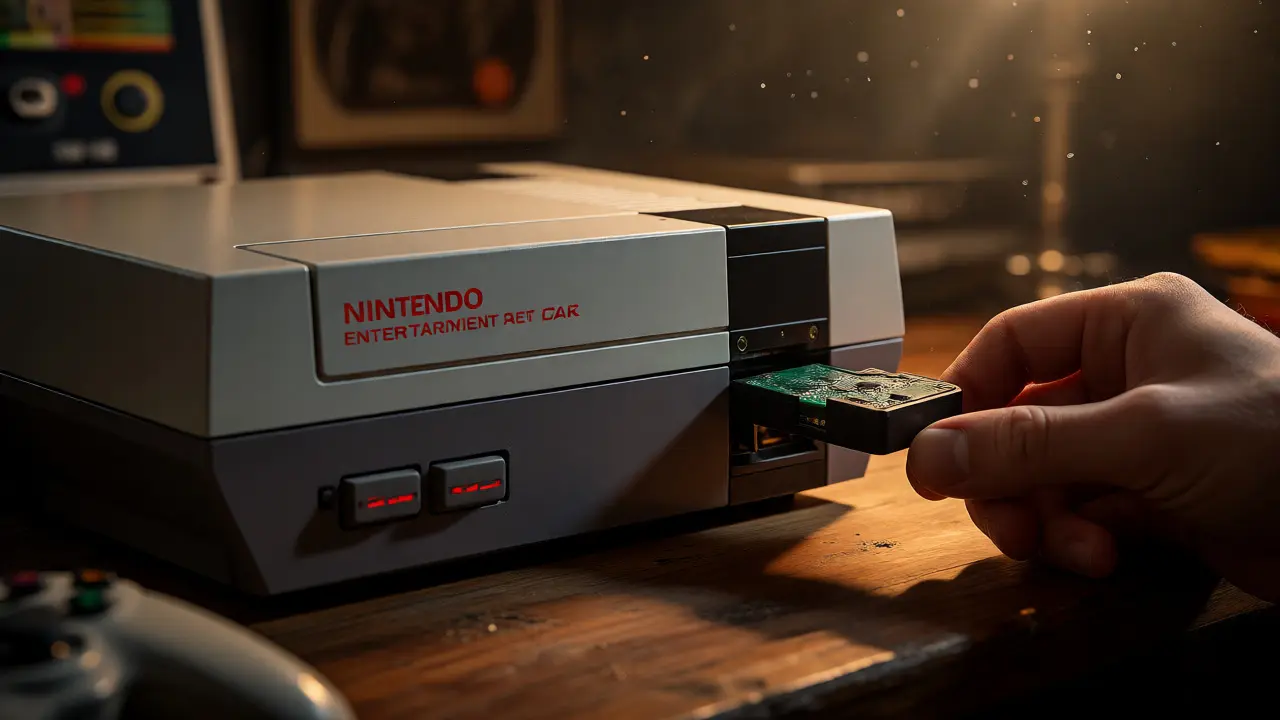
Imagine you just bought a dusty Nintendo Entertainment System from an estate sale. The seller said it "worked fine" last year. You plug it in, but the screen stays black. Is the power supply dead? Is the cartridge slot dirty? Or is the main board fried? Without a known-good game, you’re guessing. This is where flash carts become your best friend. They aren’t just for playing homebrew games; they are diagnostic tools that can save you hundreds of dollars in unnecessary repairs.
Using a flash cart to test hardware changes everything. Instead of relying on expensive, fragile original cartridges that might themselves be broken, you use a single device that loads multiple ROMs. If the flash cart works, the console works. If it doesn’t, you know exactly where to look. Here’s how to do it right.
Why Flash Carts Are Better Than Original Cartridges for Testing
Original cartridges have their own failure points. A bad battery in a save-game cartridge can cause boot issues. Corroded contacts inside an old NES cart can mimic a console problem. When you use a EverDrive or similar flash cart, you eliminate variables. These devices use modern components like SRAM and NAND flash memory, which are far more reliable than the mask ROMs found in 1980s and 90s games.
Furthermore, flash carts often include built-in test menus. For example, many SNES EverDrives allow you to toggle specific hardware features like SA-1 or DSP chips via software. If a game requires a special chip and fails to run, you can check if the console supports it by seeing if the flash cart recognizes the requirement. This level of control is impossible with standard cartridges.
Choosing the Right Flash Cart for Your Console
Not all flash carts are created equal, especially when it comes to diagnostics. Some cheap knockoffs from AliExpress might work for gameplay but fail under stress tests. For hardware testing, you want reliability and feature completeness.
| Console | Recommended Flash Cart | Key Diagnostic Feature |
|---|---|---|
| NES / Famicom | EverDrive-N8 Pro | Supports all mappers, allowing you to test specific chip functionalities. |
| SNES | SD2SNES Pro | Bypasses lockout chips and allows region-free testing. |
| Game Boy Color | EZ-Flash Jr. | Includes built-in hardware test ROMs for sound and graphics. |
| PlayStation 1 | Xplorer5 | Allows disc swapping without rebooting, testing laser lens stability. |
Notice that for the PS1, we aren't using a traditional "cartridge" but a modchip-based solution. That’s because optical drives have different failure modes. But the principle remains: isolate the hardware from the media.
Step-by-Step Diagnostic Workflow
Here is the exact process I use when troubleshooting a retro console. It takes about ten minutes and saves hours of frustration.
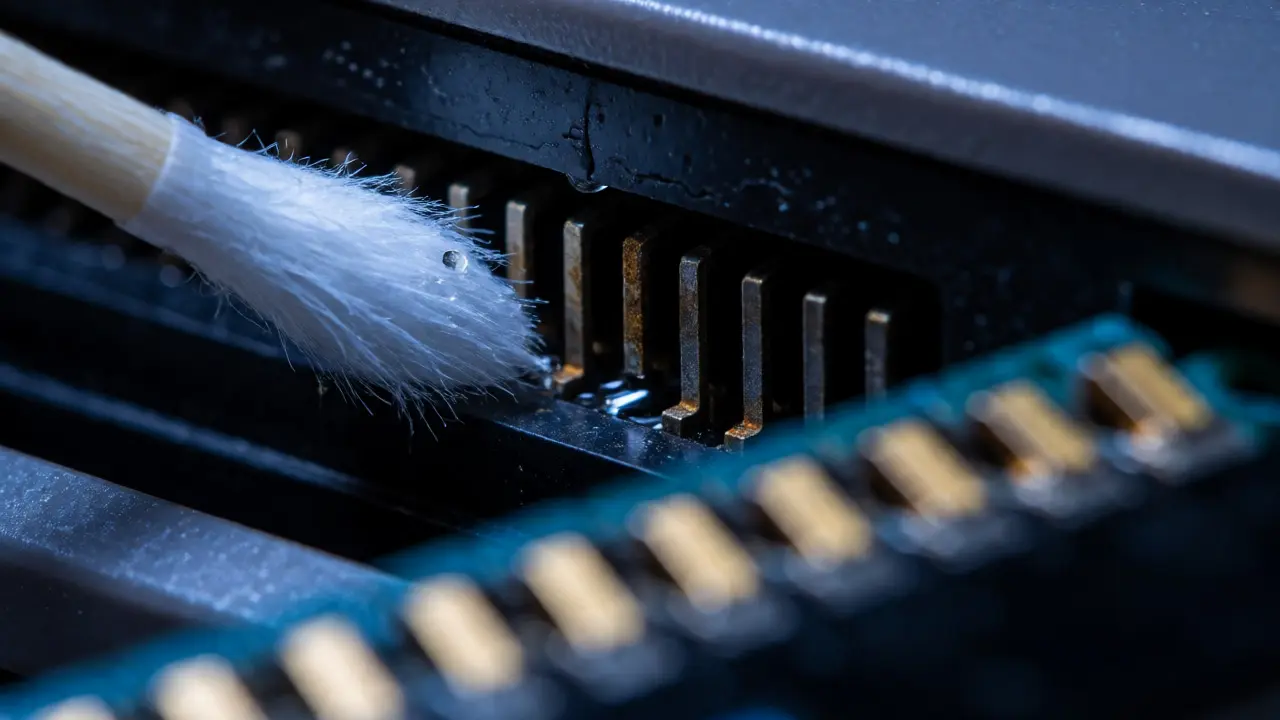
- Clean the Contacts: Before inserting anything, clean both the console’s cartridge slot and the flash cart’s pins with isopropyl alcohol (90%+) and a cotton swab. Oxidation is the number one cause of "dead" consoles.
- Insert the Flash Cart: Power off the console completely. Insert the flash cart firmly. Do not force it; if it resists, check for bent pins.
- Power On: Turn on the console. If you see the flash cart’s menu, your power supply, CPU, and basic video output are working. This eliminates 50% of potential issues immediately.
- Run a Stress Test: Load a graphically intensive game or a dedicated test ROM. Look for graphical glitches, color bleeding, or crashes. If the menu runs fine but a complex game crashes, suspect the PPU (Picture Processing Unit) or RAM.
- Test Audio: Many flash carts have a simple audio test option. If video works but audio is silent or distorted, focus on the audio amplifier or capacitor replacements near the audio circuitry.
This workflow relies on the concept of progressive isolation. By starting with the simplest function (menu display) and moving to complex ones (3D rendering), you pinpoint the failing component.
Common Hardware Failures Detected by Flash Carts
Once you have your flash cart running, what should you look for? Different symptoms point to different problems.
- Black Screen, No Logo: Likely a power issue or a failed CPU reset line. Check the power LED. If it lights up but the screen is black, the video signal isn't reaching the TV.
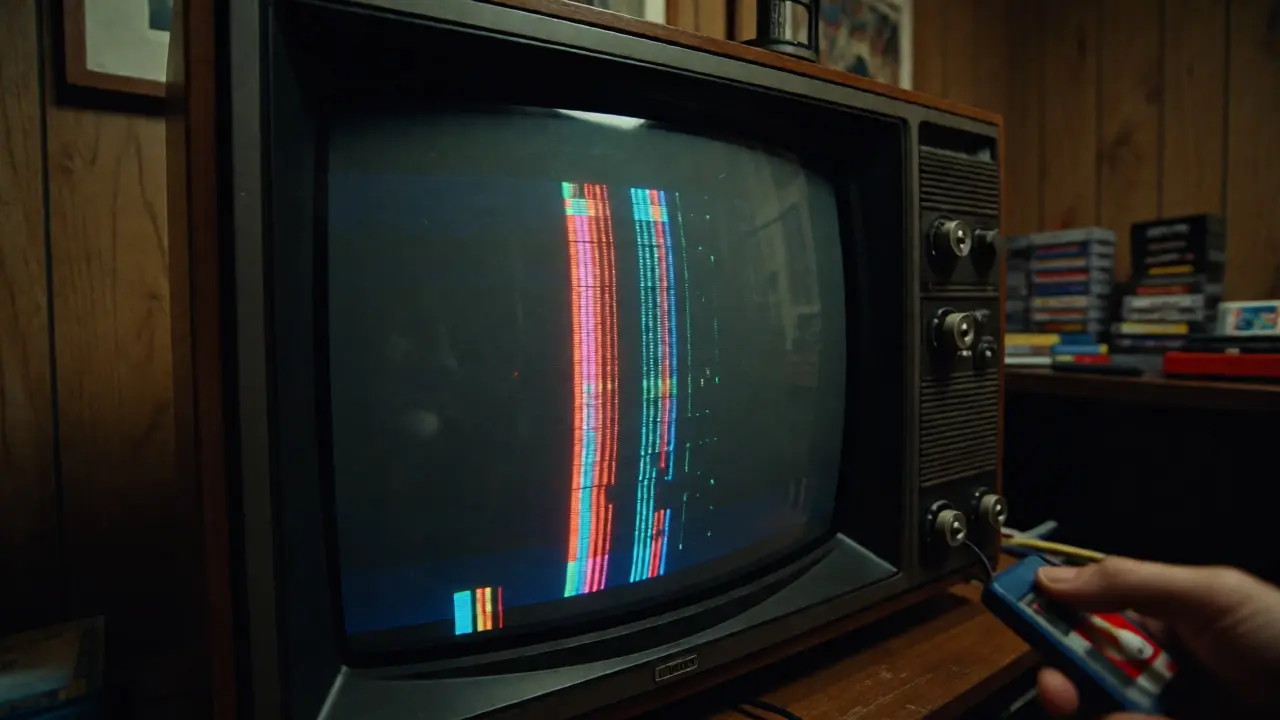
- Garbled Graphics: Often indicates faulty VRAM (Video RAM) chips. Try reseating them if they are socketed, or replace them if soldered.
- Freezing During Gameplay: Could be overheating or weak capacitors causing voltage drops under load. Flash carts draw consistent power, making these failures easier to spot than with intermittent original carts.
- Region Lock Issues: If a Japanese console rejects a US flash cart, the lockout chip might be damaged. However, most modern flash carts bypass this, so if it still fails, the physical connector might be misaligned.
For instance, on a Sega Genesis, a common failure is the "vertical bars" glitch. This is usually a sign of dry solder joints on the motherboard. Using a flash cart running Sonic the Hedgehog makes these artifacts highly visible against the fast-scrolling background.
Troubleshooting Flash Cart Specific Issues
Sometimes, the flash cart itself is the problem. Cheap SD cards can corrupt data. Always format your SD card to FAT32 before loading ROMs. Also, ensure your firmware is up to date. Manufacturers like Krikzz regularly update their OS to fix compatibility bugs with newer console revisions.
If the flash cart works in one console but not another, don’t assume the second console is broken. Check the pin alignment. Some third-party flash carts have slightly thicker PCBs than originals, which can prevent proper contact in tighter slots. Gently bending the pins outward can sometimes solve this.
When Flash Carts Aren’t Enough
While powerful, flash carts can’t test every aspect of a console. They won’t tell you if your RF modulator is broken (use AV cables instead). They won’t diagnose controller port damage unless you have a multi-player game loaded. And they can’t test the longevity of mechanical parts like the eject button or lid switches.
However, for the core system-CPU, GPU, Memory, and Bus-they are indispensable. If you are buying used retro gear, always ask the seller to show a video of a flash cart booting up. It’s a quick proof of life that original games can’t provide due to variability.
Frequently Asked Questions
Can any flash cart be used for hardware testing?
Not really. While cheap clones might play games, they often lack full mapper support or have unstable timing. For accurate diagnostics, stick to reputable brands like EverDrive, SD2SNES, or Mega EverDrive. These are engineered to match original hardware behavior closely, ensuring that a failure is likely due to the console, not the cart.
What type of SD card should I use in my flash cart?
Use high-quality brand-name SD cards (SanDisk, Samsung) formatted to FAT32. Avoid generic no-name cards as they often have poor read speeds or corruption issues that can mimic hardware faults. Keep the card size under 32GB for maximum compatibility with older flash cart operating systems.
My flash cart shows a black screen. How do I know if the console or cart is broken?
Try the flash cart in a known-working console of the same model. If it works there, your original console has a fault. If it doesn’t work in either, try cleaning the pins on both the cart and the console. If it still fails, try a different SD card. Only after ruling out the cart and SD card should you condemn the console.
Do flash carts damage retro consoles over time?
No, flash carts do not damage consoles. In fact, they are safer than some original cartridges because they use standardized connectors and consistent voltage levels. Just ensure you insert and remove them straight, without wiggling side-to-side, to preserve the spring-loaded pins in the console slot.
Can I use a flash cart to test battery-backed save games?
Yes, but indirectly. Most flash carts use internal batteries or supercapacitors for saves. If your flash cart loses saves, it might indicate a power fluctuation in the console affecting the RTC (Real-Time Clock) or save circuits. However, to test the console's ability to write to original battery-backed carts, you still need an actual original cartridge.