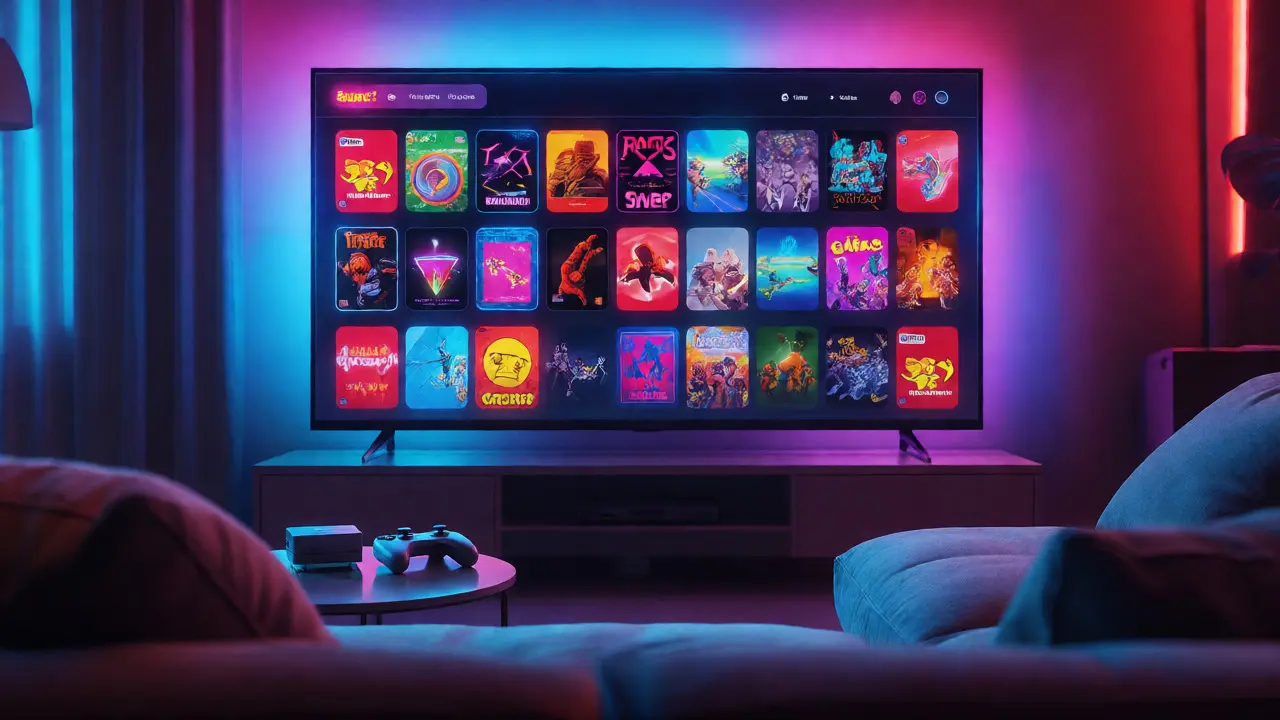
You spent months scraping ROMs, configuring cores in RetroArch is a popular open-source frontend and library of emulators that allows users to play classic video games on modern hardware, and finally have a folder structure that doesn’t make you cry. But when you sit down to play, staring at a command-line interface or a bare-bones desktop shortcut kills the vibe instantly. You want the magic of walking into an arcade, not the feeling of debugging code. That’s where a dedicated Front-End is software that provides a graphical user interface for launching emulators and managing game libraries comes in.
A good front-end does more than just launch games. It organizes your chaotic collection into a visually appealing media center, handles metadata like box art and descriptions, and lets you browse by genre, year, or console without touching a keyboard. Whether you are building a retro gaming cabinet for your living room or just want a cleaner experience on your PC, choosing the right tool is half the battle. Let’s break down how to build a functional, beautiful front-end for your emulated video game collection.
Why You Need a Dedicated Front-End
Running emulators directly from their native interfaces works, but it lacks cohesion. If you switch between playing a Super Nintendo title and a PlayStation 1 game, you’re likely juggling different window styles, controller mappings, and save states. A unified front-end acts as a central hub. It standardizes the experience so that pressing "Start" always means the same thing, regardless of the underlying system.
Think of it this way: Emulators are the engines; the front-end is the dashboard and steering wheel. Without a dashboard, you’d be driving with a wrench. Beyond aesthetics, front-ends offer critical quality-of-life features. They allow you to create custom playlists, apply filters (like showing only completed games), and integrate with external tools for achievements or high scores. For many enthusiasts, the visual polish of a front-end is what transforms emulation from a technical hobby into a genuine entertainment platform.
Choosing Your Weapon: The Big Three
The market for emulation front-ends is crowded, but three names dominate the conversation for most users: LaunchBox is a Windows-based front-end known for its powerful database integration and customization options, EmulationStation is an open-source front-end primarily used with RetroPie and Batocera Linux distributions, and Big Box is the premium, visually stunning companion application to LaunchBox. Each serves a slightly different audience and hardware setup.
| Feature | LaunchBox / Big Box | EmulationStation | RetroArch Menu |
|---|---|---|---|
| Platform | Windows (Primary) | Linux, Windows, macOS | Cross-Platform |
| Cost | Free (Basic) / Paid (Big Box) | Free & Open Source | Free & Open Source |
| Visuals | Highly Customizable, Premium Themes | Theme-Based, Arcade Style | Minimalist, Functional |
| Setup Difficulty | Moderate (GUI-driven) | Harder (Config file heavy) | Easiest (Integrated) |
| Best For | PC Gamers, Large Libraries | RetroPie Users, Arcade Cabinets | Quick Access, Low Spec Hardware |
If you are on Windows and want the easiest path to a polished look, LaunchBox is hard to beat. Its auto-scanner finds your ROMs, downloads metadata from online databases, and sets up basic emulator paths automatically. Big Box adds the flashy animations and TV-friendly navigation. If you are running a Raspberry Pi or a dedicated Linux machine for a home arcade, EmulationStation is the industry standard. It’s lighter on resources and designed specifically for controller-only navigation. RetroArch’s built-in menu is fine for testing, but it rarely satisfies long-term browsing needs due to its text-heavy interface.
Step-by-Step Setup Guide
Let’s assume you’ve chosen LaunchBox for a Windows PC, as it offers the best balance of power and ease for beginners. Here is how you go from empty folders to a playable library.
- Install the Core: Download LaunchBox from the official website. During installation, choose the "Portable" option if you plan to move your setup between computers. This keeps all settings and images in one folder.
- Add Your Games: Don’t manually add each file. Use the "Add Games" wizard. Point it to your main ROM directory. LaunchBox will scan the files, identify the consoles (NES, SNES, Genesis, etc.), and match them against its online database.
- Download Metadata: Once scanned, select all games and hit "Download Metadata." This pulls box art, screenshots, descriptions, and release dates. Be patient here; large collections can take hours to download fully.
- Configure Emulators: Go to Tools > Manage > Emulators. LaunchBox often detects installed emulators like DuckStation (PS1) or PCSX2 (PS2). If not, click "Add" and point it to the executable file of your preferred emulator. Test one game per console to ensure the mapping works.
- Customize the Interface: Switch to Big Box mode if you bought it, or use the standard view. Change the theme to something that fits your taste. Adjust the font size and layout so you can read titles easily from a distance.
For EmulationStation users on Linux, the process involves editing configuration files. You’ll need to define your ROM paths in `es_systems.cfg` and ensure your emulator commands are correctly formatted. It’s less point-and-click, but once configured, it’s incredibly stable and lightweight.
Managing Your Library Like a Pro
Having 500 games is great until you realize you only play five of them. A front-end shines when you curate your library. Use playlists to group games by mood or series. Create a "Sunday Afternoon" playlist with easy-going puzzle games, or a "Hardcore" list for difficult platformers. Most front-ends let you filter by status-marking games as "Played," "Completed," or "Dropped" helps track your progress.
Metadata accuracy matters. Sometimes, the automatic scraper gets it wrong. Maybe it assigns the US cover art to a European release, or misses a sequel. Manually correct these entries. High-quality box art makes a huge difference in immersion. If a game is missing art, search online communities or forums where enthusiasts share cleaned-up scans. Consistency in image resolution also prevents your library from looking jagged or uneven.
Consider adding "Favorites" or "Recently Played" views. These dynamic lists save you time. Instead of scrolling through hundreds of entries to find the game you paused last night, you tap a single button and resume. Some advanced setups even integrate with services like Discord Rich Presence, showing your friends exactly which retro title you’re currently grinding.
Troubleshooting Common Issues
Things will break. It’s part of the hobby. The most common issue is controller mapping. If your gamepad buttons don’t register, check if the front-end has global input settings or if you need to map them within the specific emulator. In LaunchBox, you can set default controls per emulator, which saves you from re-mapping every time you launch a new game.
Another frequent headache is performance. If games stutter or run slow, it’s rarely the front-end’s fault-it’s usually the emulator core or your hardware. Try switching cores in RetroArch (e.g., using `Snes9x` instead of `bsnes` for better speed) or lowering the internal resolution in graphics settings. Also, ensure your front-end isn’t trying to load high-res videos for background effects on older hardware; disable video previews if needed.
Path errors are another culprit. If you moved your ROM folders after setting up the front-end, links might break. Most tools have a "Fix Broken Paths" feature, but prevention is better: keep your folder structure static once established. Use relative paths whenever possible to maintain portability.
Next Steps: Taking It to the Living Room
Once your PC setup is solid, consider how you interact with it. Are you sitting at a desk, or lounging on a couch? If it’s the latter, invest in a wireless controller and a mini-PC or laptop connected to your TV. Hide the mouse and keyboard. Use software like AutoHotkey to map your controller to navigate the front-end menus seamlessly. This turns your computer into a true console replacement.
Finally, backup your setup. Your metadata, playlists, and configurations are valuable data. Sync your portable folder to cloud storage or an external drive. If your SSD fails, you can restore your entire curated experience in minutes rather than days.
Do I need to buy Big Box if I use LaunchBox?
No, LaunchBox is free and fully functional. Big Box is a separate paid product that offers a more polished, TV-friendly interface with animations and themes. Start with the free version; upgrade only if you want the enhanced visual experience for a living room setup.
Can I use one front-end for all my emulators?
Yes, that’s the main point. Tools like LaunchBox, EmulationStation, and Playnite are designed to act as universal launchers. You configure them to call different emulator executables (like Dolphin for GameCube or RPCS3 for PS3) based on the game’s platform.
What is the best front-end for Raspberry Pi?
EmulationStation is the standard choice for Raspberry Pi devices running RetroPie or Batocera. It is optimized for low-power hardware and provides a smooth, arcade-style interface that works perfectly with USB controllers.
How do I fix missing box art in my library?
Use the metadata downloader in your front-end first. If it fails, manually search for the image online, save it to the correct folder structure (usually named by the game ID or title), and refresh the library. Some front-ends allow you to drag and drop images directly onto the game entry.
Is RetroArch itself a front-end?
RetroArch is technically both an emulator wrapper and a front-end. However, its built-in menu is often considered too basic for large collections. Many users prefer using a dedicated front-end like LaunchBox or EmulationStation to launch RetroArch cores, combining the best of both worlds.