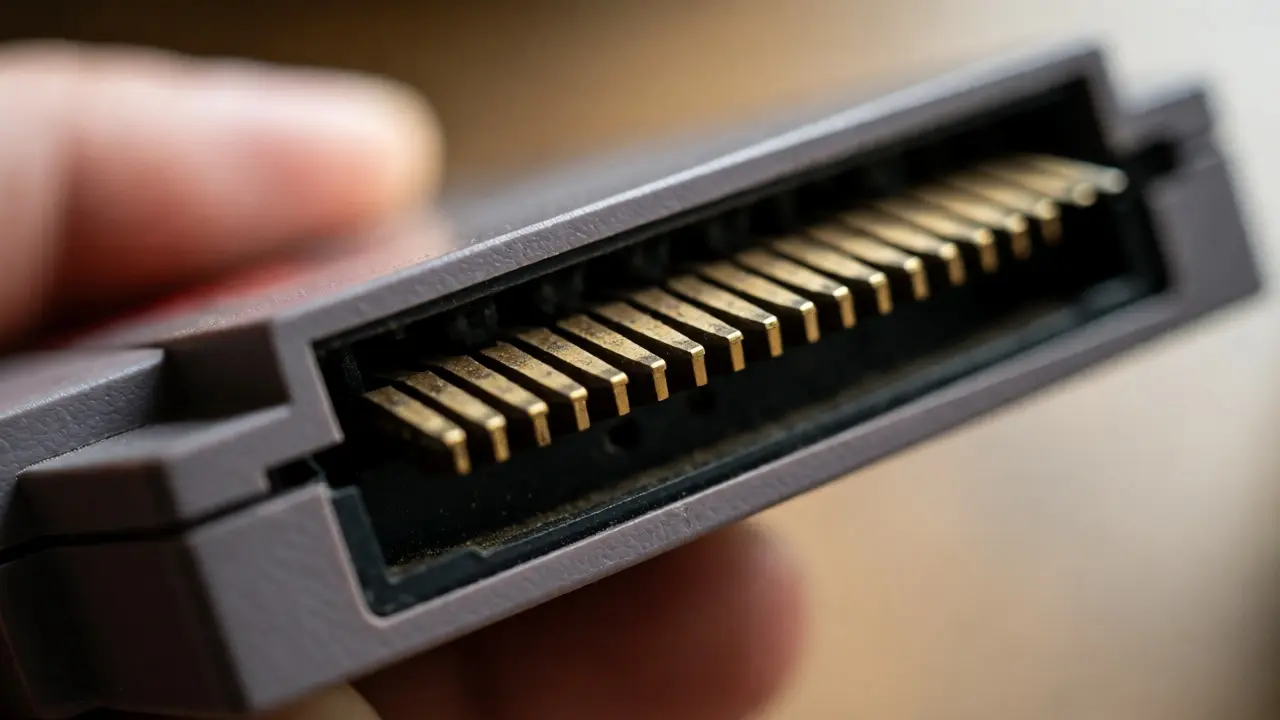
You just dug out your old NES or Sega Genesis, blew into the slot like you did in 1992, and shoved the cartridge in. The screen flickers. Or worse, it shows a black void with that infamous blinking cursor. You’re not alone. For decades, gamers have relied on the "blow hard" method, but here’s the truth: your breath is mostly moisture, and moisture causes corrosion. If you want your retro library to actually play, you need to clean those gold-plated pins properly.
Cleaning cartridge contacts isn’t just about nostalgia; it’s about preserving hardware. Dirty contacts cause read errors, graphical glitches, and even permanent damage if oxidation builds up over years. Whether you’re fixing a single favorite title or restoring a whole shelf of SNES games, this guide walks you through the safe, effective methods to get your games running smoothly again.
Why Your Games Stop Working
Before you grab a Q-tip, understand what’s happening inside the cartridge slot. Most retro cartridges use edge connectors-rows of gold-plated copper pins that make physical contact with the console’s internal pins. Over time, three things attack these connections:
- Oxidation: Gold doesn’t rust, but the nickel plating underneath can oxidize, creating a non-conductive layer.
- Dust and Debris: Carpet fibers, pet hair, and skin cells accumulate in the slot, acting as an insulator between the pins.
- Corrosion from Breath: Yes, blowing into the slot introduces saliva and humidity. This accelerates corrosion on cheaper, tin-plated contacts found in some third-party or later-generation cartridges.
The result? Intermittent connections. The console tries to read the ROM chip, fails, and either crashes to a black screen or displays corrupted graphics. Cleaning removes this barrier, restoring electrical continuity.
Gather Your Tools (The Right Way)
You don’t need a professional electronics lab. But you do need to avoid household cleaners that leave residues. Here’s what you need:
| Tool | Purpose | What to Avoid |
|---|---|---|
| Isopropyl Alcohol (90%+) | Dissolves grime and evaporates quickly without leaving residue. | Water-based cleaners or lower concentration alcohol (leaves water spots). |
| Contact Cleaner Spray | Specialized solvent for electronics; displaces moisture. | WD-40 (standard formula) - it leaves an oily residue that attracts dust. |
| Soft Toothbrush or Cotton Swabs | Physical agitation to remove stubborn debris. | Steel wool or abrasive pads - they scratch the gold plating. |
| Eraser (White Pencil Eraser) | Mild abrasive action to polish heavy oxidation. | Pink erasers - they contain abrasives that can be too harsh. |
If you only buy one thing, get high-purity isopropyl alcohol. It’s cheap, accessible, and safe for almost all plastics used in retro gaming hardware.
Step-by-Step Cleaning Process
Follow this order to minimize risk. Always work on a clean, dry surface.
- Remove Dust First: Use compressed air (held upright) to blow loose debris out of the cartridge slot and off the contacts. Do this outside or away from your carpet.
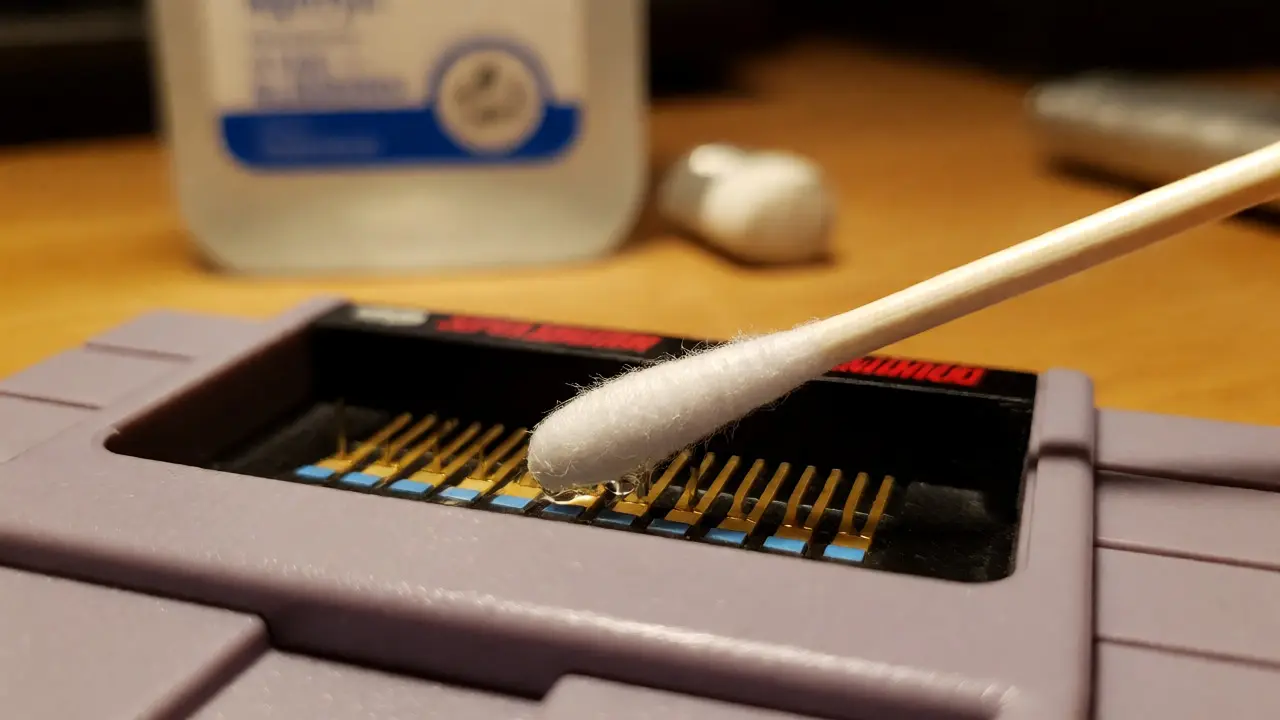
- Apply Solvent: Dampen a cotton swab or toothbrush with isopropyl alcohol. Don’t soak it; you want damp, not dripping. Excess liquid can seep into the cartridge casing and damage the PCB.
- Gently Scrub: Run the swab along the length of the contacts, following the direction of the pins. Apply light pressure. You’ll see brown or green gunk come off on the swab. That’s the oxidation and dirt.
- Dry Completely: Let the alcohol evaporate. This takes seconds. Ensure no wetness remains before inserting the cartridge.
For severely corroded contacts, repeat the process. If the pins look dull or discolored after cleaning, move to polishing.
Polishing vs. Cleaning: When to Be Careful
Cleaning removes dirt. Polishing removes material. There’s a difference. Gold plating is thin. Every time you polish, you remove a microscopic layer of gold. Once it’s gone, the underlying metal is exposed to rapid corrosion.
Use polishing techniques only if cleaning fails. Here’s how to do it safely:
- The Eraser Method: Gently rub a white pencil eraser across the contacts. Wipe away eraser crumbs with a dry cloth. This is surprisingly effective for moderate oxidation.
- Pencil Lead Trick: Rubbing a soft graphite pencil across contacts can sometimes help conductivity, but it’s messy and often unnecessary if you’ve cleaned properly.
- Avoid Abrasives: Never use baking soda pastes or commercial metal polishes unless specifically designed for electronics. They leave grit behind.
If your contacts are shiny after cleaning, stop. Don’t polish further. Preserve that gold.
Console-Specific Nuances
Not all retro consoles are created equal. Their slots wear differently.
Nintendo Entertainment System (NES)
The original NES uses a top-loading design where the cartridge slides down onto spring-loaded pins. These pins are fragile. Aggressive cleaning can bend them. Use minimal pressure. The Famicom (Japanese NES) has front-loading slots that are slightly more robust but still require care.
Super Nintendo (SNES)
SNES cartridges have 60 pins. The slot is tight. Dirt accumulates deep inside. Compressed air is crucial here. Isopropyl alcohol works well, but ensure the cartridge is fully dry before insertion to prevent shorting adjacent pins.
Sega Genesis/Mega Drive
Genesis carts are larger and have fewer pins (52). They’re generally more tolerant of cleaning. However, the plastic housing can crack if forced. Clean gently.
Game Boy & Handhelds
Handheld devices are prone to battery leakage. Check the battery compartment first. If acid leaked, neutralize it with vinegar (for alkaline batteries) or lemon juice (for acidic ones), then clean thoroughly. Battery corrosion can spread to the main board.
Common Mistakes That Ruin Games
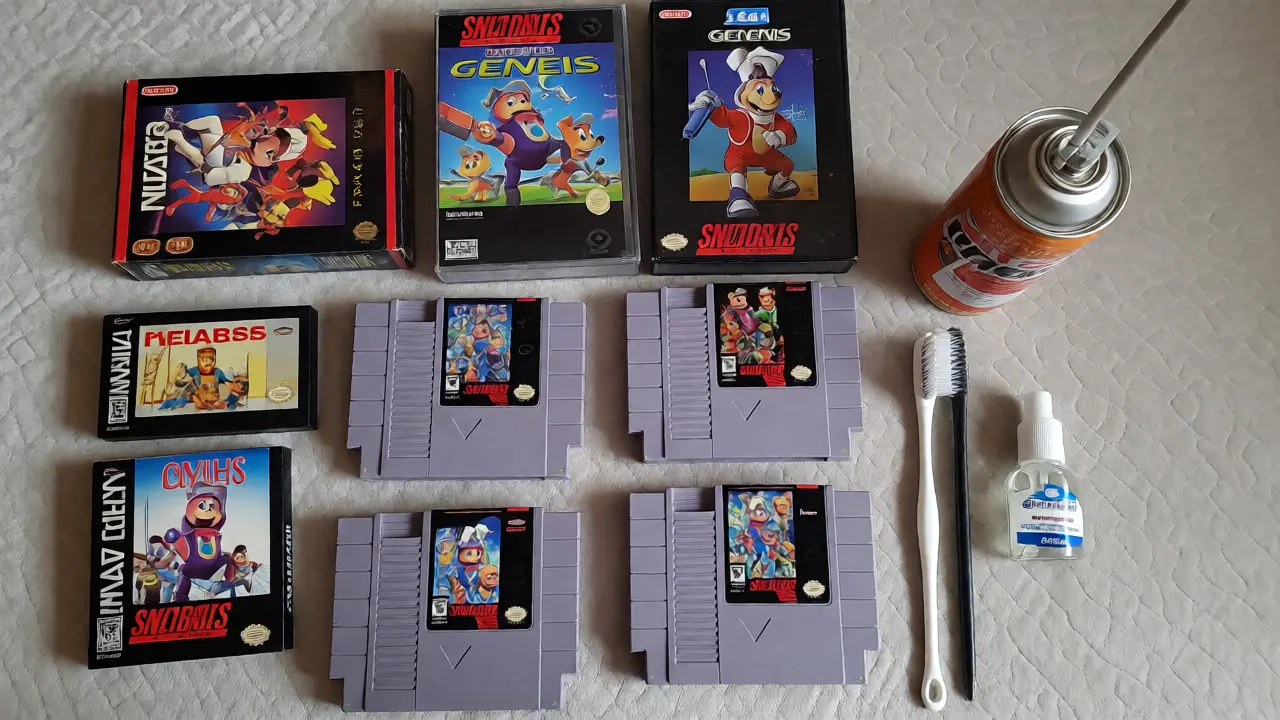
I’ve seen collectors destroy rare titles by trying to "fix" them incorrectly. Avoid these pitfalls:
- Using Water: Tap water contains minerals that leave conductive deposits. Stick to distilled water if you must use it, but alcohol is better.
- Blowing Hard: As mentioned, breath adds moisture. If you must blow, use a manual air bulb, not your lungs.
- Inserting Wet Cartridges: Liquid trapped in the slot can cause shorts when powered on. Always wait for full evaporation.
- Ignoring the Console Slot: Cleaning the cartridge does nothing if the console’s pins are dirty. Clean both sides.
Remember, the goal is electrical contact, not aesthetic perfection. A slightly dull pin that conducts is better than a shiny pin that’s been sanded down to bare copper.
Preventing Future Buildup
Once your games are clean, keep them that way. Store cartridges vertically in their cases, away from direct sunlight and humidity. Humidity is the enemy of electronics. In Portland, where I live, the damp climate can accelerate corrosion. Consider using silica gel packets in your storage bins.
Also, limit insertions. Each time you plug in a cartridge, you create friction. Minimize unnecessary swapping. If a game works, leave it in its case until you’re ready to play.
Can I use WD-40 on cartridge contacts?
Standard WD-40 is not recommended because it leaves an oily residue that attracts dust and can degrade certain plastics over time. If you must use a spray, choose a dedicated electronic contact cleaner like DeoxIT or CRC Contact Cleaner, which evaporates cleanly and protects against corrosion.
How often should I clean my retro game cartridges?
There’s no fixed schedule. Clean them when you experience read errors, black screens, or graphical glitches. For stored collections, inspect them annually. If kept in dry, sealed environments, they may only need cleaning every few years.
Will cleaning damage the save data in my cartridges?
No, cleaning the external contacts does not affect internal save data. Save data is stored on EEPROM or SRAM chips inside the cartridge. Just ensure no liquid enters the cartridge casing through seams, as moisture could potentially reach the circuit board.
What if the cartridge still doesn’t work after cleaning?
If cleaning both the cartridge and the console slot doesn’t resolve the issue, the problem might be deeper. Possible causes include cracked solder joints on the PCB, failed capacitors, or a damaged ROM chip. These require advanced repair skills or professional restoration services.
Are all cartridge contacts made of gold?
Most official Nintendo and Sega cartridges use gold-plated contacts for reliability. However, many third-party manufacturers and some later production runs used tin or nickel plating. Tin corrodes faster than gold, so these cartridges may require more frequent cleaning.