Older gaming consoles like the PlayStation 2 Fat and Sega CD don’t die from age-they die from a tiny, worn-out laser. If your console spins discs but never reads them, if it makes that familiar clicking noise and then gives up, it’s not the disc. It’s not the dust. It’s the laser. And replacing it isn’t just a fix-it’s a rescue mission for your collection.
Why Lasers Fail in Retro Consoles
The laser in these systems isn’t some high-end industrial component. It’s a simple, low-power diode designed to read CDs and DVDs for thousands of hours. But over time, the lens gets coated in dust, the motor wears down, or the optical alignment drifts. Even if you never touched the console, years of sitting in a closet can cause the lubricant inside the tracking mechanism to dry up. The result? Disc read errors. Games freeze. The system refuses to boot. You start wondering if it’s broken beyond repair.
Here’s the truth: 90% of these failures are fixable with a new laser and a little patience. You don’t need to be an engineer. You just need to know where the screws go.
PlayStation 2 Fat: The Easiest of the Three
The PlayStation 2 Fat (SCPH-30000 to SCPH-50000 series) is the most straightforward to repair. The laser module is a single unit, mounted on a rail inside the disc drive. It’s held in place by one black screw, a ribbon cable, and two solder points.
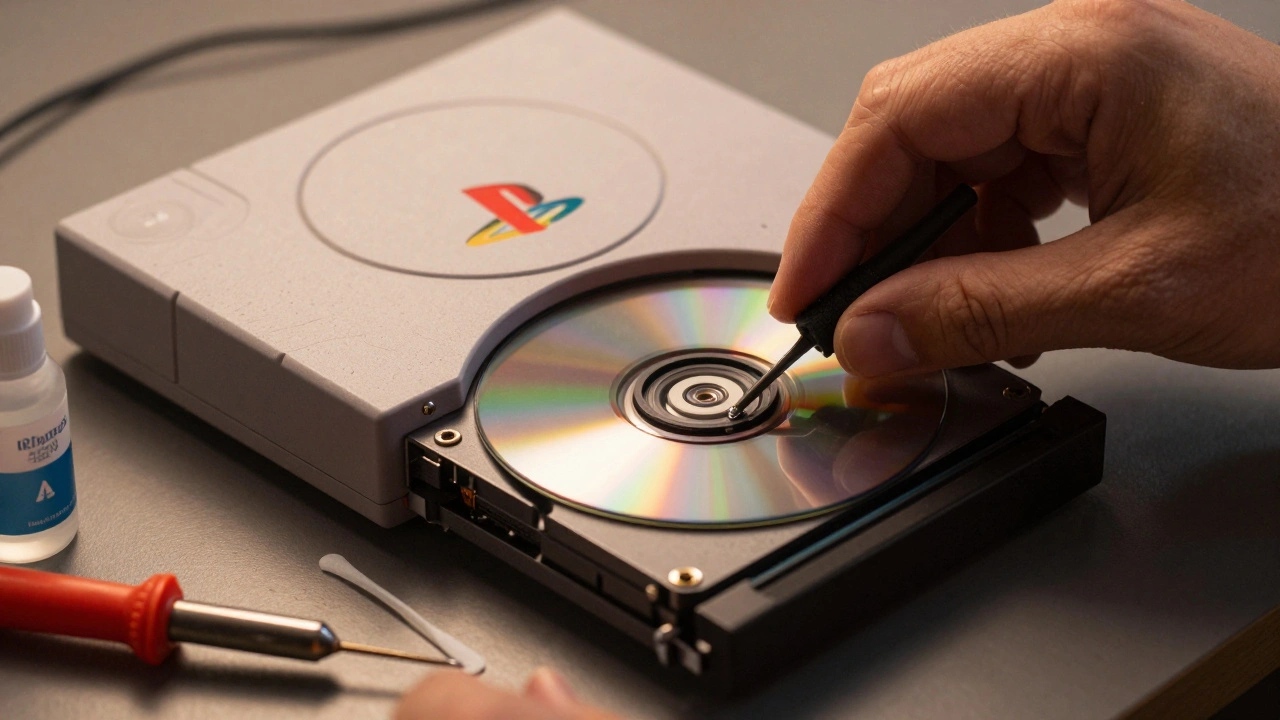
Start by opening the case. Remove the four screws on the bottom and slide off the top cover. Locate the disc drive. Unplug the ribbon cable connected to the motherboard. Unscrew the black screw on the rail. Gently lift the drive out. Now, flip it over. You’ll see two solder points holding the laser in place. Use a soldering iron to melt them, then pull the old laser free. The new laser comes pre-wired. Solder the two points, reconnect the ribbon cable, slide the drive back into the rail, and tighten the screw. That’s it.
Pro tip: Before you install the new laser, clean the lens with a Q-tip and 90% isopropyl alcohol. Dust on the lens is the #1 reason replacements fail. And if you’re replacing a laser on a system that still plays PS1 discs, make sure the new one supports backward compatibility. Not all do.
Sega Mega CD Model 1: The Methodical Job
The Sega Mega CD Model 1 uses a JVC Optima-5 laser assembly. This one’s trickier because the drive is buried under layers of plastic and metal. You can’t just pop it out.
Power off the console. Unplug everything. Remove the Mega Drive from the Mega CD unit. Take off the top casing and front faceplate. Now you’ll see the CD drive assembly. Remove three screws holding the metal shell around the drive. Then, take out the two screws securing the metal bar underneath. Four more screws hold the disc tray and ribbon cable. Remove those, then gently lift the whole assembly out.
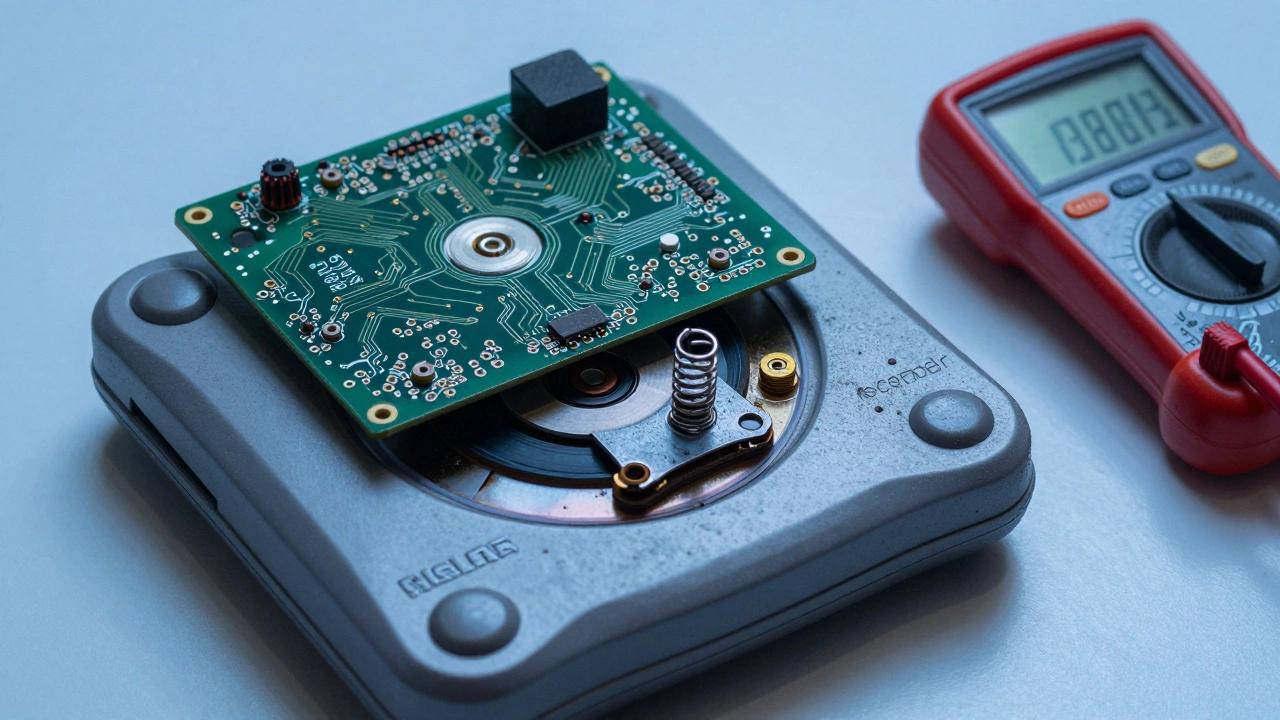
Once the drive is out, flip it over. You’ll see four screws holding the laser assembly. Remove them. One black screw holds the laser itself. Two more hold the plastic clamp. Carefully lift the laser out. The tracking sled moves on a rail-don’t force it. Use the sled to slide the lens away from the spindle before pulling it free.
New lasers for Model 1 often come with an anti-static lens protector. If yours has it, you’ll need to solder a wire across two points on the board to bypass it. Skip this step, and the laser won’t work. Follow the instructions that come with the replacement. If you don’t have them, watch a video from Gamextc-they’ve got a clear walkthrough from May 2024.
Sega Mega CD Model 2: The Delicate Dance
Model 2 is where things get delicate. The laser assembly is integrated into the tracking mechanism. You can’t just pull it out. You have to move it.
After removing the top case, you’ll see a plastic cover over the laser. Gently squeeze the front clips and lift it off. Now, pull up on the top gear. It’s spring-loaded, so don’t yank. Loosen the top screw, then remove the bottom one. The entire laser and tracking rod come out as one unit. Two thin wires connect to the laser-unplug them carefully.
Now you can remove the old laser. Install the new one in the exact same position. Alignment matters. If the laser is even slightly off-center, the console won’t read discs. Some replacements require you to short two contacts on the PCB with a tiny wire or pull a plastic lever to activate the laser. Don’t guess. Use a multimeter or follow a detailed guide.
And yes-there’s a spring inside the gear assembly. It’s tiny. It’s greased. If you lose it, the laser won’t move smoothly. Keep it. You’ll need it.
Sega CDX: The Nightmare
The Sega CDX is a hybrid unit: Genesis + CD. That means the laser is wedged between two systems. This repair isn’t just hard-it’s risky.
Start by removing four screws from the lower chassis. Then remove three more small screws-don’t touch the hinge screws. Now, use a plastic pry tool to gently lift the circuit board. There are 50-60 pins connecting the board to the lower chassis. One resistor holds the board in place. Unsolder it. Mark its location with a marker so you know where to put it back.
Disconnect the ribbon cable and three plugs. Flip the assembly. Remove one screw holding the rail. Now, the laser slides up and out. Watch for the spring. It’s hidden in grease. Don’t lose it. Clean the rail. Grease it lightly with white lithium grease. Install the new laser. Reconnect everything. Put the board back. Re-solder the resistor.
This isn’t a beginner job. If you’re not comfortable desoldering, this might be the one to hand off to a professional. But if you’ve done the others, you can handle this.
Tools You Need
You don’t need a fancy workshop. Just a few basics:
- Phillips screwdrivers (#0 and #1 sizes)
- Small flathead for prying
- Soldering iron with fine tip
- 90% isopropyl alcohol
- Q-tips and microfiber cloth
- Anti-static wrist strap (optional but smart)
- Replacement laser for your specific model
Buy the laser from a reputable seller. eBay has them, but check reviews. Look for listings that say "tested" and "compatible with SCPH-1001" or "JVC Optima-5". Avoid "universal" lasers-they rarely work.
What Not to Do
Don’t clean the lens with water. Don’t use paper towels. Don’t touch the lens with your fingers. Don’t force the sled. Don’t skip cleaning the rail. Don’t assume a new laser will work without alignment. And don’t skip the anti-static step if your replacement has a protector.
One collector I know replaced his Sega CD laser three times because he didn’t clean the rail. The first two lasers worked for a week. The third one lasted six months. Only when he cleaned and greased the rail did it finally hold.
Open-Source Alternatives Are Here
Original laser boards are getting harder to find. That’s why open-source projects like the one from starlightk7 is an open-source project under CERN-OHL-S licensing that reproduces Sony KSK series laser boards for Sega CD systems matter. These aren’t just copies-they’re improvements. Better materials. Better stability. Some collectors are already using them.
They’re not cheap. But they’re more reliable than used OEM parts. If you’re building a long-term collection, this might be the smartest investment you make.
Final Thoughts
These consoles are more than toys. They’re pieces of history. The games you played as a kid, the discs you collected, the nights you spent with friends-they’re still alive, if you’re willing to fix them.
Laser replacement isn’t magic. It’s methodical. It’s slow. It’s frustrating. But when you press play and the game loads? That’s the moment. That’s why we do it.
Don’t throw it away. Don’t sell it for parts. Fix it. Your future self will thank you.