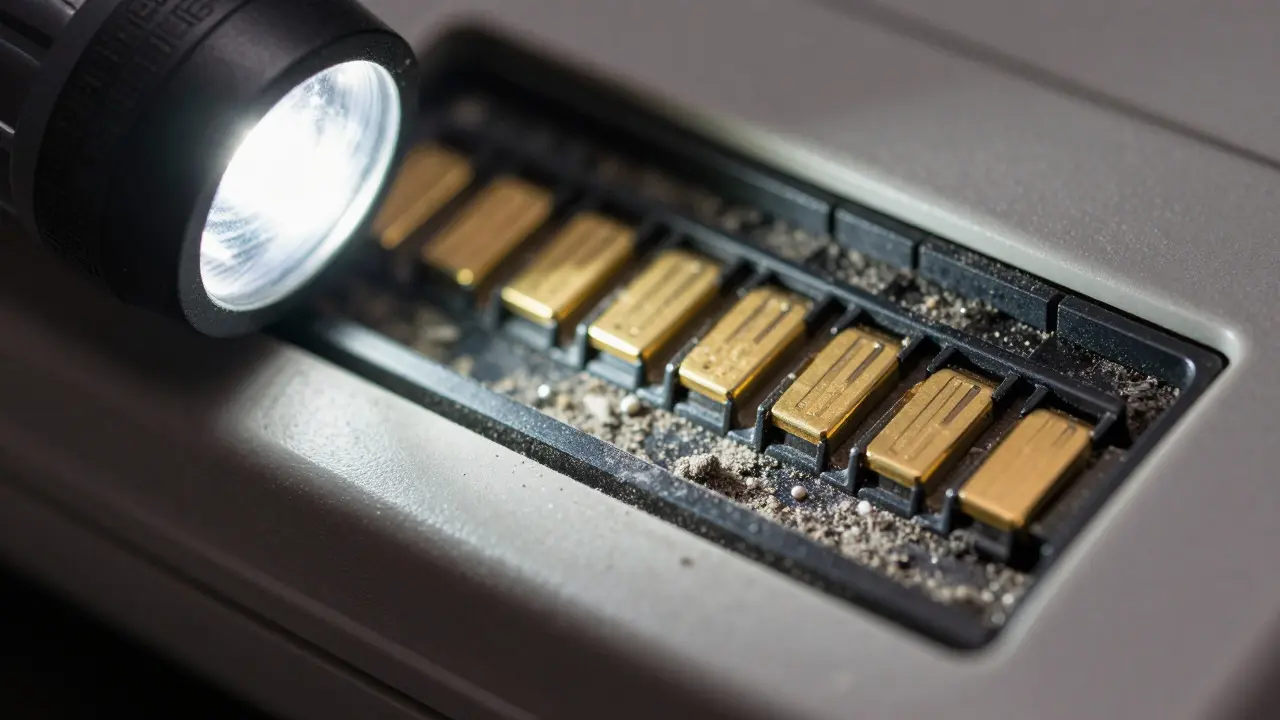
There is nothing more frustrating than inserting a game cartridge only to hear the drive struggle or see the screen freeze. Often, the culprit isn't the game itself but the invisible layer of dust and debris clogging the connection points inside your console. Cartridge slots are small, precision-engineered components that handle data transfer between physical media and your system's memory. When they get dirty, signal integrity drops, leading to read errors or even permanent damage if you force the issue. This guide walks you through the safest ways to clean these sensitive areas without risking a costly repair. We will cover the tools you need, the techniques that actually work, and the mistakes to avoid. Whether you are maintaining a modern handheld or restoring a retro classic, the principles remain the same: gentle pressure, correct materials, and patience.
Why Dust Causes More Damage Than You Think
Dust isn't just an aesthetic problem; it acts as an insulator. Inside a cartridge slot, gold-plated pins or contact pads must make direct electrical contact with the cartridge's connector. Even a microscopic speck of lint can break this circuit. In humid environments, like here in Portland, Oregon, dust can absorb moisture and become slightly conductive, creating short circuits that corrode the contacts over time.
Furthermore, static electricity from dry air or synthetic clothing can build up on loose particles. When you insert a cartridge, that static discharge can jump across the gap, potentially damaging the sensitive integrated circuits (ICs) on the cartridge itself. Cleaning the slot removes not just the dirt, but also the potential for electrostatic discharge (ESD) events that plague older hardware.
Essential Tools for Safe Cleaning
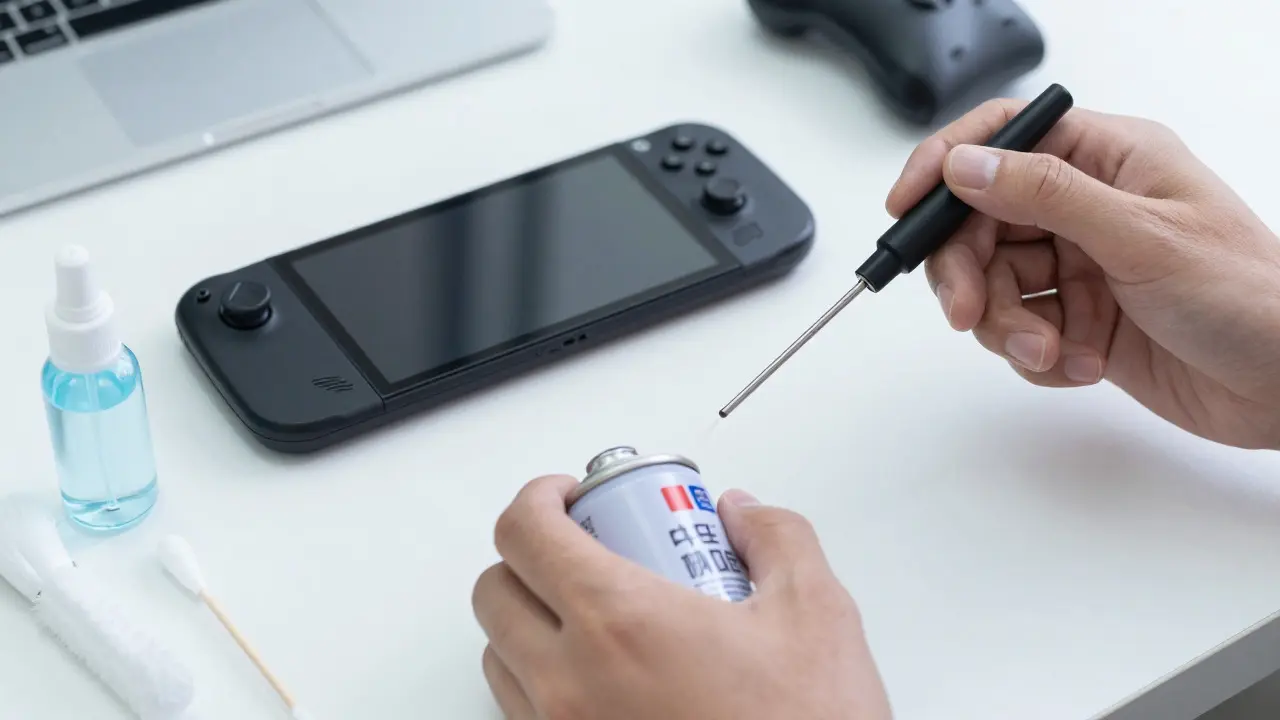
You don't need expensive professional equipment to do this job well. However, using the wrong tool is the fastest way to bend a pin or scratch a contact pad. Here is what you should have on hand:
- Compressed Air Duster: Use a canister with a nozzle attachment. Avoid shop vacuums or hairdryers, which generate static and inconsistent airflow.
- Isopropyl Alcohol (IPA): Specifically 90% or higher concentration. Lower concentrations contain too much water, which can leave residue or cause corrosion.
- Anti-Static Brush: A soft-bristled brush designed for electronics. If you don't have one, a new, unused makeup brush works surprisingly well because the bristles are fine and flexible.
- Cotton Swabs (Q-Tips): Pure cotton, no paper core. These are for targeted cleaning of visible grime on accessible surfaces.
- Microfiber Cloth: For wiping down the exterior of the cartridge before insertion.
Step-by-Step: Cleaning the Slot Mechanism
Before starting, ensure your console is powered off and unplugged. This eliminates any risk of shorting out the motherboard while you work. Open the cartridge bay according to your device's manual. Some systems require removing screws; others have sliding covers. Take your time.
- Inspect the Area: Use a flashlight to look inside the slot. Identify where the metal contacts are located. Note any obvious chunks of debris or discoloration (green or brown spots indicate oxidation).
- Blast Loose Debris: Hold the compressed air canister upright. Short bursts are key. Long blasts can cool the internal components rapidly, causing condensation. Aim at the slot from various angles to dislodge dust trapped in corners.
- Brush Away Residue: Dip the tip of your anti-static brush lightly in isopropyl alcohol. Do not soak it; you want it damp, not dripping. Gently sweep across the visible contact points. The alcohol dissolves oils and lifts remaining dust particles.
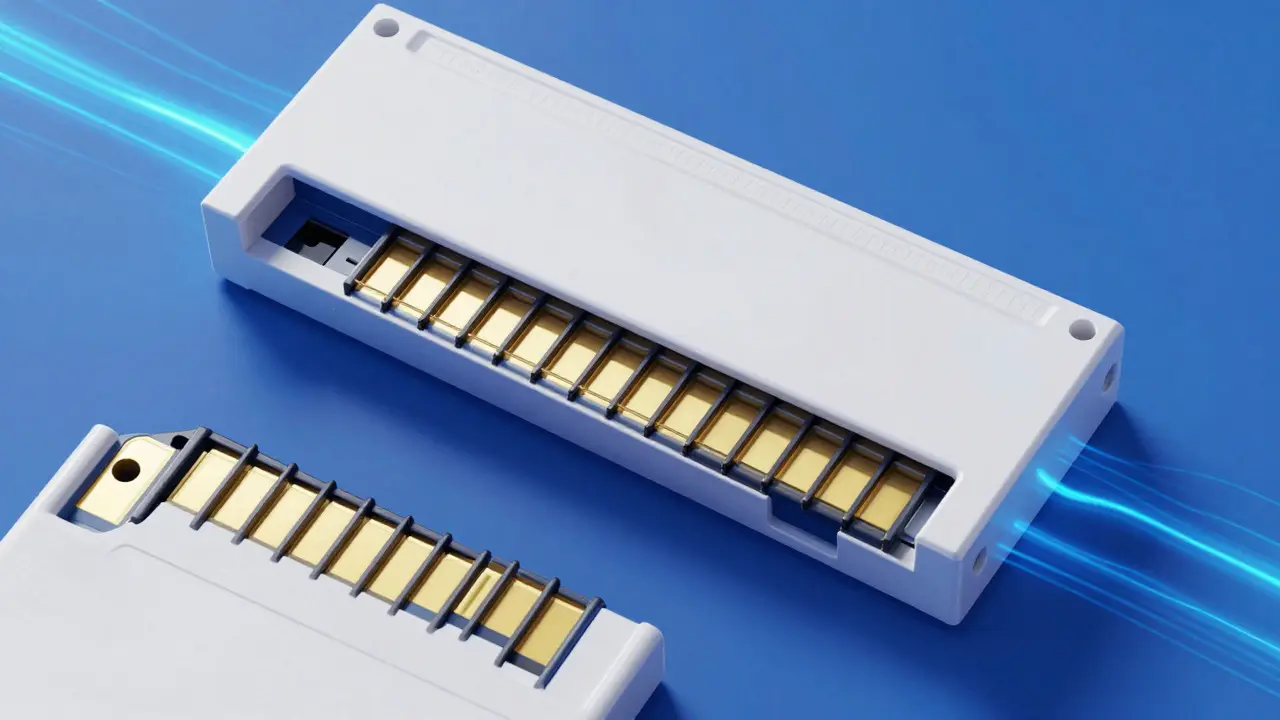
- Wipe Down Cartridges: While the slot dries, clean your cartridges. Use a microfiber cloth dampened with IPA to wipe the gold contacts on the bottom of each cart. This ensures a clean handshake when you reinsert them.
- Dry Completely:** Let the console sit open for at least 15-30 minutes. Isopropyl alcohol evaporates fast, but you want to be absolutely sure no liquid remains before powering on.
Common Mistakes That Cause Permanent Damage
Most repairs come from good intentions gone wrong. Here are the pitfalls to avoid:
Using Cotton Balls or Tissues: These shed fibers. Those tiny white strands get stuck between pins and act as insulators, causing intermittent failures. Always use lint-free materials.
Forcing the Cartridge: If a cartridge doesn't slide in smoothly, stop. It’s usually misaligned or the slot has debris jammed in the path. Forcing it can snap the plastic latch or bend the internal spring mechanism.
Ignoring the Exterior: Dirt on the outside of the cartridge gets dragged into the slot every time you insert it. Cleaning the slot without cleaning the carts is like mopping the floor while leaving the shoes in the mud.
When to Seek Professional Help
If you see bent pins, significant corrosion (green/blue buildup), or if the slot feels physically loose or wobbly, it might be time to call a pro. Bent pins often require microscopic soldering to straighten. Corrosion can eat away at the trace lines on the mainboard, a repair that goes beyond simple cleaning. If your console is under warranty, check if opening it voids coverage before proceeding.
Maintenance Schedule for Long-Term Health
Prevention is cheaper than repair. Establish a routine based on how often you play. For heavy users, a quick air blast every three months keeps things tidy. For collectors who store consoles in drawers, do a full inspection and clean once a year before pulling them out for a session. Keeping your gaming area dust-free with regular vacuuming and HEPA filters helps significantly, reducing the amount of airborne particulate matter settling on your hardware.
Can I use WD-40 to clean a cartridge slot?
No. WD-40 contains oils that attract more dust over time and can degrade plastic components. It is only suitable for lubricating mechanical hinges, never for electrical contacts or internal slot mechanisms.
What happens if I use a hairdryer to blow out dust?
Hairdryers generate high static electricity, which can damage sensitive electronic components. They also blow air inconsistently, potentially pushing dust deeper into the mechanism rather than out of it.
How often should I clean my console's cartridge slot?
For active players, every 3 to 6 months is sufficient. For stored consoles, inspect and clean annually before use. Increase frequency if you live in a dusty environment or have pets that shed hair.
Is isopropyl alcohol safe for all console types?
Yes, 90% or higher isopropyl alcohol is generally safe for most consumer electronics. It evaporates quickly and leaves no residue. Just ensure the unit is fully dry before powering it back on.
What if the cartridge still doesn't work after cleaning?
If the slot is clean and the cartridge contacts are polished, the issue may be with the cartridge's internal chip or the console's reading laser/motor. Test the cartridge in another compatible system to isolate the fault.