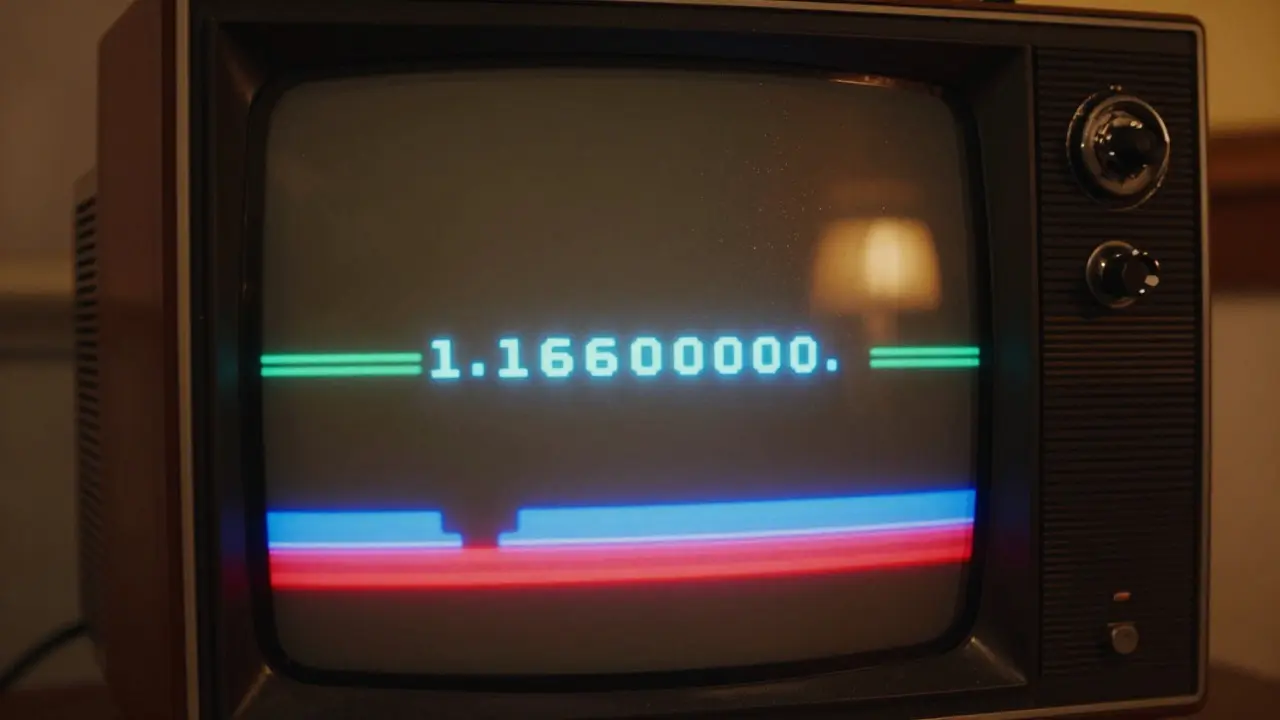
There is a specific warmth to old television screens that modern 4K displays simply lack. It’s not just about resolution; it’s the way colors bleed into each other, the slight curvature of the image, and that distinct hum you hear when the power kicks in. If you are trying to recreate this vibe on a modern monitor or TV using an emulator, generic "retro" presets often fall flat. They look too clean, too sharp, or just plain wrong. The goal here is to configure CRT filters so your emulated games feel like they are running on actual hardware from the 80s or 90s, not just playing on a high-end PC with a filter applied.
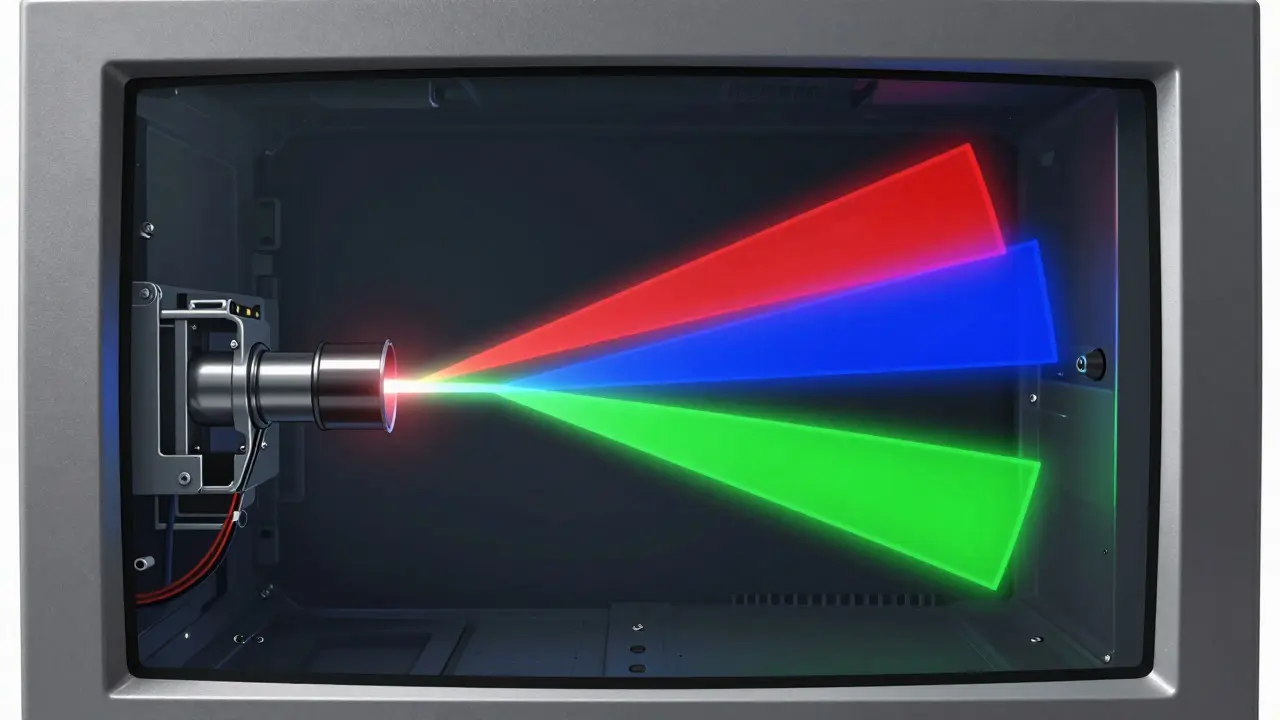
Achieving this requires understanding how cathode ray tubes actually worked. Unlike LCD or OLED panels which light up individual pixels, CRTs used electron beams to excite phosphors. This process created unique artifacts: aperture grille lines, color convergence issues, and bloom. Modern shader effects attempt to mimic these physics. By tweaking parameters like mask type, beam size, and saturation, you can move from a "digital" look to an authentic analog experience.
Understanding the Core Components of a CRT Effect
Before touching any sliders, you need to know what you are looking at. A standard CRT simulation consists of three main layers: the mask, the beam, and the glass. Each layer adds a specific visual characteristic that defines the era of the console.
- The Mask: This refers to the physical grid inside the tube. There are two primary types: Shadow Mask a metal sheet with holes used in most consumer TVs and Aperture Grille vertical wires used in Sony Trinitron sets. Shadow masks create a triad pattern (dots), while aperture grilles create vertical lines. Choosing the right one depends on whether you are emulating a generic home TV or a premium Sony display.
- The Beam: This simulates the electron beam hitting the screen. Key attributes include beam size (how thick the dot is) and convergence (how well red, green, and blue align). Older, cheaper TVs had poor convergence, causing colored fringes around white text. High-end sets were tighter.
- The Glass: This adds the final touch: reflections, curvature, and dust. It also controls bloom, the halo effect where bright objects spread their light into darker areas. Too much bloom makes the game blurry; too little looks sterile.
Most modern emulators, such as RetroArch or PCSX2, use shaders to handle these calculations in real-time. The quality of the simulation depends heavily on your GPU's ability to process these pixel-level changes without dropping frames.
Choosing the Right Shader Preset for Your Hardware
Not all CRT shaders are created equal. Some prioritize speed, others prioritize accuracy. For most users, the CRT-ROI a popular open-source shader pack known for balancing performance and visual fidelity or Bilinear+RGB3x a simpler preset that mimics basic interlacing and scaling are good starting points. However, if you want maximum realism, look into CRT-RoyGBiv a shader specifically designed to replicate the sub-pixel arrangement of RGB monitors.
| Shader Name | Best For | Performance Impact | Visual Style |
|---|---|---|---|
| CRT-ROI | General purpose, wide compatibility | Medium | Balanced mask and bloom |
| CRT-RoyGBiv | PC Gaming, RGB Monitors | High | Sharp sub-pixels, accurate color |
| TV-Scanlines | Low-end GPUs, simple effects | Low | Basic horizontal lines only |
| Analog-TV | NTSC/PAL broadcast simulation | High | Adds noise, tracking errors, static |
If you are using a handheld device like a Steam Deck or ROG Ally, stick to lighter presets. Heavy shaders can cause frame pacing issues, which ruins the immersion more than a slightly inaccurate mask would. On desktop systems with dedicated graphics cards, you have the freedom to push settings higher.
Step-by-Step Configuration Guide
Once you have selected your shader, the configuration process is iterative. You are essentially tuning a virtual television. Here is how to approach it systematically.
- Set the Resolution First: Do not tweak the CRT effect before setting your output resolution. Most CRT simulations work best when the internal resolution matches the native aspect ratio of the source material (usually 4:3 for older consoles). Stretching a 4:3 image to 16:9 will distort the circle geometry of the CRT mask.
- Select the Mask Type: Open the shader parameters. Find the "Mask" or "Grid" option. If you are emulating a Nintendo Entertainment System or Sega Genesis on a standard TV, choose "Shadow Mask" or "Triad." If you are emulating PlayStation 1 on a Sony setup, switch to "Aperture Grille" or "Vertical Lines."
- Adjust Beam Size and Convergence: Start with a medium beam size. Increase it until the pixels start to blend together but remain distinct. Then, adjust convergence. If you see red and blue fringing on white edges, increase the convergence value. If the image looks soft and muddy, decrease it. Aim for a crisp center with slight bleeding at the edges.
- Tune Bloom and Glow: This is subjective. Turn the bloom slider up until bright explosions or lights seem to cast a halo. Be careful not to overdo it, or dark scenes will become washed out. A good rule of thumb: the glow should be visible but not obscure detail.
- Add Curvature and Reflections: Enable barrel distortion to simulate the curved glass. Keep the intensity low-modern eyes are used to flat screens, so extreme curvature feels disorienting. Add a subtle reflection gradient at the top of the screen to mimic ambient light bouncing off the glass.
- Test with Different Content: Run a test pattern or a game with high contrast. Check how white text looks against black backgrounds. Ensure that moving objects do not leave excessive trails (unless you are intentionally simulating motion blur).
Save your settings as a profile for each console type. Your NES settings will likely differ significantly from your Saturn settings because the source resolutions and refresh rates vary.
Common Pitfalls and How to Fix Them
Even after careful tuning, some issues persist. These are the most common problems users encounter and how to resolve them.
Flickering or Banding: If you see horizontal bands of light or darkness, your gamma correction might be off. Adjust the gamma slider in your emulator or graphics driver. Also, ensure your monitor is set to sRGB mode, as custom color profiles can interfere with shader calculations.
Overly Sharp Image: If the CRT effect looks like just scanlines added to a sharp digital image, your beam size is too small. Increase the beam width to allow pixels to bleed into each other. Remember, CRTs did not have hard pixel boundaries; they had soft transitions.
Color Casts: If everything looks too yellow or too blue, check your temperature settings. Older CRTs often ran warmer. You can add a slight orange tint to the red channel and reduce the blue channel intensity to mimic aged phosphors.
Performance Drops: If your frame rate dips below 60 FPS, disable advanced features like dynamic reflections or heavy noise generation. Prioritize the mask and bloom, as these contribute most to the aesthetic.
Advanced Tweaks for Purists
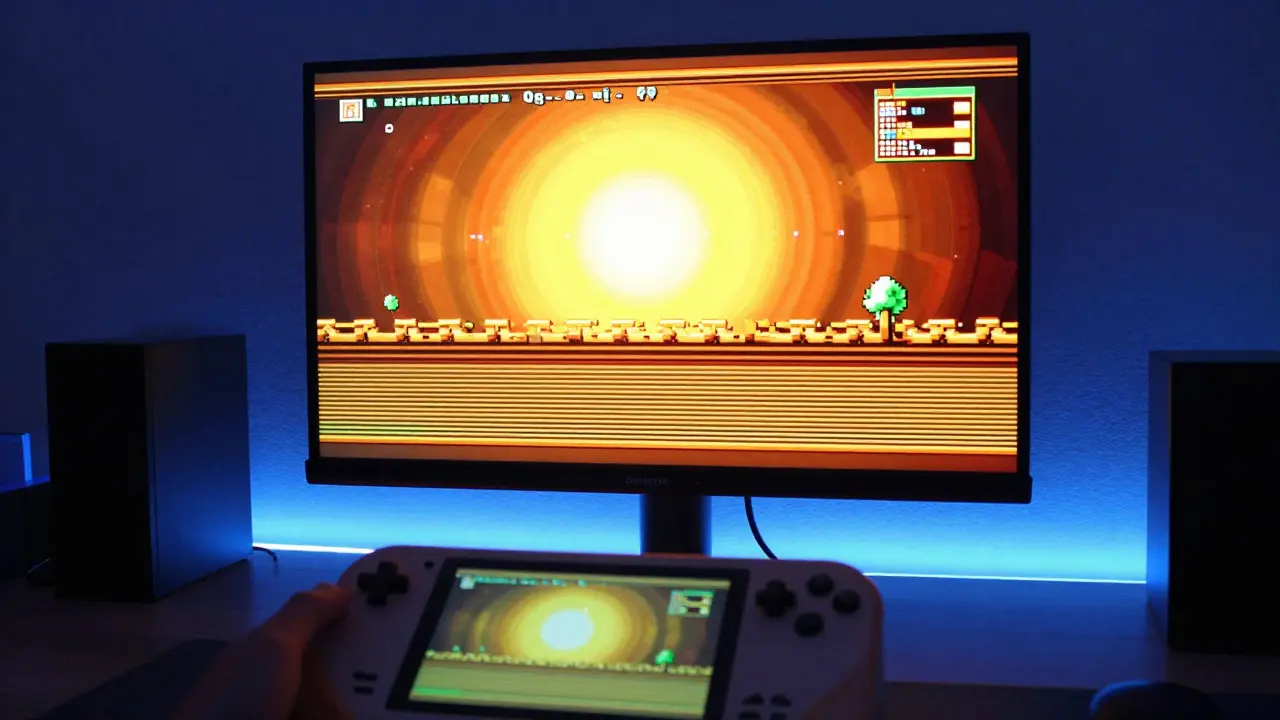
For those who want to go deeper, consider simulating signal degradation. Real CRTs received analog signals that suffered from interference. Shaders like Analog-TV a shader suite that replicates VHS and broadcast TV imperfections can add random static, tracking errors, and chromatic aberration. Use these sparingly. A constant stream of static is annoying, but occasional glitches during scene transitions add authenticity.
You can also experiment with phosphor decay. In reality, different colors burn out at different rates. Red phosphors last longer than green, and green lasts longer than blue. Over time, this causes a shift in color balance. While hard to simulate dynamically, you can manually adjust the color matrix in your shader to give the image a slightly faded, vintage tone.
Finally, pay attention to the audio. Visuals are only half the experience. Pair your CRT visuals with the appropriate audio processing. Many emulators allow you to add slight compression or reverb to mimic the sound coming from a small TV speaker. This completes the sensory loop, making the whole setup feel cohesive.
Frequently Asked Questions
Do I need a powerful GPU to run CRT filters?
Not necessarily. Simple scanline effects require very little power. However, complex simulations with bloom, curvature, and dynamic reflections benefit from a mid-range or better graphics card. Integrated graphics can handle basic presets, but may struggle with high-resolution outputs.
Should I use CRT filters for all games?
No. CRT filters work best for games released before 2005, especially those with lower resolutions. For high-definition games or modern titles, the effect can look unnatural. Stick to filters for 8-bit, 16-bit, and early 3D eras.
What is the difference between scanlines and CRT filters?
Scanlines are simple horizontal lines that darken every other row of pixels. CRT filters are a comprehensive simulation that includes scanlines, plus color masking, beam blooming, curvature, and convergence errors. Scanlines are a component of a full CRT filter, not a replacement.
Can I use CRT filters on a modern OLED TV?
Yes, but be aware of burn-in risks if you leave static UI elements on screen for long periods. The pure black background of OLEDs enhances the contrast of CRT blooms, making the effect look striking. Just avoid leaving the same static image on the screen for hours.
Which emulator has the best built-in CRT support?
RetroArch is widely considered the gold standard due to its extensive shader library and customization options. PCSX2 and DuckStation also offer excellent built-in CRT shaders for PlayStation and PlayStation Portable games, respectively.