
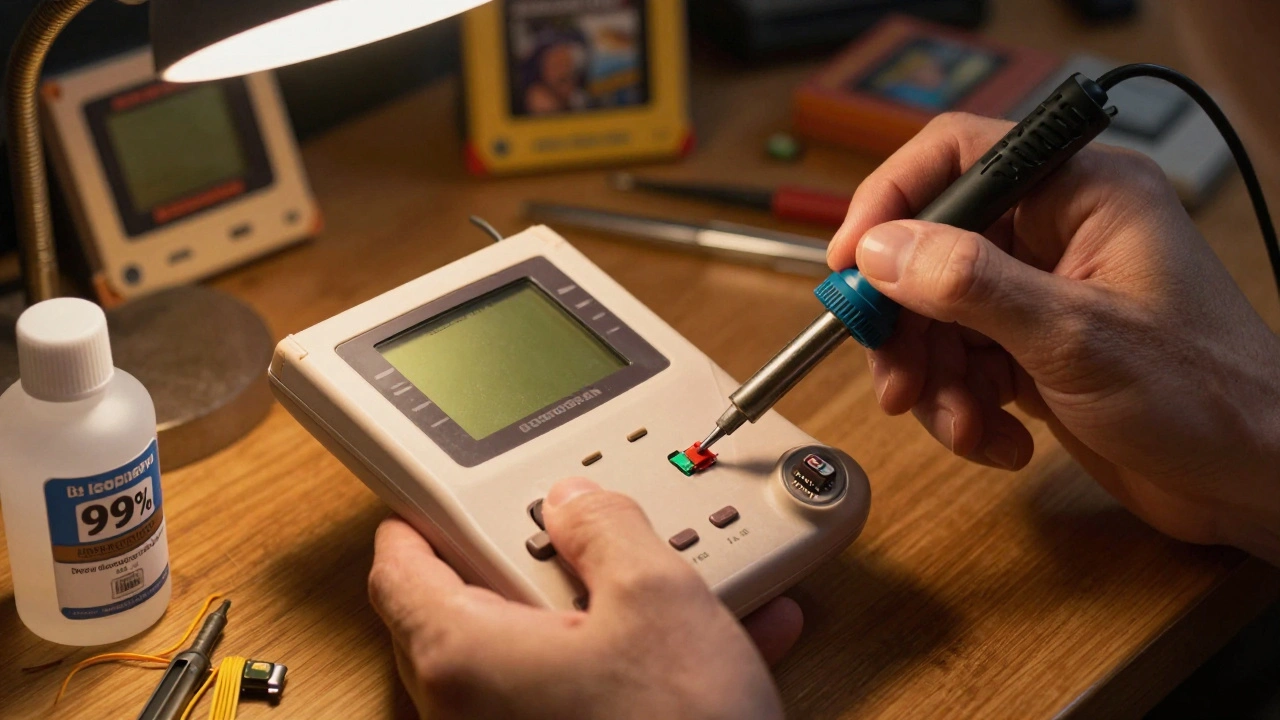
Older video game consoles from the 1980s and 1990s don’t just get dusty-they get sick. And one of the most common, silent killers of these machines is the leaking capacitor. If your Game Gear won’t turn on, your NES flickers, or your Game Boy Color has no sound, it’s not just aging. It’s probably suffering from capacitor failure. The good news? This isn’t a death sentence. With the right tools and a little patience, you can bring these classics back to life.
Why Capacitors Leak in Retro Consoles
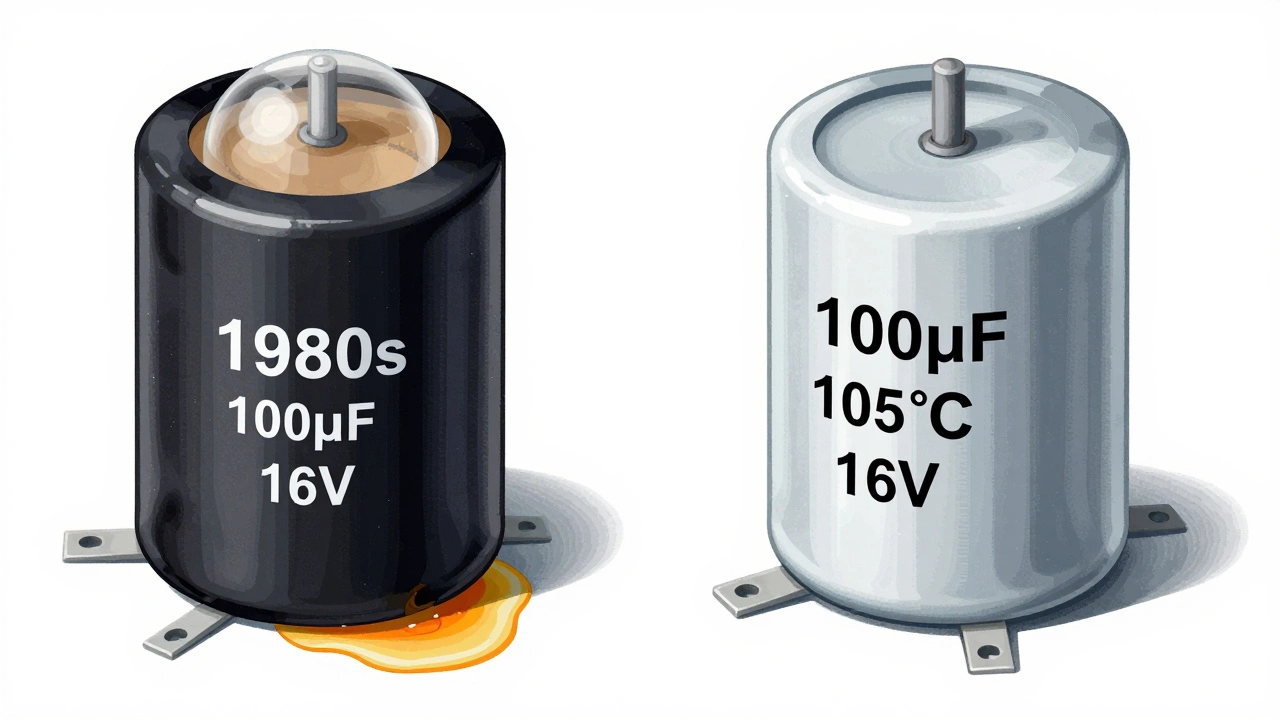
Capacitors are tiny components that store and release electrical charge. In retro consoles, they’re mostly electrolytic capacitors a type of capacitor that uses a liquid electrolyte to store charge, commonly used in power supply circuits. Manufacturers in the 80s and 90s cut corners. They used cheap capacitors with poor seals and low-quality electrolyte. Over time-usually 20 to 30 years-those electrolytes break down, swell, and leak out of the casing. The leaked fluid is corrosive. It eats away at the circuit board, turning copper traces green and black, and can fry nearby chips.This isn’t random. It’s systemic. The Sega Game Gear a handheld console released in 1990 with a color screen and rechargeable battery pack, the Nintendo Entertainment System (NES) a home console released in 1983 that popularized cartridge-based gaming in North America, the Game Boy Color a color-screen handheld released in 1998 as an upgrade to the original Game Boy, and even the Game Boy Advance a 32-bit handheld released in 2001 that used improved power management circuits all share this flaw. It’s not a defect in one model-it’s a flaw in an entire generation of electronics.
How to Spot a Leaking Capacitor
You don’t need a multimeter to find the problem. Your eyes are enough.Open the console. Remove the back panel. Look at the circuit board. Focus on cylindrical or rectangular components with metal casings. A healthy capacitor looks clean-smooth, shiny aluminum. A leaking one? It’s messy.
- White, gray, or brown crusty residue around the base
- Bulging or swollen tops (like a soda can that’s been left in the sun)
- Dark stains on the PCB underneath the capacitor
- Corroded metal pads or traces around the component
Some leaks are obvious. Others are subtle. Use a flashlight and a magnifying glass if you have one. If you see any discoloration near a capacitor, treat it like a suspect. Even if the console still turns on, the damage is already happening.
Tools You’ll Need
Before you start, gather the right gear. This isn’t a job for a soldering iron you found in your dad’s toolbox.- Soldering iron with a fine tip (under 1mm) and temperature control (preferably 600°F / 315°C)
- Desoldering pump (solder sucker) or desoldering braid
- Isopropyl alcohol (99% purity) and cotton swabs
- Needle-nose pliers and tweezers
- Small screwdriver set (including a 4.5mm Game Bit for Game Gear security screws)
- Flux (optional but helpful for clean solder joints)
- New capacitors-more on this next
Don’t skip the 99% isopropyl alcohol. Lower concentrations have water, and water + corrosion = more damage. You’ll use it to clean the board after removing old capacitors.
Choosing the Right Replacement Capacitors
You can’t just grab any capacitor off the shelf. You need the right specs.Look at the old capacitor. It’ll have markings like:
- 100µF (microfarads) - that’s the capacitance
- 16V - that’s the voltage rating
- 105°C - that’s the temperature rating
Replace it with a capacitor that matches the capacitance and voltage exactly. But here’s the trick: always choose 105°C rated capacitors. Older ones were 85°C or 100°C. The 105°C version lasts longer, handles heat better, and won’t leak again in 15 years. It’s the upgrade that matters.
For the Sega Game Gear, you’ll typically replace 3 large aluminum capacitors on the power board and several surface-mount ones on the main board. The NES usually needs 3-5 replacements, mostly on the power supply board. The Game Boy Color has just three capacitors total. Check RetroSix Wiki or iFixit for exact part lists by board revision (like VA1, VA4, etc.).
Step-by-Step Replacement Process
Start with one capacitor at a time. Don’t remove them all before replacing any. You’ll forget which went where.
- Power down and remove batteries or unplug the console.
- Disassemble carefully. Take photos as you go. Note screw lengths and locations.
- Locate the leaking capacitors. Mark them with a pencil or tape.
- Apply flux to the solder joints (optional but helpful).
- Heat both leads with the soldering iron. Move the tip side to side to melt solder on both pins at once.
- Use tweezers to gently lift the capacitor off the board. If it sticks, reheat.
- Clean the holes with the desoldering pump or braid. Remove all old solder.
- Clean the board with isopropyl alcohol. Scrub away all residue. Let it dry completely.
- Insert the new capacitor. Pay attention to polarity. The negative side has a stripe or minus sign. Match it to the board’s marking.
- Solder one lead at a time. Hold the capacitor in place with tweezers. Don’t overheat.
- Clip excess leads with wire cutters. Leave about 1mm sticking out.
- Repeat for each capacitor.
For surface-mount capacitors (small rectangles), use the same method. The trick is heating both ends simultaneously. If the board starts to bubble or peel, you’re overheating it. Take a break.
What to Watch Out For
There are three big mistakes people make:
- Ignoring polarity - putting the capacitor in backward. It might explode, leak again, or fry the board.
- Skipping the clean - leaving old electrolyte on the board. It keeps corroding. Even if the console works, it’ll fail again.
- Using the wrong voltage - putting a 6.3V cap where a 16V one was. It’ll blow under load.
Also, don’t rush. If a capacitor won’t come off, don’t pry. Reheat. Patience saves boards.
Testing After Replacement
Don’t just slam it back together. Test first.
- Reconnect the power supply. Use a known-good adapter.
- Plug in a cartridge or game.
- Turn it on. Listen. Look. Does the screen light up? Is the sound clear? Any buzzing?
- If it works, let it run for 10 minutes. Then turn it off, let it cool, and reassemble.
If it still doesn’t work, you might have damaged another component during the repair. Check for corroded traces or broken solder joints. Sometimes, the leak damaged the power switch or audio chip. That’s a harder fix.
Why This Matters
These consoles aren’t just toys. They’re cultural artifacts. A working NES isn’t just nostalgia-it’s history. A Game Gear that still plays Sonic? That’s preservation. Every time you fix one, you’re keeping a piece of the past alive.
Capacitor failure is predictable. It’s not a mystery. It’s a scheduled maintenance item. If you own a console from this era, you’re not a collector-you’re a curator. And curators don’t wait for things to break. They act before they do.
Can I use capacitors with a higher voltage rating than the original?
Yes, you can. If the original was 16V, using a 25V capacitor is fine-higher voltage ratings are safer and more durable. But never go lower. A 10V cap in place of a 16V one will likely fail under load.
Do I need to replace all capacitors, or just the leaking ones?
You can replace only the leaking ones, but it’s not recommended. Capacitors from the same batch age together. If one leaked, the others are close behind. Replacing them all-called a "full recap"-gives you peace of mind and prevents future repairs.
What if the capacitor pads are damaged or lifted?
If a pad lifted off the board, you’ll need to jumper the connection. Use thin insulated wire to bridge the trace to an adjacent point. Solder carefully. If multiple pads are damaged, consider professional repair or replacing the entire board.
Are there consoles that don’t suffer from this problem?
Consoles from the mid-2000s and later, like the GameCube or PlayStation 2, mostly use solid-state capacitors and rarely have this issue. But anything from the 80s to early 2000s-especially Nintendo and Sega-is at risk. Even some arcade boards from that era show the same failure.
Can I buy a pre-recapped console instead of fixing it myself?
Yes, many sellers on eBay and Etsy offer "recapped" consoles. But verify they actually replaced all capacitors-not just the obvious ones. Ask for photos of the board before and after. A true recap includes cleaning the board and replacing all electrolytics, not just one or two.
If you’ve followed this guide and your console still won’t power on, the issue might be deeper-damaged voltage regulators, dead CPUs, or corroded connectors. But if it boots up and plays like it used to? You just saved a piece of gaming history.