You spent years tracking every cartridge, disc, and digital download. Then you switched apps. Suddenly, your meticulously organized list is gone, replaced by a blank screen and the dread of re-entering thousands of titles. Migrating your video game collection between platforms isn't just about moving text; it's about preserving the metadata, playtime stats, and personal notes that make your library yours.
The good news? Most modern collection apps support standard data formats. If you know where to look for export buttons and how to clean your data before importing, you can move your entire history in under an hour. This guide walks you through the exact steps to get your data out of one app and into another without losing a single entry.
Understanding the Data You’re Moving
Before you click any buttons, you need to understand what actually constitutes your collection data. It’s not just a list of names. A robust Game Database usually contains several distinct layers of information:
- Title & Platform: The name of the game and the console or PC it runs on (e.g., *Elden Ring* on PlayStation 5).
- Status: Whether you own it, are playing it, want to buy it, or have finished it.
- Metadata: Release year, developer, publisher, and genre.
- Personal Stats: Playtime hours, completion percentage, and user ratings.
- Notes & Media: Custom comments, cover art images, or screenshots.
Not all apps handle these layers equally well. Some only export basic titles, while others include detailed stats. When choosing your destination app, check if it supports the specific data points you care about most. If you track playtime religiously, ensure the new app has a field for it during import. Otherwise, you’ll lose that context forever.
Step 1: Exporting from Your Current App
The first step is getting your data out. Most major collection managers like Backloggd, IGDB, or MobyGames offer an export function. Here is how to find it:
- Navigate to your profile settings or account menu.
- Look for options labeled "Export," "Backup," or "Data Management."
- Select the format. CSV (Comma-Separated Values) is the industry standard for this type of transfer because it opens in Excel, Google Sheets, and most other apps. JSON is sometimes available but is harder to edit manually.
- Download the file to your computer or phone storage.
If your current app doesn’t have a built-in export tool, you might need a third-party script or a browser extension. For example, some users use browser developer tools to scrape their public profile page into a spreadsheet. It’s tedious, but it works when official tools fail.
Preparing Your Data for Import
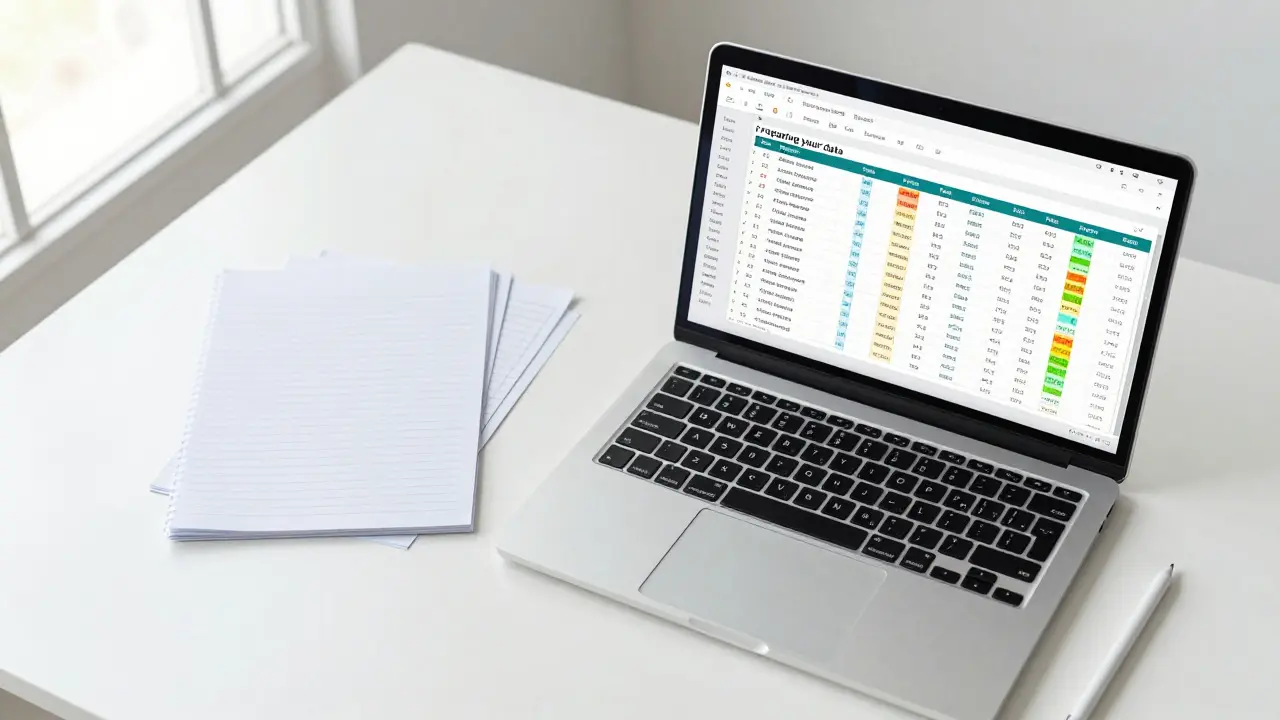
Raw exported files are rarely perfect. Before uploading them to a new app, open your CSV file in a spreadsheet program like Microsoft Excel or LibreOffice Calc. You’ll likely encounter three common issues:
| Issue Type | Description | Solution |
|---|---|---|
| Duplicates | Same game listed twice due to different editions or previous manual entries. | Use the "Remove Duplicates" feature in Excel based on Title + Platform columns. |
| Inconsistent Platforms | Mix of "PS4", "PlayStation 4", and "Sony PS4". | Standardize text using Find & Replace to match the target app’s naming convention. |
| Broken Links | Image URLs that point to deleted files or old servers. | Clear the image column if the new app auto-fetches covers; otherwise, download images locally. |
Cleaning your data now saves hours of fixing errors later. Pay special attention to the "Platform" column. If your new app expects "Switch" but your old file says "Nintendo Switch," the import might fail or create separate entries for the same device. Standardizing this field is the single most important cleanup task.
Step 2: Importing into the New App
Once your CSV is clean, head to your new collection app. The import process is generally the reverse of the export:
- Go to Settings > Import or Data Management.
- Upload your cleaned CSV file.
- Map the fields. This is the critical step. You’ll see a screen asking which column in your file corresponds to which field in the app (e.g., Column A = Title, Column B = Platform).
- Preview the data. Most apps let you see the first few rows before committing. Check for obvious mismatches.
- Execute the import.
During field mapping, be careful with optional fields. If your CSV has a "Release Year" column but the new app automatically pulls this from its internal database, you can leave it unmapped to avoid conflicts. Letting the new app fetch fresh metadata often results in higher-quality data than relying on potentially outdated exports.
Handling Edge Cases: Digital vs. Physical
One of the trickiest parts of migrating game collections is distinguishing between physical media and digital licenses. Many apps treat them as the same entity, but collectors often want to separate them. If your old app didn’t distinguish between the two, your new import will lump them together.
To fix this, add a "Media Type" column to your CSV before importing. Assign values like "Physical" or "Digital" to each row. If your new app supports custom tags or fields, map this column there. If it doesn’t, consider using the "Notes" field to append "(Digital)" to the title. It’s not elegant, but it preserves the distinction visually.
Also, watch out for regional variants. A game released in Japan, North America, and Europe might appear as three separate entries in your old data. Decide if you want to keep them separate or merge them into one entry with multiple region tags. Merging reduces clutter but requires careful deduplication.

Verifying Your Migration
Don’t delete your old data until you’ve verified the new one. Spot-check at least 10-20 random entries across different platforms and eras. Look for:
- Missing cover art (the app should auto-fill this, but sometimes it fails).
- Incorrect release dates.
- Lost playtime or rating data.
- Duplicate entries created during import.
If you find errors, go back to your source CSV and fix the specific rows, then re-import just those changes if possible. Some apps allow partial imports; others require a full wipe-and-reload. Know your new app’s limitations before starting.
Troubleshooting Common Import Failures
Even with clean data, imports can fail. Here are the most frequent culprits and how to fix them:
- File Size Limits: Some free tiers limit imports to 1,000 rows. Split your CSV into smaller chunks if necessary.
- Character Encoding: If accents or special characters appear as gibberish (e.g., "é" instead of "é"), save your CSV as UTF-8 encoded before uploading.
- Date Formats: Ensure your date columns match the expected format (YYYY-MM-DD is safest). Mixed formats like "01/02/2023" can cause parsing errors.
- Hidden Spaces: Trailing spaces in platform names (e.g., "PC ") can break matching algorithms. Use Trim functions in your spreadsheet editor.
When in doubt, start small. Try importing just 10 games first. Once you confirm the mapping works, proceed with the full dataset. This approach minimizes frustration and makes troubleshooting much easier.
Can I migrate my collection directly from one app to another?
Rarely. Most apps don’t have direct integration partners. The standard workflow is exporting to a universal format like CSV from the old app, cleaning the data, and then importing it into the new app. Direct app-to-app transfers are uncommon unless both apps are owned by the same company.
What happens to my playtime stats during migration?
It depends on whether your old app included playtime in the export file. If it did, and your new app has a corresponding field, the stats will transfer. If either app lacks the feature, you’ll lose that data. Always check the export preview to see if playtime is included before finalizing the file.
Which file format is best for migrating game collections?
CSV is the most compatible and editable format. It works with almost every collection manager and can be opened in spreadsheet software for easy editing. JSON is more structured but harder to modify manually, making it less ideal for large-scale cleanup tasks.
How do I handle duplicate games after importing?
Most apps have a "Merge" or "Combine" feature for duplicates. If not, you’ll need to manually delete the extra entries. To prevent this, run a deduplication pass on your CSV file before importing, removing rows where the Title and Platform combination repeats.
Do I need to worry about losing my cover art images?
Usually not. Most modern collection apps automatically fetch cover art from their internal databases based on the game title. However, if you have custom artwork or rare covers not in their database, you may need to upload those images separately after the initial data import.