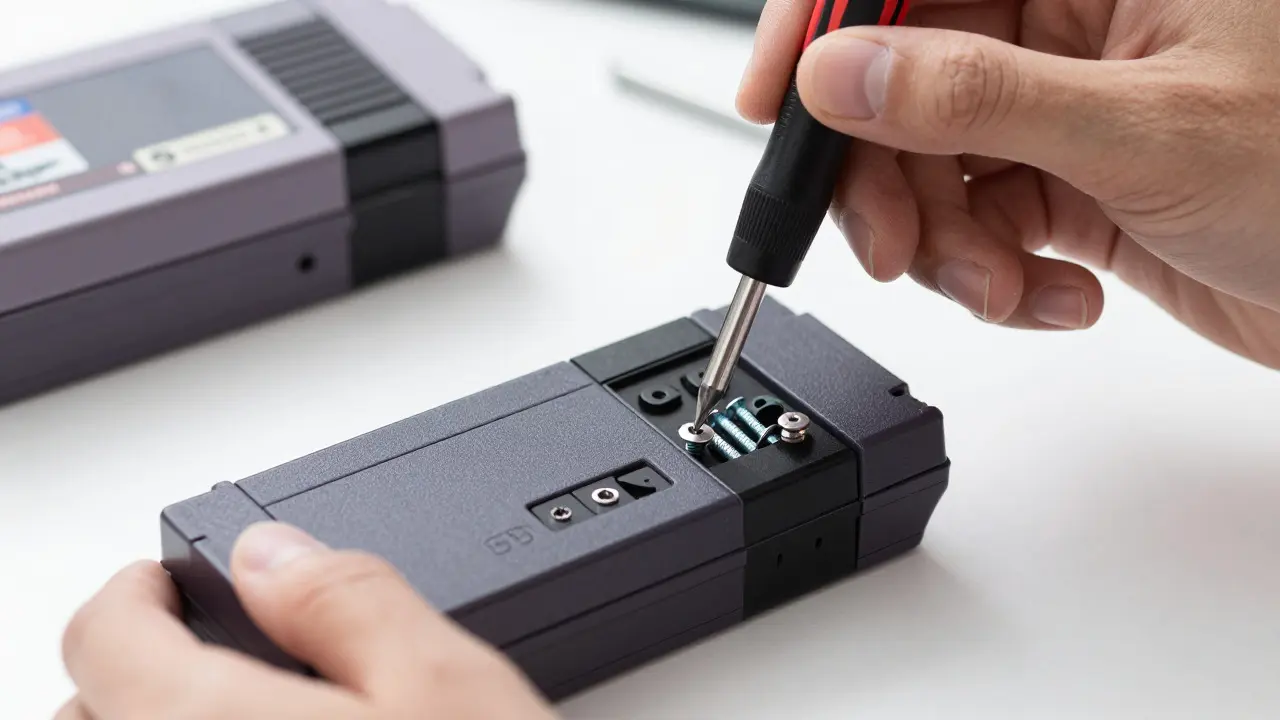
There is nothing more heartbreaking than loading up a classic Nintendo Entertainment System or NES game, only to find that your progress has vanished. If you are playing a title like The Legend of Zelda or Metroid, losing your save data isn't just annoying; it can ruin the entire experience. The culprit is almost always a dead coin cell battery inside the game cartridge. These small lithium batteries were designed to keep save data alive when the console was off, but they have a lifespan of roughly 10 to 15 years. Since these cartridges were made in the late 80s and early 90s, most of them are long past their expiration date.
Replacing these batteries is a straightforward task if you have the right tools and a bit of patience. You don't need to be an electronics engineer, but you do need to be careful with static electricity and delicate plastic parts. This guide walks you through exactly how to open the cartridge, identify the correct battery size, and install a fresh one without damaging the board. Whether you are preserving a rare collectible or just want to finish that old adventure, knowing how to swap out the power source will save your games for decades to come.
Tools and Materials You Need
Before you start prying open any cartridges, gather your supplies. Having everything ready prevents mistakes and keeps the process smooth. You will need a few specific items that are inexpensive but essential for precision work.
- Coin Cell Batteries: Most NES and SNES games use either a CR2032 (common in later SNES titles) or a CR2025/CR2016 (common in NES titles). Check your specific game manual or online database to confirm the exact size. Do not guess; using the wrong size can cause fit issues.
- Small Precision Screwdriver Set: You need a Phillips #0 or #00 screwdriver for the screws holding the cartridge shell together. Some older NES cartridges use cross-head screws, while others might have simple slotted ones, though Phillips is standard.
- Plastic Spudger or Guitar Pick: Avoid metal tools for prying if possible, as they can scratch the plastic or short-circuit components. A plastic spudger helps separate the two halves of the cartridge casing gently.
- Tweezers: Anti-static tweezers are ideal for handling the tiny battery and soldering points. They give you better control than your fingers.
- Isopropyl Alcohol (90%+): Used to clean corrosion from the battery contacts. Corrosion looks like white or greenish crust around the battery holder.
- Anti-Static Wrist Strap: While less critical for simple battery swaps than for chip replacements, it’s good practice to ground yourself to prevent electrostatic discharge from damaging the circuit board.
Understanding the Battery Types
Not all save batteries are created equal. The Nintendo Super Famicom (SNES in North America) and Family Computer (Famicom/NES in Japan) used different standards over time. Early NES games often used smaller CR2016 or CR2025 batteries, which are thinner and harder to find in some stores. Later SNES games standardized on the larger CR2032, which is widely available at grocery stores and hardware shops.
It is crucial to match the voltage and physical dimensions. All these batteries operate at 3 volts, so voltage compatibility is rarely an issue. However, thickness matters. A CR2032 is 3.2mm thick, while a CR2025 is 2.5mm thick. If you put a thicker battery into a slot designed for a thinner one, it may not seat properly, leading to poor contact or difficulty closing the cartridge case. Always verify the model number printed on the original battery or listed in a reliable preservation database before buying replacements.
Step-by-Step Replacement Process
Now that you have your tools, let’s get to work. The process is similar for both NES and SNES cartridges, with minor variations in screw placement and internal layout.
- Open the Cartridge Case: Place the cartridge face-down on a soft surface. Use your precision screwdriver to remove the screws located on the back of the cartridge. For NES cartridges, there are usually four screws. For SNES, there are typically four as well, but they may be hidden under stickers or recessed slightly. Keep the screws in a small container so they don’t roll away.
- Separate the Shell Halves: Gently pry apart the top and bottom plastic shells. Start at one corner and work your way around. Be gentle; some older plastics become brittle and can crack if forced. If it feels stuck, check for any remaining clips or hidden screws.
- Locate the Battery Holder: Once the shell is open, look for the circular metal ring or clip that holds the battery. It is usually positioned near the center or side of the circuit board. You will see the positive (+) and negative (-) markings on the board or the holder.
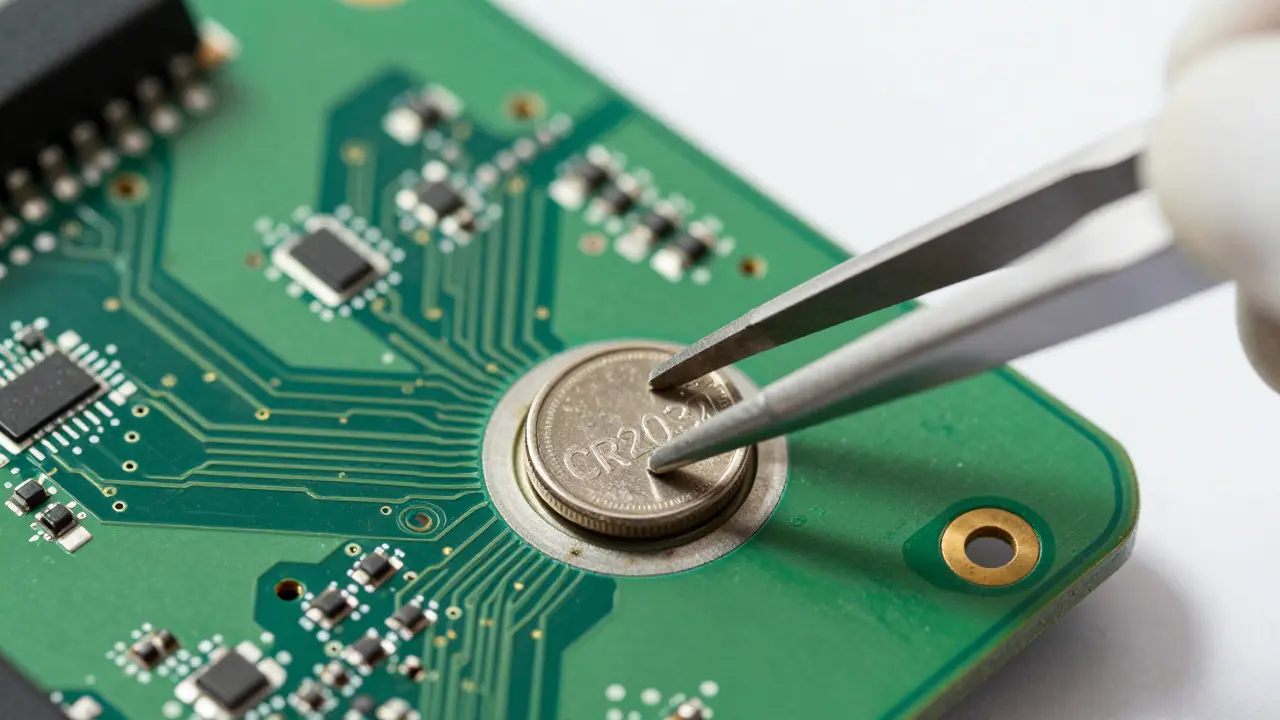
- Remove the Old Battery: Use your tweezers to carefully lift the old battery out of the holder. If it is stuck due to corrosion, apply a tiny amount of isopropyl alcohol to the contacts and wait a minute. Do not force it, as you might bend the metal tab.
- Clean the Contacts: Inspect the metal contacts for white or green residue. This is battery acid leakage. Dampen a cotton swab with high-percentage isopropyl alcohol and gently wipe the contacts until they are shiny and clean. Let them dry completely before proceeding. Moisture can cause shorts.
- Install the New Battery: Align the new battery with the correct polarity. The positive side (usually marked with a + sign) should face up unless specified otherwise by the board markings. Press it firmly into the holder until it clicks or sits flush. Ensure it doesn’t wobble.
- Reassemble the Cartridge: Place the top half of the shell back onto the bottom half. Align the screws and tighten them evenly. Don’t overtighten, as this can strip the plastic threads or crack the case.
- Test the Game: Insert the cartridge into your console and load the game. If you have a save file, try saving and reloading to ensure the battery is working. If it’s a new save, make sure the game registers the save function.
Common Pitfalls and How to Avoid Them
Even with a simple task, things can go wrong. Here are the most common mistakes people make and how to sidestep them.
- Wrong Battery Size: As mentioned, mixing up CR2025 and CR2032 is frequent. Double-check your specific game model. If in doubt, measure the diameter and thickness of the old battery with calipers if available, or compare it visually to a known reference.
- Corrosion Damage: If the battery leaked significantly, the corrosion may have eaten into the copper traces on the circuit board. In severe cases, the save data is already lost, and the board might need professional reflowing or trace repair. Clean thoroughly, but know when to call in a pro.
- Static Discharge: While less likely to kill a battery slot than a CPU, static can still damage sensitive components. Work on a non-carpeted surface and touch a grounded metal object before handling the board.
- Stripped Screws: Old plastic screw holes can strip easily. Use the correct size screwdriver and apply steady, moderate pressure. If a screw head strips, use a rubber band between the driver and screw for extra grip, or consider a screw extractor kit.
Preservation Tips for Long-Term Storage
Once you’ve replaced the batteries, you might wonder how to keep them healthy. Unlike modern devices, these cartridges don’t have low-battery warnings. To maximize battery life during storage:
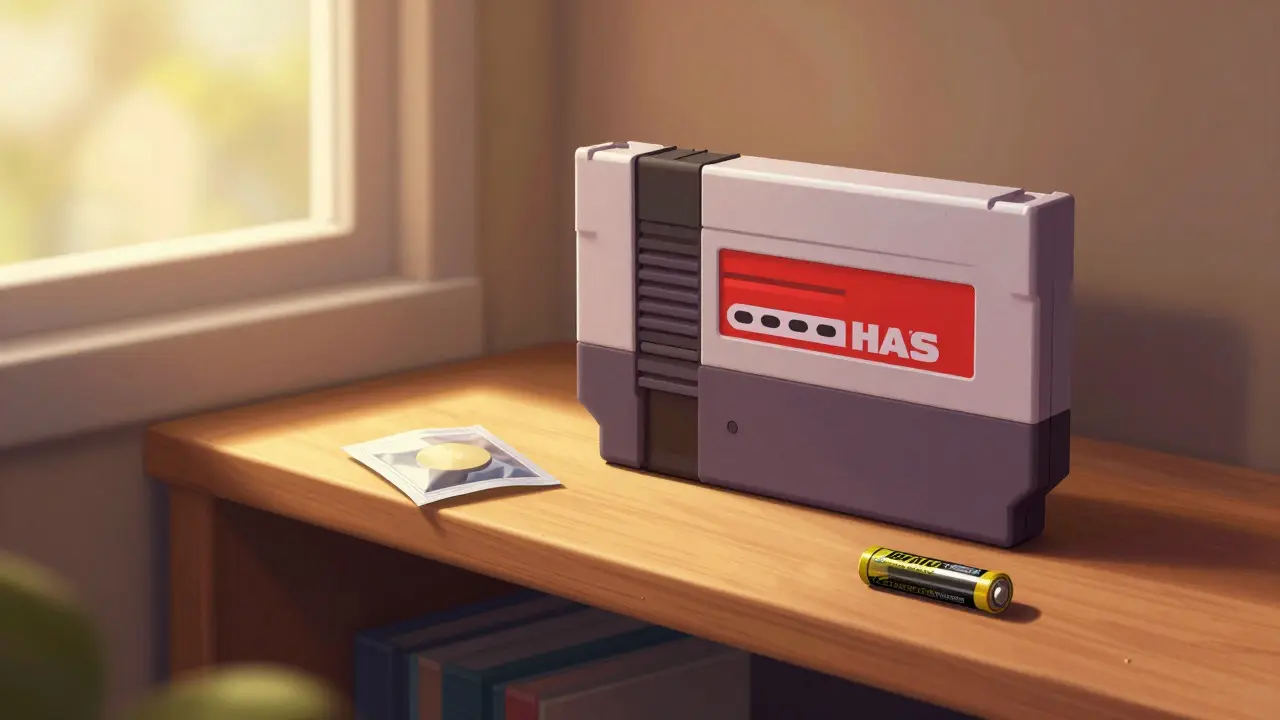
- Keep Cartridges Cool and Dry: Heat accelerates battery degradation. Store your collection in a climate-controlled room, away from direct sunlight.
- Use Desiccant Packs: Place silica gel packets in your storage boxes to absorb moisture, which can lead to corrosion even with a fresh battery.
- Periodic Testing: Every few years, test your saved games to ensure the battery is still holding charge. If you notice the save disappearing, replace the battery immediately to prevent further corrosion.
- Label Your Cartridges: Note the date of battery replacement on the box or label. This helps you track maintenance cycles.
Frequently Asked Questions
Do I need to desolder the battery to replace it?
No, most NES and SNES cartridges use a mechanical clip or holder that allows the battery to be popped out without soldering. Soldering is only required if the battery tabs are damaged or if you are replacing the entire battery holder assembly.
Can I use a rechargeable battery instead?
Generally, no. Rechargeable coin cells (Li-ion) often have different voltages (3.7V vs 3.0V) and sizes. Using a higher voltage can damage the cartridge circuitry. Stick to primary (non-rechargeable) lithium coin cells for best results.
What happens if I leave the old battery in too long?
Lithium batteries leak slowly over time. The electrolyte can corrode the metal contacts and nearby circuit traces. In extreme cases, the corrosion spreads and breaks the connection entirely, making the save data unrecoverable. Regular inspection is key.
How do I know which polarity is correct?
Look at the markings on the circuit board or the metal holder. Usually, the positive terminal is indicated by a plus sign or a raised tab. If unsure, consult a schematic for your specific game cartridge online. Installing it backwards can damage the board instantly.
Are all NES games compatible with CR2032 batteries?
No. Many early NES titles used smaller CR2016 or CR2025 batteries. Using a CR2032 in these slots may result in a loose fit or prevent the cartridge case from closing properly. Always verify the specific battery type for your game.