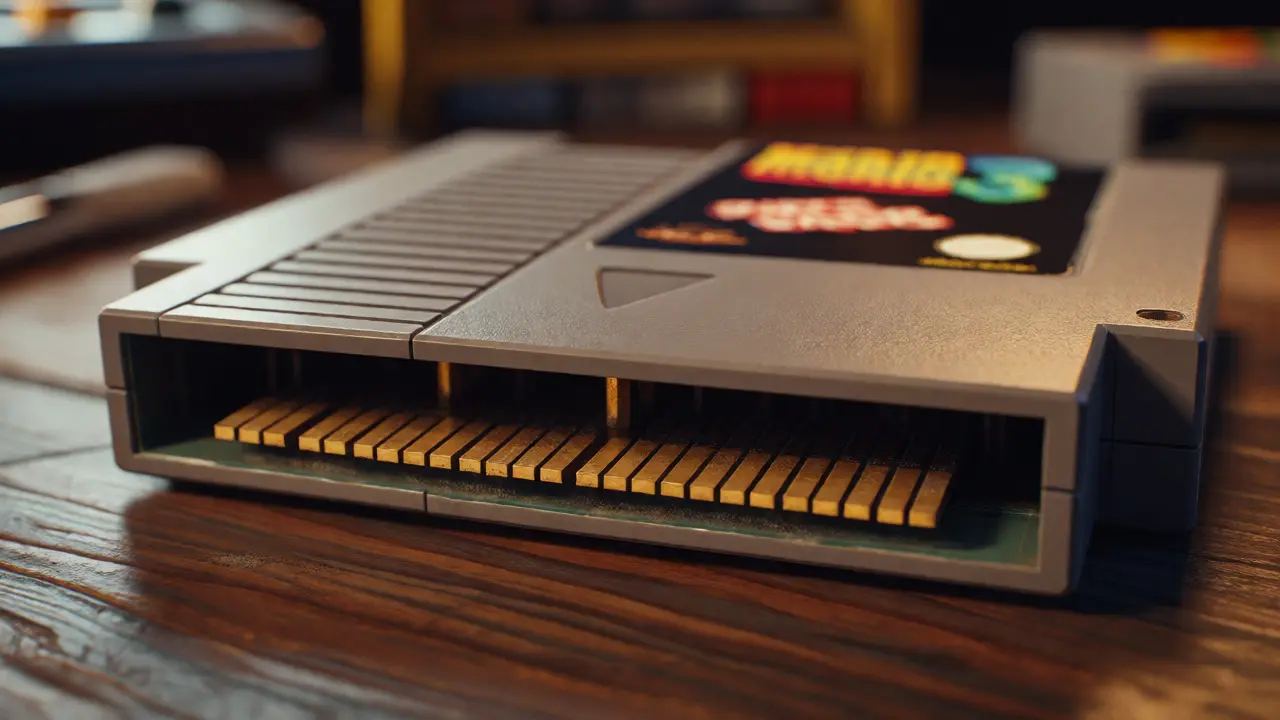
You just scored a mint-condition copy of Super Mario Bros. 3 for your NES at a garage sale, but when you pop it into the console, you get a black screen or glitchy graphics. Sound familiar? It’s frustrating, but don’t toss it in the trash just yet. Most issues with used video game cartridges aren’t fatal-they’re usually just dirty contacts or corroded pins. With the right tools and a little patience, you can bring that dusty relic back to life.
Cleaning old cartridges isn’t rocket science, but doing it wrong can ruin a rare find. You need to know what to use, what to avoid, and how to handle delicate components like save batteries. This guide walks you through the exact steps I use to restore cartridges from the Atari 2600 era all the way up to the Nintendo DS. Let’s get those pixels crisp again.
Gather Your Cleaning Kit
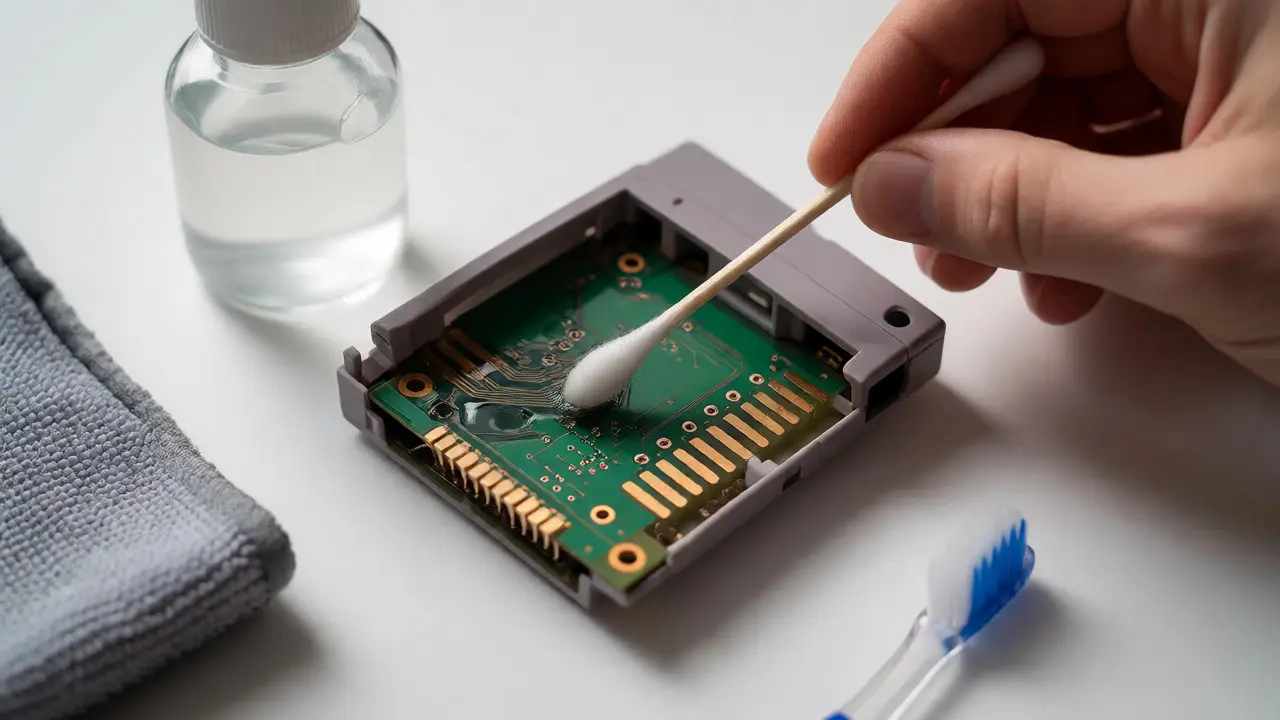
Before you touch anything, grab the right supplies. You don’t need a professional lab setup, but you do need specific materials to avoid damage. Here is what belongs on your workbench:
- Isopropyl Alcohol (90%+): This is non-negotiable. Lower concentrations contain water, which causes corrosion. Buy the 91% or 99% version from a pharmacy or hardware store.
- Cotton Swabs (Q-tips): Standard size works best. Avoid cheap ones that shed fibers.
- Microfiber Cloths: For wiping down the plastic shell without scratching it.
- Toothbrush (Soft Bristle): An old one is fine, as long as it’s clean and dry.
- Compressed Air: Useful for blowing out dust from ports before you start scrubbing.
- Era-Stopper or Contact Cleaner: Optional, but great for stubborn oxidation on metal connectors.
Avoid using window cleaner, vinegar, or tap water. These leave residues or introduce minerals that accelerate rust. If you see white powder on the PCB (printed circuit board), that’s likely flux residue or corrosion-handle it gently.
The Step-by-Step Cleaning Process
Start by removing the cartridge from its case if it has one. Inspect the gold-plated edge connector-the part that slides into the console. This is where most connection failures happen. Dust, grime, and oxidation build up here over decades.
- Dry Brush First: Use the soft toothbrush to sweep away loose dust and debris from the connector teeth. Do this over a sink or trash bin so particles don’t settle elsewhere.
- Alcohol Dip: Dip a cotton swab in isopropyl alcohol. Squeeze out excess liquid-you want damp, not dripping. Gently scrub each contact point on the connector. Move in one direction, from the top of the pin toward the tip, to push debris out rather than grinding it in.
- Wipe Down: Use a fresh, dry microfiber cloth to wipe the connector area after cleaning. Ensure no cotton fibers are left behind.
- Shell Cleaning: Dampen another cloth with alcohol and wipe the exterior plastic. For labels, be extremely careful. Never soak a paper label; it will peel or bubble. Just lightly buff the surface to remove fingerprints.
Let the cartridge air-dry for at least 15 minutes before testing. Residual alcohol can short-circuit connections if inserted too soon.
| Agent | Safety Level | Best For | Risk |
|---|---|---|---|
| 90%+ Isopropyl Alcohol | Safe | Contacts, PCBs, Plastic Shells | Low (evaporates quickly) |
| Contact Cleaner Spray | Safe | Heavy Oxidation | Medium (can dissolve some plastics) |
| Eraser (Pencil Type) | Caution | Stubborn Corrosion | High (abrasive, leaves rubber crumbs) |
| Window Cleaner | Unsafe | N/A | Leaves film, attracts dust |
| Vinegar/Water | Unsafe | N/A | Causes immediate corrosion |
Tackling Stubborn Issues: The "Blow" Myth
Every gamer knows the ritual: blow into the cartridge slot. While it feels satisfying, it’s actually bad for your hardware. Moisture from your breath condenses inside the console’s connector pins, leading to rust over time. Instead of blowing, use compressed air or simply clean the cartridge properly as described above.
If cleaning doesn’t fix the issue, look deeper. Check the PCB for bent pins. On older consoles like the Nintendo 64, bent pins in the console itself are often the culprit, not the cartridge. Use a magnifying glass to inspect the gold fingers. If they look dull or dark, they might need more aggressive polishing. A gentle pass with a standard pencil eraser can restore shine, but brush away every single crumb afterward. Leftover rubber conduct electricity poorly and can cause intermittent glitches.
Battery Replacement for Save Games
Some cartridges, like The Legend of Zelda: Ocarina of Time for N64 or many Pokémon titles for Game Boy, rely on internal batteries to save progress. These are typically CR2032 coin cells. After 15-20 years, they die. If your save data vanishes, the battery is likely dead.
Replacing it requires opening the cartridge. Most use small tri-wing screws (for Nintendo) or Phillips heads (for Sega). Use the correct screwdriver bit to avoid stripping the plastic. Once open, desolder the old battery or pry it out if it’s held by clips. Install the new battery, ensuring the positive (+) side faces the correct direction (usually marked on the PCB).
Pro Tip: When replacing a battery, try to keep the power source connected if possible, or have a backup method ready. Without power, volatile RAM chips may lose existing save data during the swap. For critical saves, photograph the PCB layout before disassembly.
Storage and Long-Term Care
Cleaning is only half the battle. How you store these cartridges determines whether you’ll need to clean them again next year. Humidity is the enemy. Portland’s damp climate means mold and mildew can grow on labels if stored improperly.
- Keep Them Dry: Store cartridges in a cool, dry place. Silica gel packs in your storage box help absorb moisture.
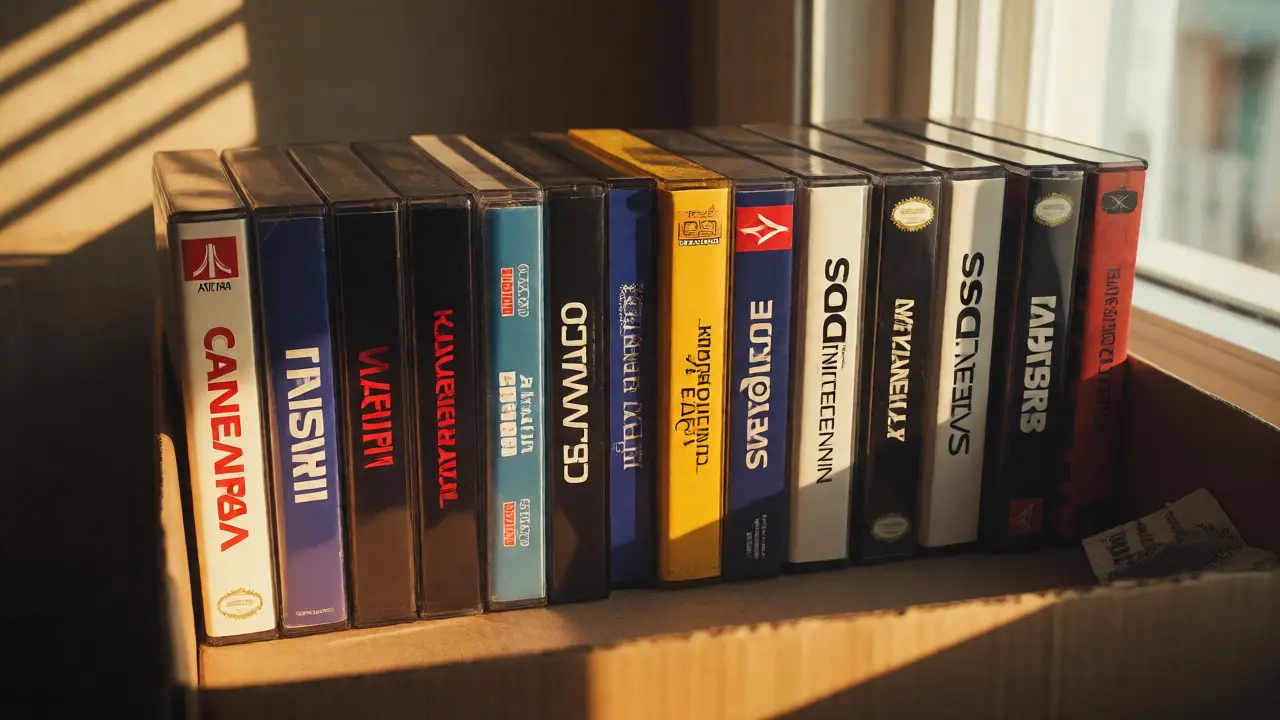
- Vertical Storage: Stand them upright like books. Laying them flat for years can warp the plastic shells or put pressure on the connectors.
- Original Cases: Keep them in their original cases if possible. They protect against dust and physical impact. If the case is broken, use archival-safe polypropylene sleeves.
- Avoid Direct Sunlight: UV rays fade labels and make plastic brittle over time.
Regular inspection is key. Every six months, pull out a few favorites and give them a quick visual check. Catching early signs of corrosion prevents costly restoration later.
When to Call a Pro
Not every cartridge is a DIY project. If you notice cracked solder joints, missing components, or severe water damage, consider sending it to a specialist. Replacing capacitors or repairing trace lines on a PCB requires soldering skills and specialized equipment. For rare titles worth hundreds of dollars, the risk of botching a repair outweighs the cost of professional service.
Also, beware of counterfeit cartridges. Some bootlegs use poor-quality PCBs that degrade faster. If a cartridge looks off-wrong color plastic, blurry printing, or unusual weight-research it before investing time in restoration.
Can I use WD-40 to clean my video game cartridges?
No, avoid WD-40. It leaves an oily residue that attracts dust and dirt, eventually gumming up the contacts. Stick to high-percentage isopropyl alcohol, which evaporates cleanly without leaving a film.
Why does my cleaned cartridge still not work?
If cleaning didn't help, the issue might be with the console's connector pins, not the cartridge. Try wiggling the cartridge slightly while inserting it to test for loose connections. Also, check for bent pins inside the console slot using a flashlight and magnifying glass.
Is it safe to wash a cartridge under running water?
Generally, no. Water contains minerals that cause corrosion on the electronic contacts. If you must rinse off heavy grime, use distilled water immediately followed by a thorough drying with isopropyl alcohol to displace the moisture. Tap water is risky.
How often should I clean my game collection?
There is no fixed schedule, but inspecting your collection every 6 to 12 months is a good habit. Frequent players may need to clean active cartridges annually, while rarely played titles can go longer unless stored in humid environments.
What type of screwdriver do I need to open a Nintendo cartridge?
Most Nintendo cartridges (NES, SNES, N64, Game Boy) require a small tri-wing security screwdriver. Some newer models or other brands may use Phillips head screws. Always buy a kit with multiple bits to ensure you have the right fit.