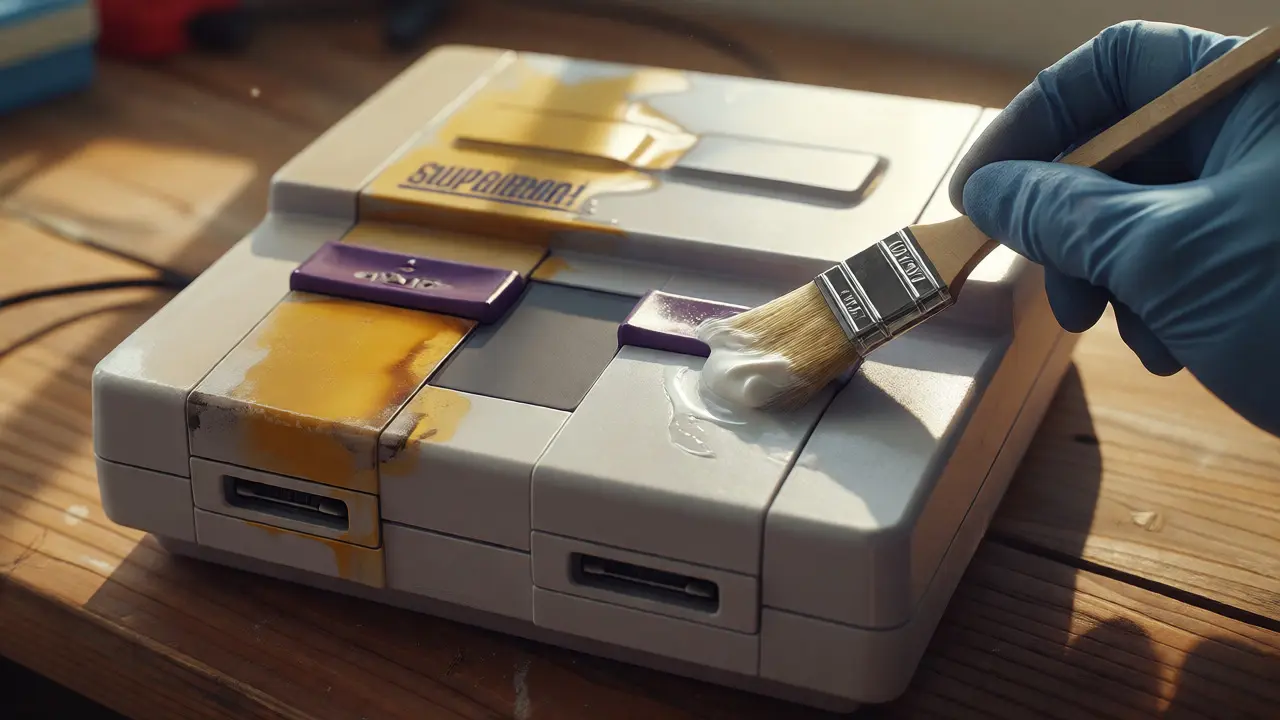
You pull your original Super Nintendo Entertainment System from the attic or garage, expecting that crisp gray chassis you remember. Instead, you find a piece of beige furniture. That color shift isn't dirt-it's chemistry. The plastic used in late-80s and early-90s electronics, specifically ABS plastic, contains bromine flame retardants. When exposed to UV light and heat over decades, these chemicals migrate to the surface and oxidize, turning the casing yellow or brown.
Fixing this doesn't require a degree in polymer science. It requires patience, the right mix of ingredients, and a healthy respect for safety. The most popular method involves Retrobrite, a process using hydrogen peroxide and UV light to reverse the oxidation. But if you rush it or use the wrong concentration, you can warp the plastic or bleach it unevenly. Here is how to bring your SNES back to its factory glory without ruining it.
Why Your SNES Turned Yellow
Before you grab the peroxide, understand what you are fighting. The yellowing is not a stain on the surface; it is a chemical change within the plastic matrix itself. Most consumer electronics from this era used ABS (Acrylonitrile Butadiene Styrene) because it was cheap and durable. To meet fire safety standards, manufacturers added brominated flame retardants. Over time, UV radiation breaks down these compounds, causing them to rise to the surface. This phenomenon is known as photo-degradation.
This is why keeping your console in a dark closet didn't help if it sat near a window, and why cleaning it with soap never worked. You cannot wash away a chemical reaction. You have to reverse it. This is where Retrobriting comes in. By saturating the plastic with hydrogen peroxide and exposing it to UV light, you essentially strip the oxygen atoms that caused the discoloration, returning the polymer chains to their original state.
Gathering Your Materials Safely
You don't need a lab coat, but you do need specific supplies. Generic drugstore hydrogen peroxide (3%) is too weak and will take weeks to show results. You want 12% to 40% Hydrogen Peroxide Cream Developer. This is often found in beauty supply stores under brands like Salon Care or similar professional lines. It’s thick enough to stay put on vertical surfaces and strong enough to work in hours rather than days.
- Hydrogen Peroxide Cream: 12% volume is safer for beginners; 40% works faster but risks bleaching stickers or warping thin plastics.
- UV Light Source: A standard tanning bed, a dedicated UV curing lamp, or direct sunlight. Note: Sunlight is unpredictable and temperature-dependent.
- Plastic Wrap: Standard kitchen cling film to keep the peroxide moist.
- Masking Tape: For protecting labels and ports.
- Gloves and Goggles: High-concentration peroxide burns skin and eyes.
A common mistake is using liquid peroxide instead of cream. Liquid runs off, creating streaks and wasting product. The creamy consistency ensures even coverage. If you can’t find cream, you can thicken liquid peroxide with cornstarch, but commercial cream developer is far more consistent.
Preparation: Cleaning and Masking
You cannot retrobright dirty plastic. Grime blocks the UV light and prevents the peroxide from penetrating evenly. Start by disassembling your SNES if possible. Removing the bottom screws usually lets you separate the top shell from the internal PCB and power supply. This allows you to treat only the external plastic, saving sensitive components from moisture damage.
If you aren't comfortable opening the case, you can treat it whole, but you must mask everything meticulously. Use masking tape to cover all printed labels, such as the "Nintendo" logo and the controller port icons. These labels are often made of different materials that may react differently to peroxide or fade. Also, plug up any vents or cartridge slots with foam or tape to prevent peroxide from seeping inside and corroding the metal contacts.
Clean the exterior thoroughly with isopropyl alcohol (90%+) and a microfiber cloth. Remove every fingerprint, dust bunny, and sticky residue. Let it dry completely. Any remaining oil will create patches where the peroxide doesn't bond properly, leading to a mottled finish later.
The Application Process
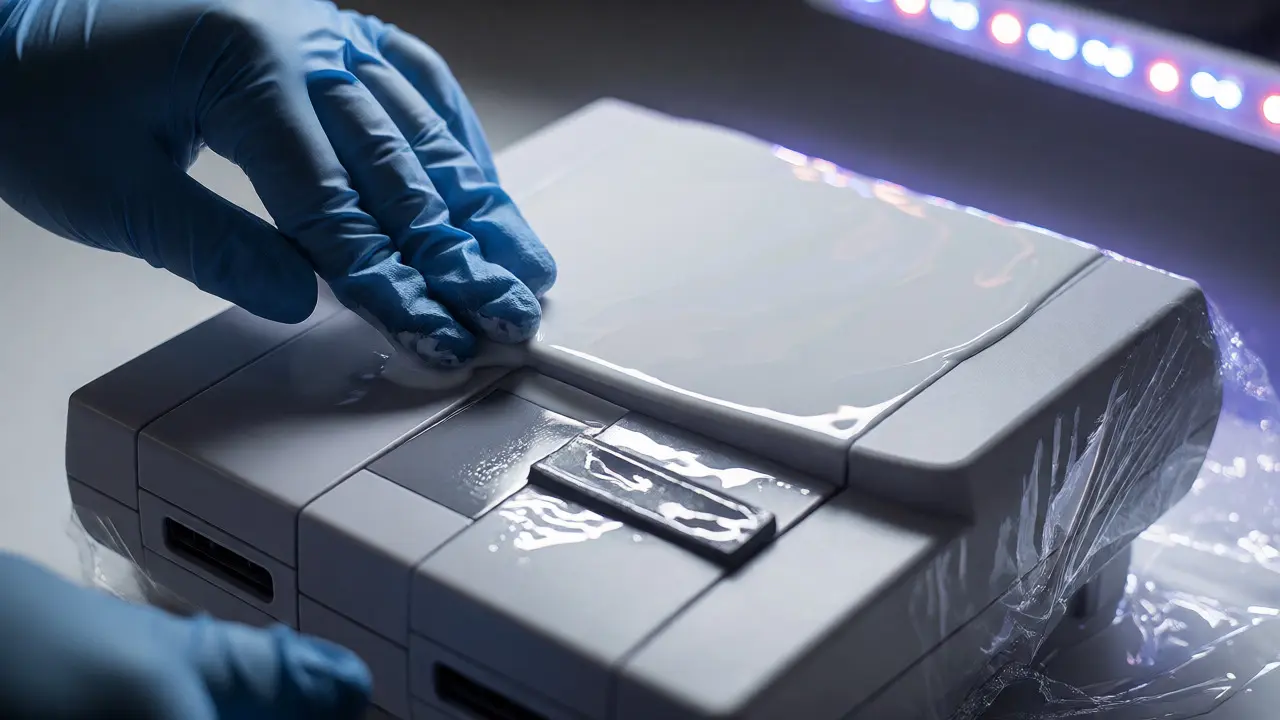
Put on your gloves. Squeeze a generous amount of the peroxide cream onto the plastic surface. Use a soft brush or your gloved fingers to spread it into a thick, even layer. Don't be shy-thin layers dry out quickly and stop working. You want a visible coating that looks like white frosting.
Pay special attention to corners and crevices where yellowing tends to be worst. Once coated, wrap the entire assembly tightly in plastic wrap. This step is critical. Hydrogen peroxide needs to stay wet to react. If it dries out, the process stops, and you might get uneven results. The plastic wrap traps moisture and keeps the air out, which slows down the evaporation of the water component in the peroxide.
| Light Source | Speed | Risk Factor | Best For |
|---|---|---|---|
| Direct Sunlight | Slow (12-48 hrs) | High (Heat warping) | Budget setups, mild yellowing |
| Tanning Bed | Fast (2-6 hrs) | Medium (Even heat) | Large batches, heavy yellowing |
| UV LED Lamp | Moderate (6-12 hrs) | Low (Cool operation) | Precise control, delicate parts |
Exposure and Monitoring
Place your wrapped console under the UV source. If you are using sunlight, choose a hot day, but monitor the temperature closely. ABS plastic begins to soften around 170°F (77°C). Direct summer sun can push the surface temp higher, especially if the black plastic absorbs heat. If you see the plastic starting to deform, move it to shade immediately.
Check the progress every two hours. Peel back a corner of the plastic wrap to inspect the color. You will notice the yellow fading first at the edges, then spreading inward. This is normal. Do not reapply peroxide unless the area has dried out completely. Reapplying too often can lead to "over-brightening," where the plastic turns stark white and brittle, losing its original texture.
For heavily yellowed units, the process might take 8 to 12 hours of total exposure time. Be patient. Rushing leads to mistakes. If you are using a tanning bed, rotate the console halfway through to ensure even exposure on both sides.
Rinsing and Curing
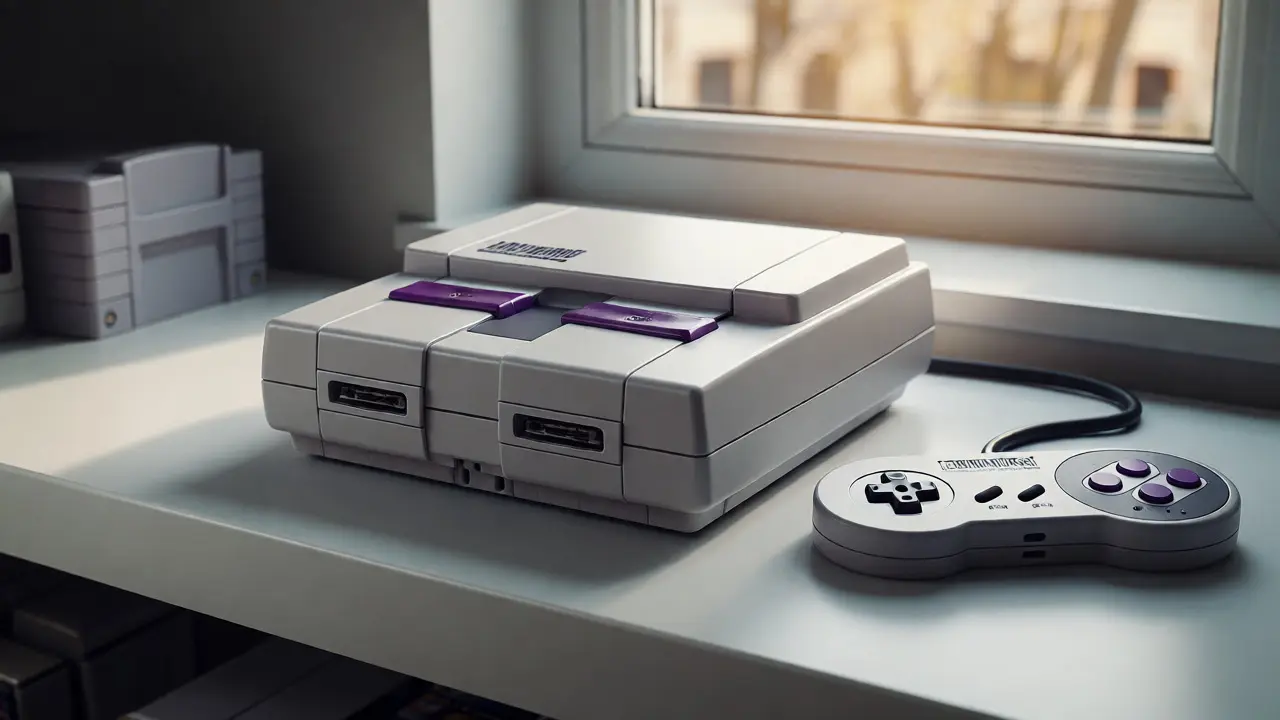
Once the desired whiteness is achieved, remove the plastic wrap carefully. Rinse the console thoroughly under lukewarm running water. You need to wash away all residual peroxide. If left on, it can continue to react slowly or leave a chalky residue when it finally dries.
Dry the unit with a clean towel, then let it air dry for at least 24 hours in a well-ventilated area. During this time, the plastic undergoes a final curing phase. It might look slightly damp or hazy initially, but this clears up as it fully dries. Avoid putting the console back together until it is bone dry to prevent trapped moisture from causing mold or corrosion.
Common Pitfalls and How to Avoid Them
One major issue people face is uneven whitening. This usually happens because the peroxide dried out in spots before the UV light could penetrate. Always check your wrapping for leaks. Another problem is label damage. Even masked labels can bleed ink if the peroxide seeps underneath. Test a small, hidden area first if you are unsure about a specific sticker.
Also, consider the environment. If you live in Portland, Oregon, like I do, humidity plays a role. In humid conditions, the peroxide stays wet longer, which is good, but it also means drying takes forever. In dry climates, you might need to mist the surface occasionally to keep it active.
Finally, know when to stop. Some consoles were originally a light gray, not pure white. Trying to make an SNES look like a Wii U GamePad will result in unnatural brightness. Aim for the original factory color, which is a cool, neutral gray.
Frequently Asked Questions
Can I use regular hair bleach instead of hydrogen peroxide?
Yes, many people use salon-grade hydrogen peroxide cream developers, which are commonly used for hair coloring. However, avoid products with added conditioners, fragrances, or ammonia, as these additives can leave residues or interfere with the chemical reaction. Pure hydrogen peroxide cream is best.
Will Retrobriting weaken the plastic?
If done correctly, no. The process reverses the oxidation without breaking the polymer bonds significantly. However, excessive heat during the UV exposure phase can warp thin plastics. Always monitor temperatures and avoid boiling-hot surfaces.
How long does the effect last?
The results are permanent as long as the console is stored away from direct UV light. If you leave your restored SNES on a sunny shelf again, it will eventually start to yellow again, though it may take years rather than decades depending on the intensity of the light.
Do I need to open the SNES to retrobright it?
No, but it is recommended. Opening the case allows you to protect internal components from accidental peroxide spills and ensures better airflow for drying. If you treat it closed, be extremely careful to seal all vents and ports to prevent liquid ingress.
What if my console has cracks?
Peroxide can seep into cracks and become difficult to rinse out, potentially leaving white stains inside. Clean and dry the area thoroughly before application. After treatment, use compressed air to blow out any residual liquid from the crevices.