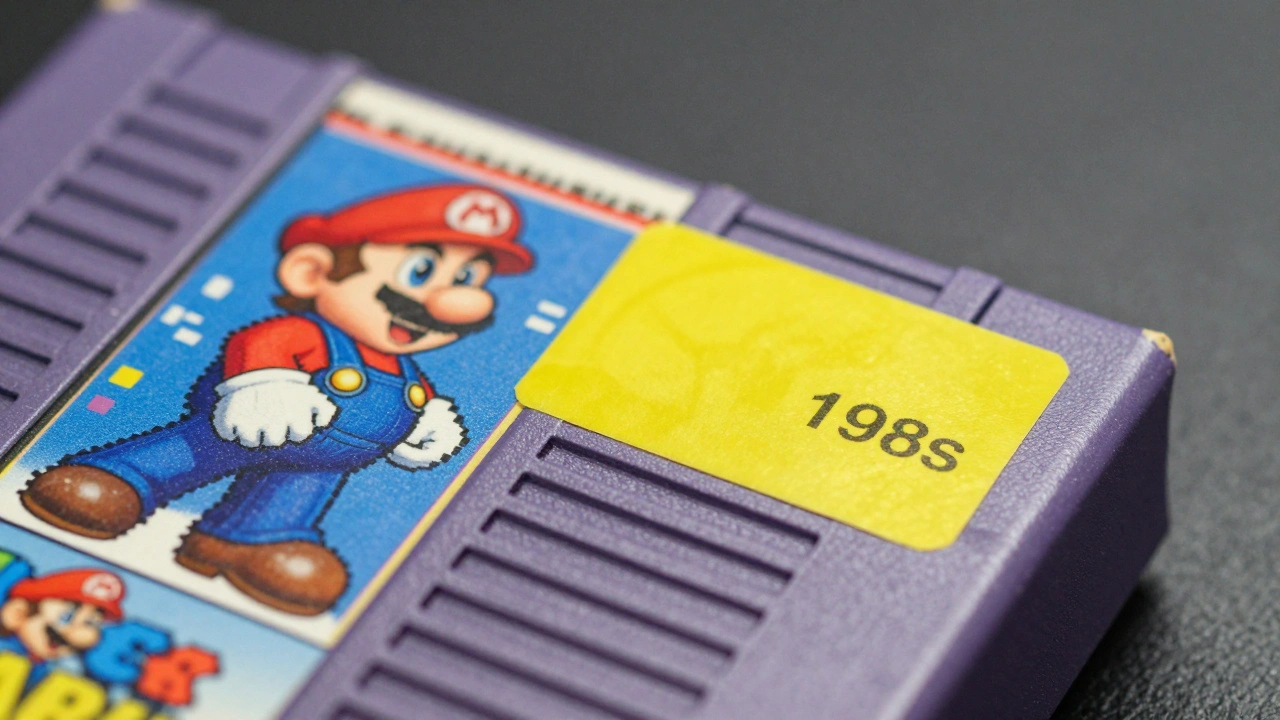
That bright yellow price tag on your pristine copy of Super Mario Bros. is a nightmare. It screams "used" and drags down the value of what could be a museum-grade collectible. You want it gone, but you’re terrified. One wrong move with a razor blade or a splash of harsh solvent, and you’ve turned a $500 box into a $20 paperweight. The fear is real because the stakes are high in the world of retro gaming preservation.
Removing retail price stickers from retro video game boxes isn't just about aesthetics; it's about maintaining structural integrity and market value. Unlike modern glossy boxes, cardboard from the 1980s and 90s is porous, brittle, and often glued together with acidic adhesives that degrade over time. A sticker applied decades ago has bonded chemically with the surface fibers. Pulling it off dry is suicide for the artwork. Soaking it in water risks warping the entire structure. The solution lies in a careful balance of heat, gentle solvents, and patience.
The Golden Rule: Test Before You Touch
Before you even think about touching the main price label, you need to understand the materials you are working with. Not all boxes are created equal. Some have a thin plastic laminate over the cardboard (common in later Nintendo 64 or PlayStation 1 titles), while others are raw, uncoated cardboard (typical of early NES and SNES releases). This distinction dictates your entire strategy.
If the box feels slick and smooth, it likely has a coating. If it feels matte and slightly rough, it’s raw cardboard. For raw cardboard, water-based methods are risky because the ink can bleed. For coated boxes, you have more flexibility. Always perform a test on an inconspicuous area first-perhaps the inside flap or a small corner of the back panel where the text is dense. Apply your chosen method there, wait ten minutes, and check for color transfer, white residue, or cardboard softening. If the test spot looks worse than before, stop immediately. There is no undo button in physical restoration.
Tools of the Trade: What You Actually Need
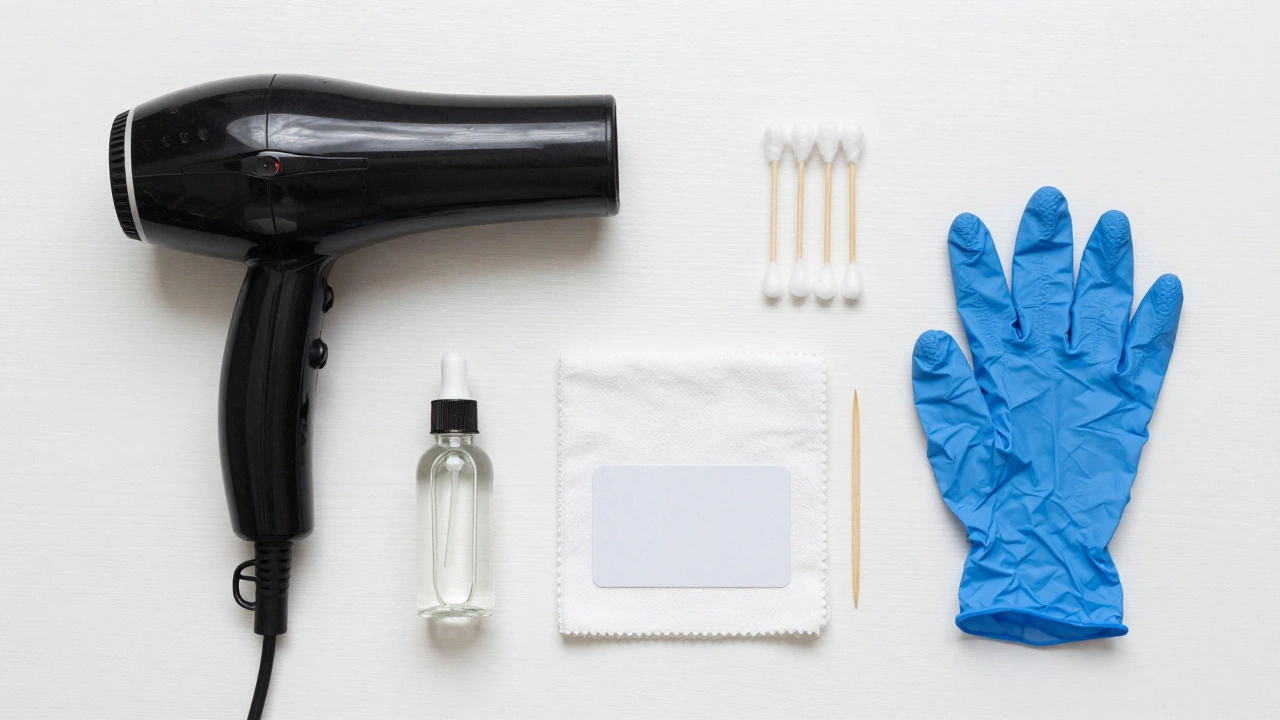
You don’t need expensive professional equipment, but you do need the right household items used incorrectly can cause permanent damage. Here is the kit every serious collector should assemble:
- Heat Source: A hair dryer set to low-medium heat. Avoid heat guns unless you are extremely experienced, as they concentrate heat too intensely and can melt glue instantly or scorch the cardboard.
- Solvent: Isopropyl alcohol (70% or higher) or specialized adhesive removers like Goo Gone (use sparingly). Avoid acetone or nail polish remover at all costs-they will dissolve the ink and eat through the cardboard fibers.
- Application Tool: Cotton swabs (Q-tips) or a soft microfiber cloth. Never use abrasive scrubbers.
- Scraping Tool: A dull plastic card (like an old gift card) or a wooden toothpick. Metal blades are strictly prohibited.
- Protective Gear: Nitrile gloves to prevent oils from your skin from transferring to the box surface.
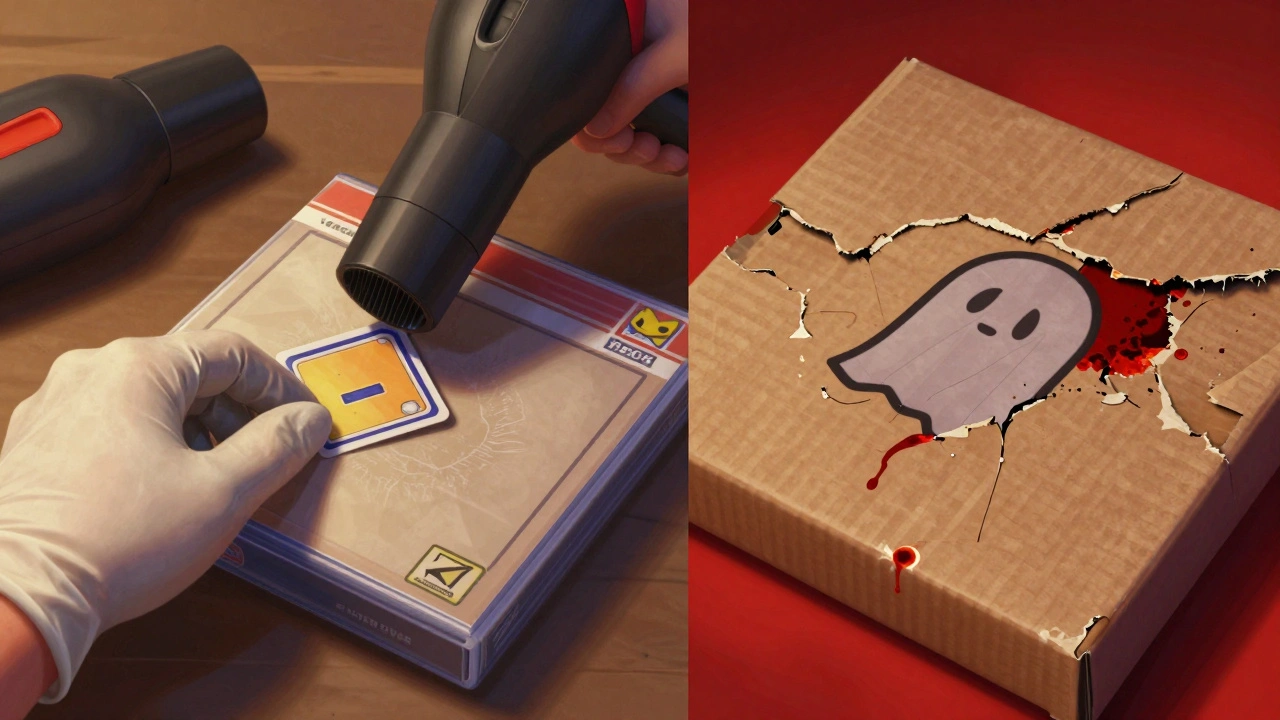
Method 1: The Heat-and-Peel Technique (Low Risk)
This is the safest starting point for most stickers, especially those that are newer or on coated boxes. The goal is to soften the adhesive without saturating the cardboard. Start by setting your hair dryer to a medium setting. Hold it about six inches away from the sticker and move it in a circular motion. Do not hold the heat in one spot for more than two seconds. You want the glue to become pliable, not molten.
After heating for about 15-20 seconds, gently try to lift a corner of the sticker with your fingernail or the edge of a plastic card. If it resists, apply more heat. If it starts to peel, pull slowly and at a low angle, parallel to the box surface. Pulling straight up can tear the top layer of the cardboard along with the sticker. As you peel, continue applying heat to the remaining portion of the sticker. Once removed, you will likely have residual glue. Let this cool and harden slightly before moving to the next step.
Method 2: Solvent Application for Residue (Medium Risk)
Once the bulk of the sticker is gone, you’ll face the sticky aftermath. This is where many collectors make mistakes by soaking the area. Instead, use a targeted approach. Dampen a cotton swab with isopropyl alcohol. Do not soak it; it should be moist, not dripping. Gently rub the residue in a circular motion. The alcohol breaks down the adhesive bonds without penetrating deeply into the cardboard if done correctly.
For tougher residues, especially on older boxes where the glue has oxidized, you might need a drop of citrus-based adhesive remover. Apply it to the swab, not directly to the box. Work in small sections. If you see any sign of the underlying ink bleeding or the cardboard turning translucent, stop immediately. Blot the area with a dry part of the cloth to remove excess solvent. Allow the box to air dry completely before handling further. This process requires patience; rushing it leads to uneven surfaces and potential damage.
When to Walk Away: Recognizing High-Risk Scenarios
Not every sticker should be removed. In some cases, leaving the sticker intact preserves more value than attempting removal. If the sticker covers a significant portion of the front cover art, especially if the art is rare or unique, removing it may leave a visible "ghost" outline or discoloration that detracts from the box’s appeal. Collectors often prefer a clean box with a sticker over a damaged box without one.
Additionally, if the box is already in poor condition-creased, torn, or with loose flaps-the stress of removal could cause further structural failure. In these cases, consider documenting the sticker’s presence and selling the item as-is, clearly stating its condition. Professional grading services like WATA or CIBR often deduct points for stickers, but they deduct even more for obvious repair attempts or damage caused during removal. Knowing when to quit is a crucial skill in preservation.
Preventing Future Issues: Storage and Protection
Once you’ve successfully removed the sticker, protecting the box is paramount. Use archival-quality polybags and outer boxes designed for retro games. These provide a barrier against dust, moisture, and UV light, which can fade artwork over time. Store your collection in a climate-controlled environment, ideally between 60-70°F (15-21°C) with relative humidity around 40-50%. Extreme temperatures and humidity fluctuations accelerate cardboard degradation and can reactivate old adhesives, causing new issues down the line.
Can I use water to remove price stickers?
No, water is highly discouraged for retro game boxes. Most vintage boxes are made from uncoated cardboard that absorbs water quickly, leading to warping, ink bleeding, and mold growth. Even a small amount of moisture can weaken the structural integrity of the box permanently.
What is the best solvent for removing sticker residue?
Isopropyl alcohol (70% or higher) is generally the safest option for most boxes. For tougher residues, a citrus-based adhesive remover can be effective but must be used with extreme caution and tested on a hidden area first. Avoid acetone, nail polish remover, or gasoline-based cleaners as they can damage the cardboard and ink.
Should I remove stickers from graded boxes?
If a box has already been professionally graded, do not attempt to remove stickers. Doing so will void the grade and significantly reduce the item's value. Grading companies assess the box as-is, including any stickers. Attempting removal after grading is considered tampering.
How do I know if my box has a plastic coating?
Run your finger lightly over the surface. If it feels smooth and slightly slippery, it likely has a plastic laminate or gloss coating. If it feels matte, rough, or like standard printer paper, it is uncoated cardboard. Coated boxes are more resistant to solvents but can still be damaged by excessive heat or abrasion.
Will removing a sticker affect the resale value?
Yes, but it depends on execution. A cleanly removed sticker with no residue or damage typically increases value compared to a box with a visible price tag. However, if the removal leaves ghost lines, discoloration, or texture changes, the value may decrease. Professional assessment suggests that minor imperfections from careful removal are often less detrimental than prominent stickers.