There is a specific kind of frustration that hits you when your favorite 1980s arcade game looks slightly blurred on a modern 4K TV. The colors are right, the sound is crisp, but something feels off. It’s like looking at a high-resolution photo of a painting instead of seeing the brushstrokes themselves. This is where MiSTer FPGA comes in. Unlike software emulators that run on a PC or Raspberry Pi and can introduce input lag or timing errors, MiSTer uses Field-Programmable Gate Array technology to recreate the original hardware logic of classic consoles. For purists and casual gamers alike, it offers the closest thing to playing on the actual cartridge without needing a CRT monitor.
Setting up this device isn’t just about plugging in cables. It requires a careful balance between digital precision and analog warmth. You need to understand how video signals travel from the board to your display, how to configure cores for different systems, and why certain settings matter more than others. If you get these details wrong, you might end up with scanlines that look like noise or aspect ratios that stretch your beloved sprites into ovals. This guide walks you through the entire process, from unboxing to fine-tuning your first session.
Understanding the Hardware Ecosystem
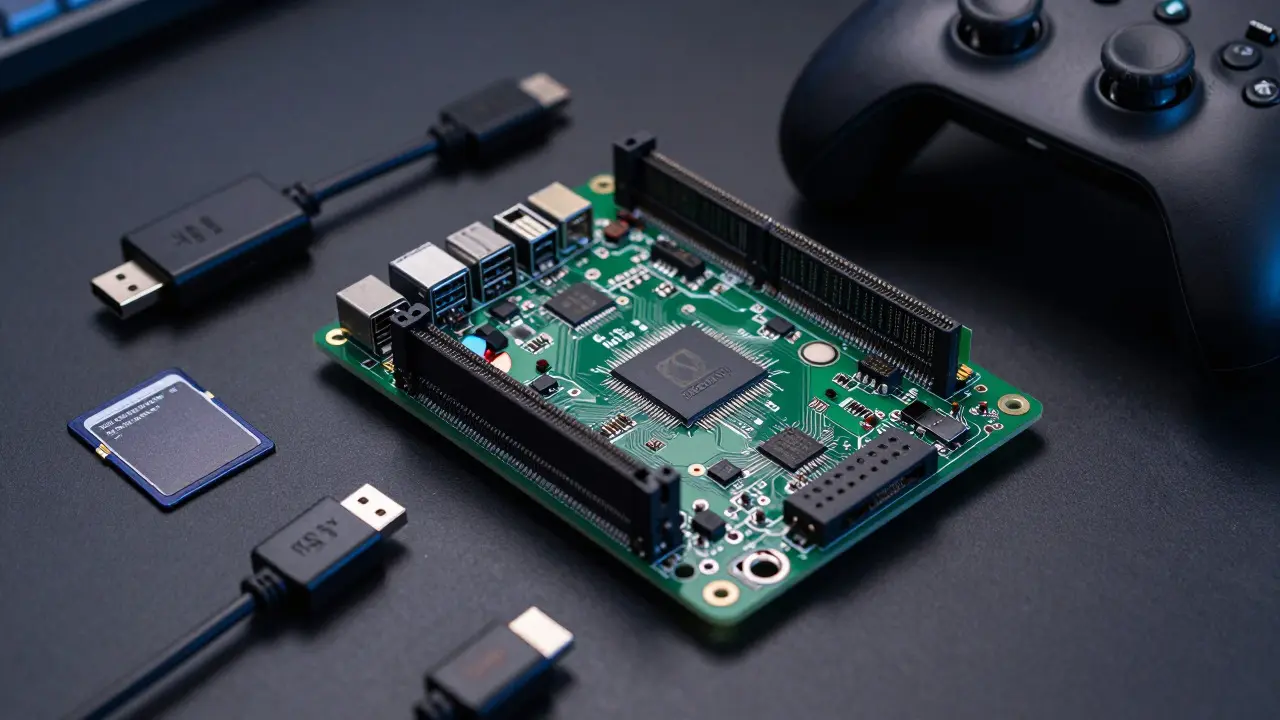
Before touching a screwdriver, it helps to know what you’re dealing with. The MiSTer FPGA board is not a standalone console; it is a development platform that relies on external components to function. At its heart is an Altera Cyclone V SoC, which handles both the FPGA logic and the ARM Cortex-A9 processor. This dual architecture allows the system to run complex cores while managing user interface tasks efficiently. However, the board itself does not have a screen or controllers built-in. You must supply these separately.
The most critical component for video quality is the HDMI output module. While the main board has an HDMI port, many users opt for dedicated HDMI modules or use the VGA port if they still own older monitors. The choice here dictates your maximum resolution and color depth. A standard setup usually involves connecting the board to a power source via USB-C, linking it to a display via HDMI, and attaching controllers using USB ports. It’s a modular system, meaning you can upgrade parts later without replacing the whole unit. This flexibility is one of its biggest selling points compared to fixed-function retro consoles.
- Main Board: Contains the FPGA chip and RAM. Handles core execution.
- HDMI Module: Converts digital video signals for modern displays. Essential for 1080p/4K output.
- Power Supply: Requires a stable 5V DC source. Fluctuations can cause crashes.
- Storage: Uses micro SD cards for OS and ROMs. SSDs offer faster load times.
Initial Boot and Firmware Installation
Getting the system to boot for the first time is straightforward but demands attention to file structure. You need to download the latest firmware image from the official GitHub repository. As of mid-2026, the stable release supports over 30 different console cores, including NES, SNES, Sega Genesis, and Arcade boards. Write this image to a micro SD card using a tool like Etcher. The card should be formatted as FAT32, though exFAT works for larger storage drives if you plan to store hundreds of ROMs.
Once the card is inserted and power is connected, the system will automatically detect the firmware. You’ll see a splash screen followed by the main menu. This interface is navigated entirely via USB keyboard or controller. Don’t worry if the graphics look basic at first; the default resolution is often set to 720p to ensure compatibility with all TVs. We will adjust this later. For now, just verify that the system recognizes your input devices. Plug in a standard Xbox-style controller, and it should map buttons instantly. If it doesn’t, go to the Settings tab and re-map inputs manually.
| Component | Purpose | Recommended Spec |
|---|---|---|
| Micro SD Card | Stores OS and small ROM sets | 32GB Class 10 minimum |
| SSD (Optional) | Faster loading for large cores | 256GB NVMe via USB adapter |
| HDMI Cable | Video transmission | HDMI 2.0 certified |
| USB Controller | User input | Xbox 360 wired preferred |
Configuring Video Output for Accuracy
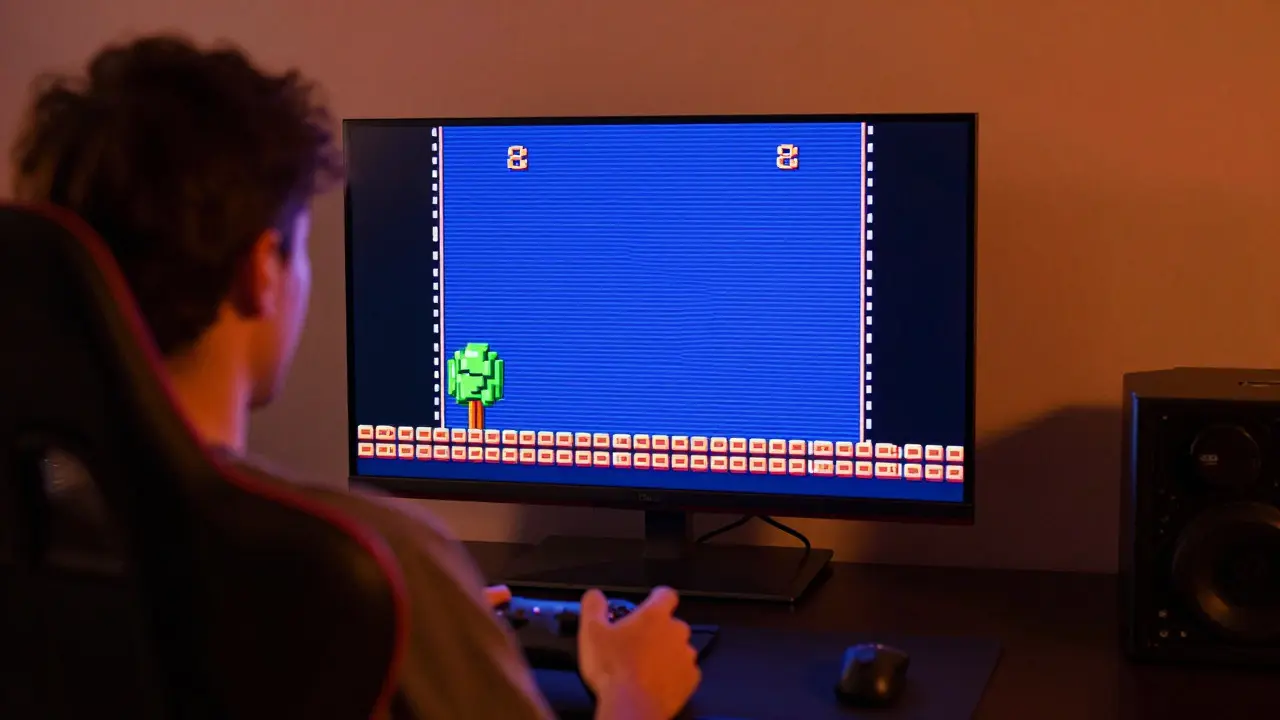
This is where most beginners make mistakes. The goal is to achieve "pixel-perfect" scaling, where each pixel on the original screen maps to a consistent block on your modern display. To do this, you need to disable any post-processing effects that blur or smooth the image. In the MiSTer menu, navigate to the System settings and find the Video section. Here, you’ll see options for Resolution, Aspect Ratio, and Scanlines.
Start by setting the Resolution to match your native display. If you have a 1080p TV, select 1920x1080. If you have a 4K panel, choose 3840x2160. Next, address the Aspect Ratio. Most retro games were designed for 4:3 screens. Modern TVs are 16:9. If you leave the ratio at "Auto," the system might stretch the image horizontally, distorting characters. Instead, select "Integer Scaling." This forces the image to scale in whole numbers (e.g., 2x, 3x), preserving the square shape of pixels. The trade-off is black bars on the sides, which is exactly what you want for accuracy.
Scanlines are subjective. Some players love them because they mimic the look of a CRT. Others hate them because they reduce brightness. If you enable scanlines, set the intensity to around 50%. Too high, and the screen looks dark; too low, and it looks washed out. You can also adjust the RGB order if colors look inverted, but this is rare with modern HDMI connections. Always test with a known game, like Super Mario Bros. 3, to check for tearing or color banding.
Loading Cores and Managing ROMs
With video sorted, it’s time to play. The MiSTer interface organizes games by core. Each core represents a specific hardware architecture. For example, the "NES" core handles Nintendo Entertainment System games, while the "Sega Genesis" core manages Sega cartridges. To add games, you simply copy ROM files to the corresponding folder on your SD card or SSD. The folder structure is strict: /roms/nes/, /roms/snes/, etc. Naming conventions matter too. Files should be named clearly so you can find them easily in the menu.
Not all cores are created equal. Some, like the Arcade cores, require specific BIOS files to run. These are legally gray areas, so ensure you have backups of your original cartridges before dumping them. Once a game is loaded, you may notice that performance varies. Heavy arcade boards like Street Fighter II might stutter if your SD card is slow. This is where an SSD shines. Switching to an external NVMe drive can reduce load times from seconds to milliseconds. Also, remember that some cores allow you to save states. This is a lifesaver for difficult levels, allowing you to pause and resume exactly where you left off, even if you turn off the power.
- Folder Structure: Keep ROMs organized by system name.
- BIOS Files: Required for PSX, Saturn, and some Arcade cores.
- Save States: Enable auto-save features in core settings for convenience.
- Performance Tips: Use SSD for fast-loading cores like Dreamcast or N64.
Troubleshooting Common Issues
Even with a solid setup, hiccups happen. The most common complaint is audio desync. If the sound lags behind the video, check your sample rate settings. In the Audio section, try switching from 44.1kHz to 48kHz. This often aligns better with modern display refresh rates. Another issue is flickering. If the screen flashes intermittently, it’s likely a power delivery problem. Ensure your USB-C power brick is rated for at least 3A. Cheap chargers often fail under load, causing the FPGA to reset randomly.
If a specific core won’t launch, verify the integrity of the ROM file. Corrupted downloads are a frequent culprit. Re-download the file and checksum it if possible. Also, keep your firmware updated. The MiSTer community releases updates frequently, fixing bugs and adding new features. However, don’t update during a critical gaming session. Back up your settings folder before applying new firmware. Finally, if colors look wrong, check your HDMI cable. A damaged cable can drop the blue channel, making everything look pinkish. Swapping the cable is the quickest fix for this visual glitch.
Frequently Asked Questions
Do I need a CRT monitor for MiSTer FPGA?
No, a CRT is not required. While CRTs provide authentic phosphor decay, modern LCD and OLED panels work perfectly well. With proper integer scaling and scanline settings, you can achieve a very close approximation of the original experience on a flat-screen TV.
What is the difference between MiSTer and EmulationStation?
MiSTer is a hardware-based platform that recreates console logic using an FPGA. EmulationStation is a front-end interface typically used with software emulators on Linux PCs. MiSTer offers lower latency and higher accuracy because it mimics the physical circuitry rather than simulating it in software.
Can I use wireless controllers with MiSTer?
Yes, but wired controllers are recommended for competitive gaming due to lower input lag. Wireless Bluetooth controllers work fine for single-player experiences. Just ensure your Bluetooth dongle is compatible with the Linux kernel version running on the MiSTer board.
How much storage space do I need for a full retro library?
It depends on the systems you play. A complete collection of NES, SNES, and Genesis games might take up only 20-30GB. However, adding PlayStation, N64, and Dreamcast titles can quickly push you past 200GB. An external 1TB SSD is a safe investment for serious collectors.
Is MiSTer FPGA legal to use?
The hardware itself is legal. The legality of ROMs depends on your region and whether you own the original cartridges. Dumping games from your own copies is generally accepted in the preservation community, but distributing them commercially is copyright infringement.