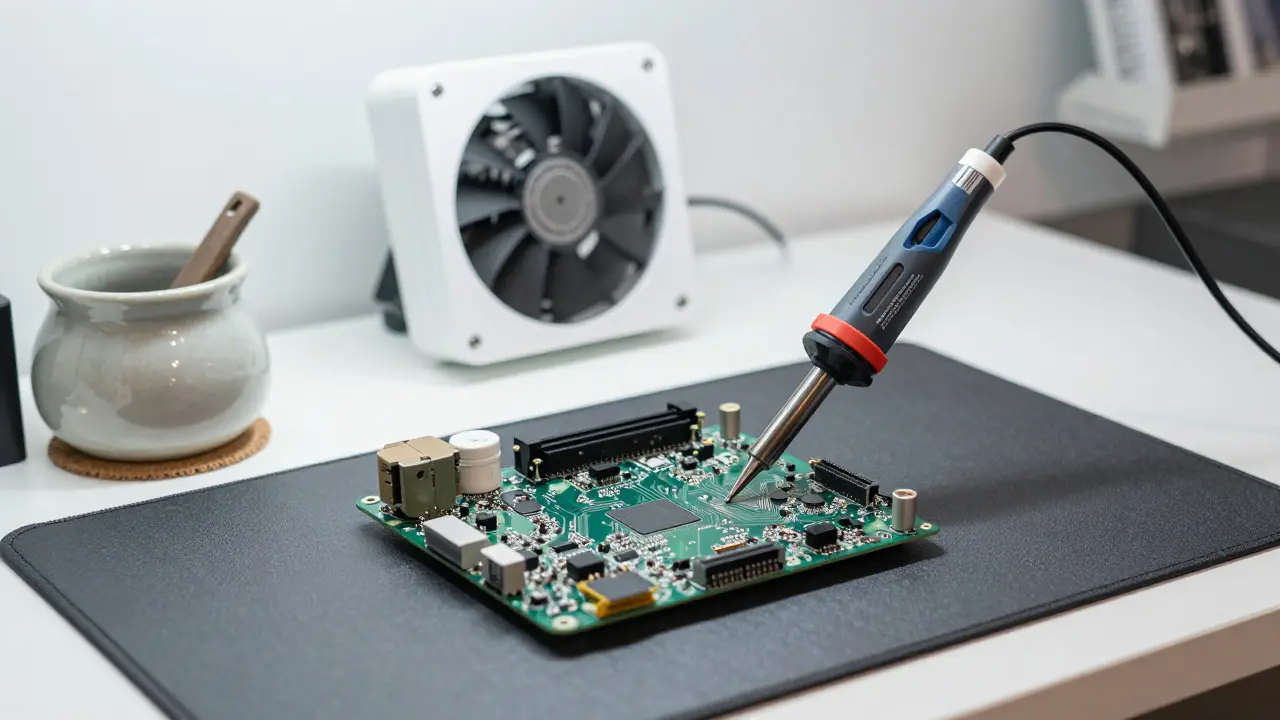
Most people assume that fixing a video game console is just about swapping out parts. But if you’ve ever opened up an Xbox or PlayStation, you know the truth: it’s mostly tiny chips and delicate traces. The real danger isn’t breaking the board; it’s burning yourself, melting the wrong component, or killing the mainboard with static electricity. Soldering safety in console repair is less about fancy tools and more about respecting the heat and the static.
This guide covers how to handle high-temperature work without turning your desk into a fire hazard or destroying a $300 motherboard. We’ll look at the specific risks of modern consoles, which use Ball Grid Array (BGA) chips that require precise temperature control, and how to set up a workspace that protects both you and the hardware.
Setting Up a Safe Workspace
Before you even plug in a soldering iron, you need to manage the environment. Consoles are compact, which means heat builds up fast. If you’re working on a small handheld like a Nintendo Switch or a Steam Deck, the thermal mass is low, so components overheat quickly. For larger units like the PS5 or Xbox Series X, the challenge is different: you’re dealing with large heatsinks and dense circuit boards.
- Ventilation: Solder fumes contain rosin and lead (if using legacy alloys). Use a fume extractor fan positioned directly above the work area. Opening a window helps, but a dedicated fan is safer for prolonged sessions.
- Fire Safety: Keep a small fire extinguisher rated for electrical fires (Class C) nearby. Do not use water on an active electronic board. Have a ceramic mat or wooden block under your iron stand to catch any stray molten solder drops.
- Cable Management: Loose cables can accidentally get caught by a hot iron tip. Keep power cords routed away from the immediate work zone.
A common mistake is working in a drafty room. While ventilation is good, a strong breeze can blow smoke into your eyes or cool down the solder joint unevenly, leading to cold joints. Aim for gentle, consistent airflow.
ESD Protection: The Invisible Killer
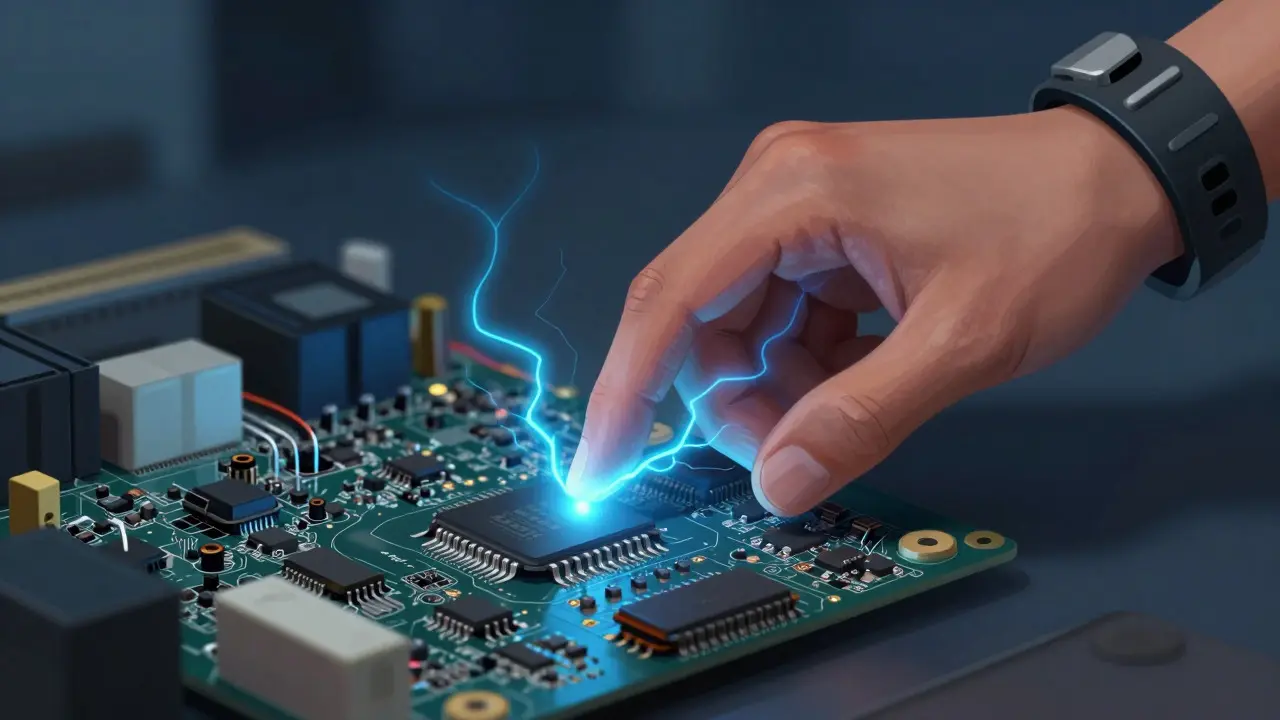
Electrostatic Discharge (ESD) is the number one cause of "mystery" failures in console repairs. You might fix a dead power button, only for the system to fail two days later because a static shock damaged a sensitive GPU pin during handling.
Modern consoles use processors that are highly sensitive to voltage spikes as low as 100 volts. Here is how to protect them:
- Ground Yourself: Wear an anti-static wrist strap connected to a grounded point on your workbench. Do not rely on touching the metal case of the console; the paint and plastic insulators often break the ground connection.
- Use Anti-Static Mats: Place the console on a conductive mat that is also grounded. This dissipates charge from the device itself.
- Check Your Shoes: Synthetic rubber soles can build up massive static charges while walking across carpet. Change into cotton shoes or slippers before starting work.
If you don’t have a wrist strap, a simple trick is to touch a bare metal part of your computer tower (which is plugged into a wall outlet) before every time you pick up the console. It’s not perfect, but it’s better than nothing.
Choosing the Right Iron and Temperature
Not all soldering irons are created equal. For console repair, you need precision and temperature stability. A cheap 40-watt iron from a hardware store will struggle to melt BGA balls or reflow thick pads without overheating the surrounding components.
| Task | Iron Type | Temp Range (°C) | Notes |
|---|---|---|---|
| Through-hole components (capacitors, resistors) | Standard conical tip | 300 - 320 | Keep dwell time under 3 seconds to avoid lifting pads. |
| SMD rework (removing small ICs) | Knife or chisel tip | 320 - 350 | Use plenty of flux to help heat transfer. |
| BGA Chip Reflow (GPU/CPU) | Hot Air Station | 300 - 380 (Air Temp) | Requires stencil and careful air flow control. |
BGA Reflow is a process used to re-melt the solder balls underneath a chip to fix cracked connections or apply new thermal paste. It requires a hot air station rather than a standard iron. The key here is not just heat, but airflow. Too much air blows the flux away; too little doesn't heat the chip evenly. Start at 300°C and increase slowly while monitoring the chip's surface temperature with an infrared thermometer.
Flux: The Unsung Hero
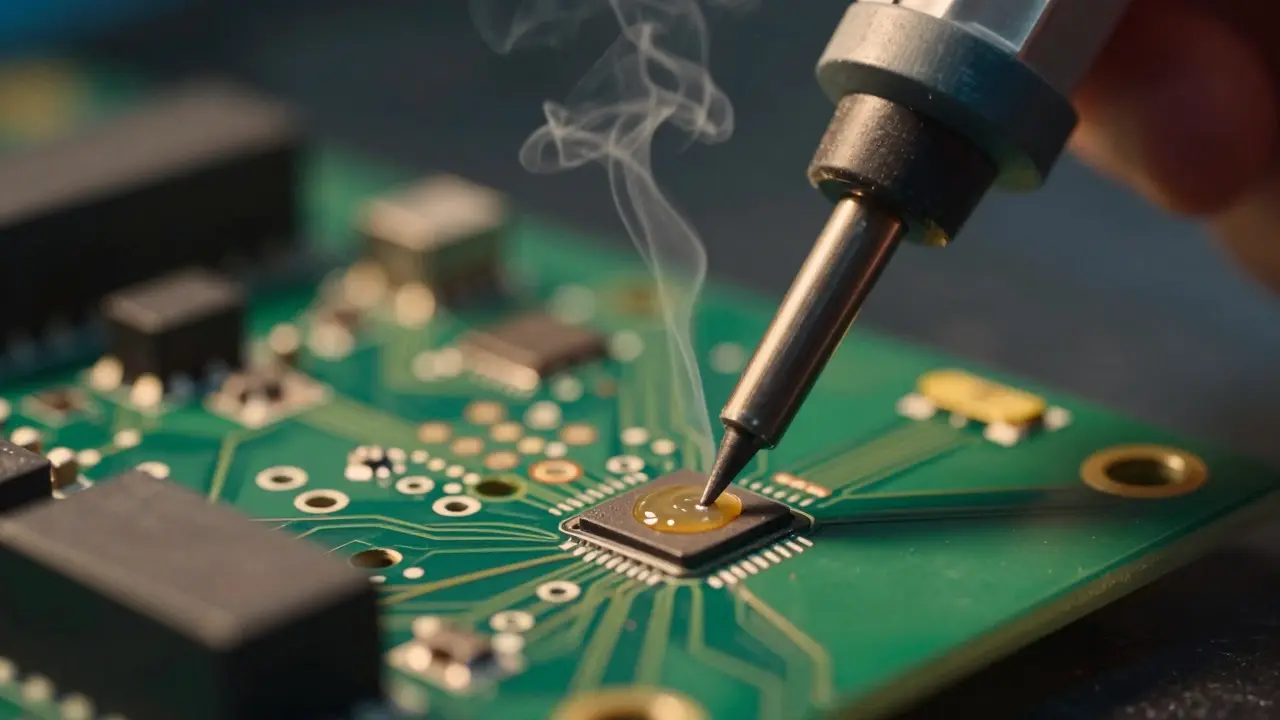
Many beginners think flux is optional. It isn’t. Flux cleans oxidation from the metal surfaces and allows the solder to flow properly. Without it, you get brittle, shiny-looking joints that fail within weeks.
For console repair, use a no-clean flux specifically designed for electronics. Avoid acid-core fluxes found in plumbing kits, as they are corrosive and will eat through copper traces over time. Apply flux generously before heating. If you’re removing a component, add more flux to help lift it off the pad. After soldering, clean the residue with isopropyl alcohol (99%) and a soft brush. Leftover flux can attract dust and cause short circuits in tight spaces.
Common Pitfalls to Avoid
Even experienced technicians make mistakes. Here are the most frequent errors in console repair:
- Overheating Pads: Holding the iron on a single point for more than 5 seconds can lift the copper pad off the board. Once a pad lifts, you need a flying wire or a specialized repair technique to fix it.
- Ignoring Thermal Paste: When replacing a GPU or CPU, always remove old thermal paste completely. Residue acts as an insulator, causing the chip to run hotter than usual.
- Using the Wrong Solder: Lead-free solder has a higher melting point (around 217°C) compared to leaded solder (183°C). If you mix them, you create a messy, unpredictable alloy. Stick to one type per project.
- Short Circuits from Solder Bridges: Tiny bits of solder can connect adjacent pins. Inspect your work under a magnifying lamp after every step. A single bridge can kill the entire board.
Testing Before Closing Up
Never close a console immediately after repair. Power it on with the case open first. Listen for unusual noises, such as buzzing capacitors or whining coils. Check for any components that feel excessively hot to the touch. Use a multimeter to verify voltage levels at key test points if your manual provides them.
Once the system boots successfully, let it run for at least 30 minutes. This stress test ensures that thermal expansion hasn’t caused any new cracks in the solder joints. Only then should you reassemble the unit.
Frequently Asked Questions
Do I need a fume extractor for occasional repairs?
Yes. Even short sessions release harmful fumes. A basic USB-powered fume extractor is inexpensive and significantly reduces inhalation risk. At minimum, ensure the room is well-ventilated.
What is the best temperature for desoldering SMD components?
Start at 320°C. Higher temperatures damage the board, while lower ones fail to melt the solder. Use flux to assist heat transfer and keep the iron contact time brief.
Can I use a hair dryer for BGA reflow?
Technically yes, but it’s risky. Hair dryers lack temperature control and consistent airflow. A dedicated hot air station allows precise adjustment, reducing the chance of blowing off nearby components.
How do I know if a solder joint is bad?
Bad joints often look dull, grainy, or concave. Good joints are shiny, smooth, and form a concave fillet. If a joint looks like sandpaper, reheat it and add fresh solder.
Is lead-free solder harder to work with?
Yes. It melts at a higher temperature and flows less easily. You need a hotter iron and more flux. However, it is non-toxic, making cleanup simpler and safer for long-term health.