When a classic arcade cabinet or NES cartridge stops working, it’s rarely a mystery. More often, it’s a dead capacitor, a corroded connector, or a broken voltage regulator. The real skill isn’t in swapping parts-it’s in knowing which part to swap. That’s where the right testing tools make all the difference. Without them, you’re just guessing. With them, you’re fixing with confidence.
Start with the Basics: The Digital Multimeter
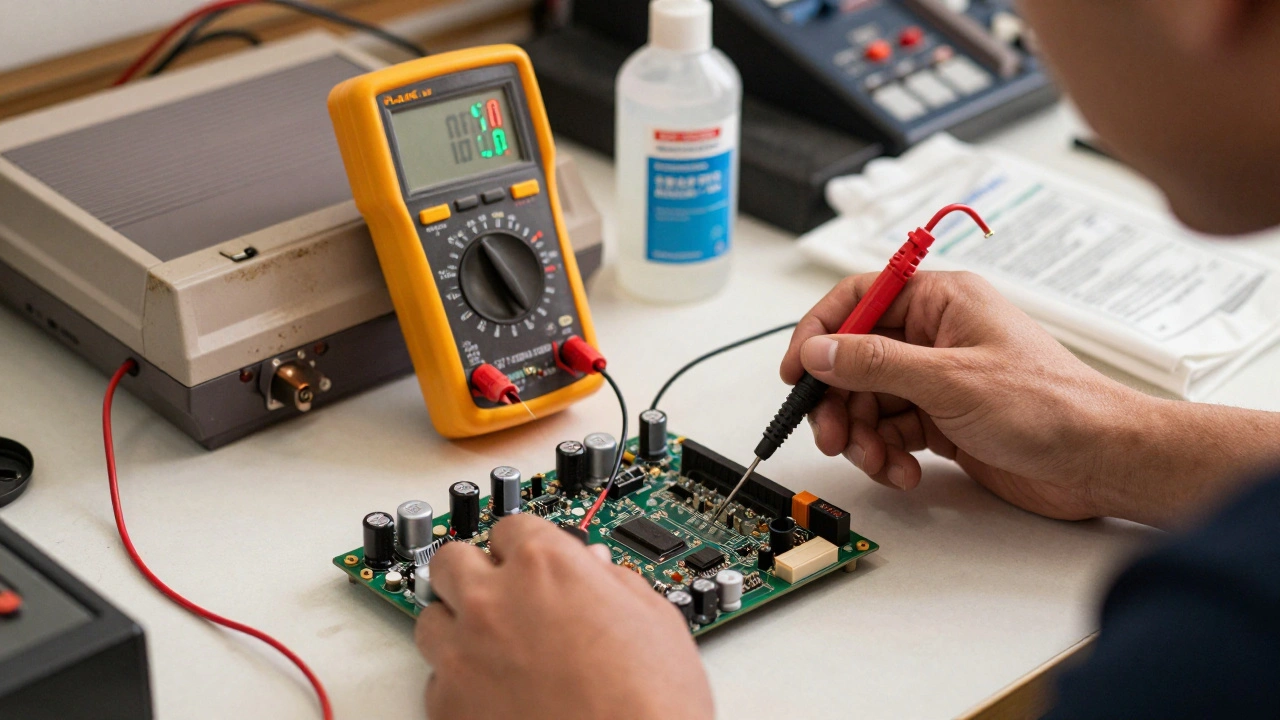
You don’t need fancy gear to start fixing video game hardware. The first tool every repair tech should own is a good digital multimeter. It’s not glamorous, but it’s the foundation. A multimeter checks voltage, continuity, resistance, and diode function-all critical for spotting bad power supplies, blown fuses, or broken traces.
Professional arcade repair shops rely on the Fluke 117 is a true RMS multimeter designed for reliability in demanding environments, with high accuracy for voltage and resistance measurements. It’s pricey, but if you’re doing this regularly, it pays for itself. For beginners, a budget option like the ZOYI ZT-7 is a dual-function device combining a 2-channel oscilloscope and digital multimeter with 10,000-count resolution works well under $80. It’s not lab-grade, but it’ll catch 90% of the issues you’ll see in retro consoles.
Always check power rails first. Most dead systems have a voltage out of range-usually 5V or 12V. If you’re getting 3.2V where you should have 5V, something’s drawing too much current or a regulator’s fried. Don’t replace the chip yet. Use the multimeter to trace back to the input, check the capacitors around the regulator, and test for shorts on the board.
Signal Problems? You Need an Oscilloscope
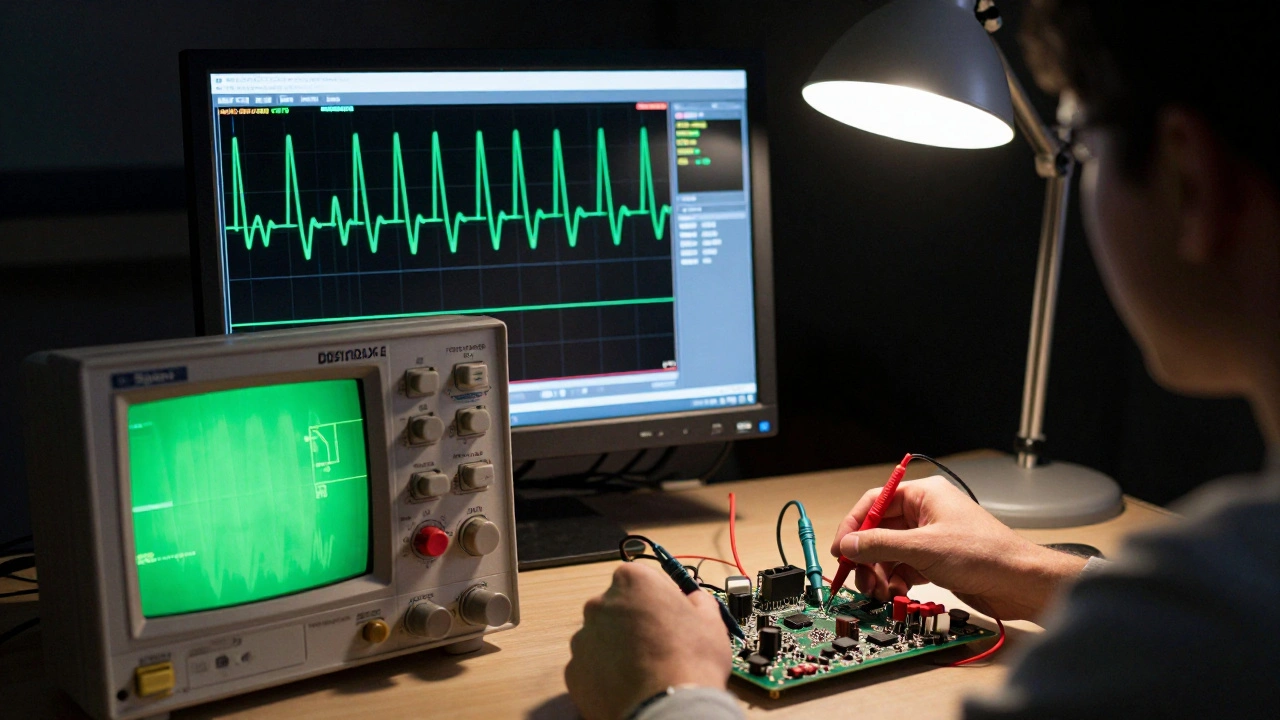
Not every problem shows up as a voltage drop. Some games boot up but show a blank screen. Others flicker, freeze, or output garbled video. That’s where the oscilloscope is an electronic test instrument that captures and displays voltage signals over time, allowing technicians to visualize waveforms, clock signals, and data streams comes in.
Modern retro repairers use the Siglent SDS1104X-E is a 100MHz, 4-channel digital oscilloscope with deep memory and USB connectivity, ideal for analyzing clock, sync, and video signals in arcade PCBs. It’s not the cheapest, but it’s the sweet spot for this work. You need at least two channels to compare signals-like clock vs. data-or to see how a signal changes before and after a buffer chip.
For example, if a SNES doesn’t display video, check the RGB output pins. A healthy signal should show clean square waves at 15.7kHz for horizontal sync. If it’s flatlined, jagged, or noisy, the video encoder or nearby capacitors are failing. You can’t see that with a multimeter. Only an oscilloscope shows you the truth.
Older repair shops still use Tektronix or HP scopes, but they’re heavy, analog, and hard to find. Modern digital scopes are cheaper, lighter, and come with save functions. You can record a good signal from a working board and compare it to a bad one. That’s how pros do it.
Test Carts: Console-Specific Diagnostic Powerhouses
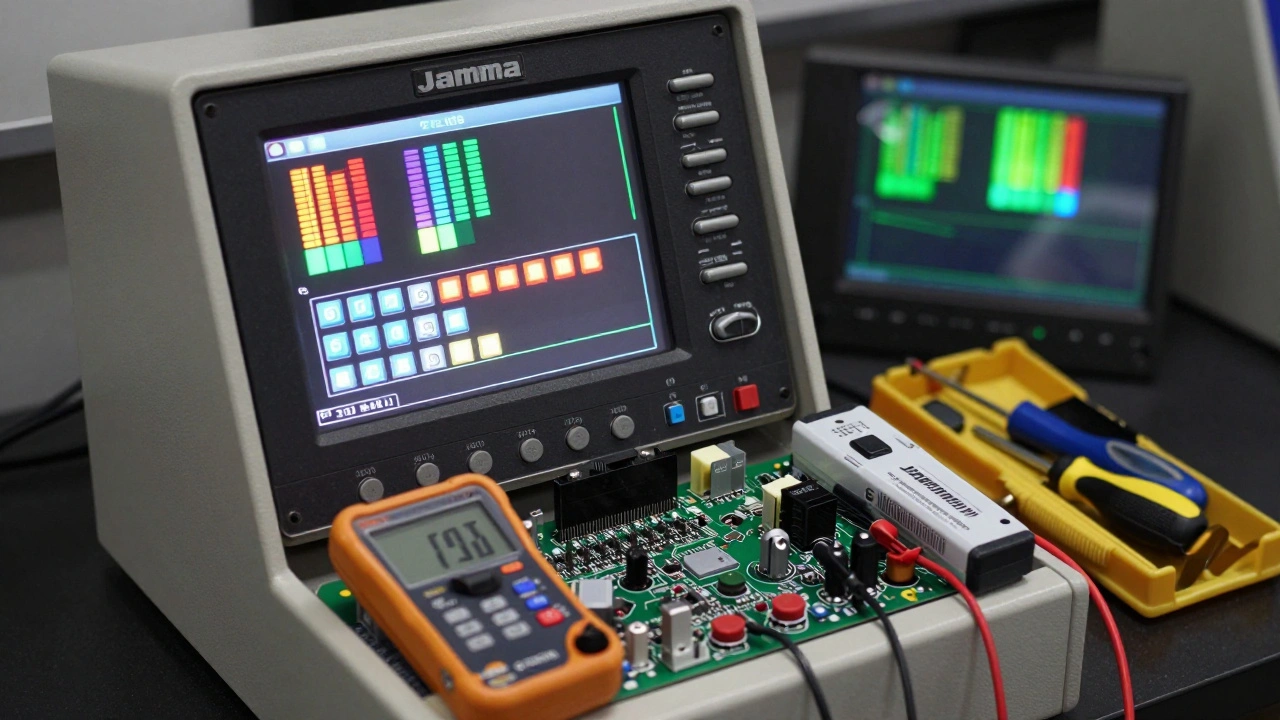
Every major console had its own diagnostic tool. These weren’t just testers-they were mini-computers built to talk directly to the game board. They’re called test carts are specialized hardware devices that plug into game consoles or arcade PCBs to run built-in diagnostics, test video/audio output, and identify faulty components without needing a game cartridge.
For arcade cabinets, the Midway Universal Test Rig is a standardized platform that interfaces with Jamma-compatible PCBs to test video, audio, and input functions across dozens of game titles is the gold standard. It plugs into the Jamma harness and gives you a test menu on the screen. You can check each button, test each color output, and even trigger a self-diagnostic mode.
For home consoles, the Atari CAT Box is a diagnostic tool developed by Atari to test the internal circuitry of Atari 2600 and 5200 systems using built-in ROM-based diagnostics was legendary. It could tell you if the problem was in the CPU, the RAM, or the RF modulator-all without a game cartridge.
Today, you can find clones and modern equivalents. The Jamma Test Box is a portable arcade test unit with integrated monitor and input controls for validating PCB functionality without installing it in a cabinet is still widely used. If you’re repairing 10+ arcade boards a month, these are worth the investment. For hobbyists, they’re nice to have-but not essential.
Capacitors Die First: ESR Meters and Discharge Tools
Older video game hardware is full of electrolytic capacitors. They dry out. They bulge. They leak. And they’re the #1 cause of "dead" systems that turn out to be fixable.
The Velleman Atlas ESR70 is a handheld meter designed to measure Equivalent Series Resistance (ESR) of capacitors in-circuit without desoldering, enabling quick identification of failing electrolytics is a game-changer. You don’t need to remove the capacitor. Just clip the probes on the leads, and it tells you if the ESR is too high. A healthy cap might read 0.5Ω. A bad one reads 10Ω or higher.
For precision, pair it with the Pro1-100KHz LCR Meter is a high-accuracy instrument that measures capacitance, inductance, resistance, and ESR with 0.1% precision, suitable for testing surface-mount and through-hole components. It’s expensive, but if you’re restoring rare boards, it’s worth it. You can measure a capacitor’s actual value, not just its health.
And don’t forget safety. Old arcade monitors and power supplies store dangerous voltage-even when unplugged. The ZIBOO 1000V Capacitor Discharge Pen is a safety tool that safely drains stored charge from high-voltage capacitors before handling or desoldering is a must. One wrong touch and you’re learning the hard way.
Thermal Imaging and Power Testing: The Next Level
Some problems are invisible until they overheat. A resistor might look fine, but if it’s running at 150°C, it’s failing. That’s where thermal imaging is a non-contact technique that visualizes heat distribution across electronic components, helping technicians locate overheating ICs, regulators, and shorted traces helps.
The FLIR TG165-X is a handheld thermal camera with 160x120 resolution and spot temperature measurement, ideal for identifying hotspots on game boards and power supplies is affordable and easy to use. Plug it in, power up the board, and scan. A hot spot near a voltage regulator? That’s your culprit. A cold spot where there should be heat? Maybe the chip’s dead.
For power supply testing, a DC bench power supply is a variable voltage and current source used to safely power up malfunctioning PCBs while monitoring current draw to detect shorts or overloads is essential. Instead of plugging in a damaged board to wall power, you feed it controlled 5V or 12V. If the current spikes to 3A when it should be 0.5A, you’ve found a short. You can also slowly ramp up voltage to see at what point the board fails.
Cleaning and Mechanical Access: The Forgotten First Step
Before you even grab the multimeter, clean the contacts. Seriously. Over half of "dead" cartridges and console ports just need a wipe with isopropyl alcohol is a high-purity solvent used to dissolve oxidation and grime from cartridge edge connectors and console ports without damaging plastic or metal and a cotton swab.
Use 90%+ isopropyl. Lower grades leave residue. A quick clean can revive a cartridge that’s been sitting for 20 years. Same with the controller ports on a PlayStation 2 or Xbox. Corrosion builds up. The contacts get brittle. Clean them before you start desoldering.
And don’t forget the tools to open the systems. Each console has its own screw types. The Nintendo Game Boy is a handheld console that uses tri-wing screws, which require specialized screwdriver bits for access to internal components uses tri-wing. The Wii U is a home console that requires Torx T6 and T8 security screws for case access uses Torx T6 and T8. The Nintendo DS is a dual-screen handheld that requires a unique 3.8mm security bit for disassembly needs a 3.8mm security bit. A full screwdriver bit set with swivel heads costs $30 and saves hours of frustration.
Repair Philosophy: Measure Before You Replace
The biggest mistake new repairers make? Replacing parts before they know they’re broken. I’ve seen people swap out CPUs, RAM, and even motherboards-only to find out it was a corroded connector or a bad capacitor.
The right workflow is simple:
- Visual inspection: Look for bulging caps, burn marks, or corrosion.
- Clean contacts: Use isopropyl alcohol on all connectors.
- Power check: Use the multimeter to verify 5V, 12V, and ground.
- Signal check: Use the oscilloscope to confirm clock, sync, and video signals.
- Component test: Use the ESR meter to check capacitors in-circuit.
- Repair: Only then do you solder, replace, or reflow.
That’s how professionals do it. No guessing. No shotgun repairs. Just logic, measurement, and patience.
What You Really Need: Tool Tiers for Different Levels
You don’t need to buy everything at once. Here’s what you actually need based on your level:
| Level | Tools | Cost (USD) |
|---|---|---|
| Beginner | Digital multimeter, isopropyl alcohol, screwdriver set, basic soldering iron | $80-$150 |
| Intermediate | ESR meter, oscilloscope (like ZOYI ZT-7), capacitor discharge pen, thermal camera | $300-$600 |
| Professional | Fluke 117, Siglent SDS1104X-E, Pro1-100KHz LCR meter, Jamma test box, DC bench supply, isolation transformer | $1,500+ |
Start low. Build up. You’ll know when you’re ready for the next step.
Do I need an oscilloscope to fix my NES?
Not always. Most NES issues are simple: bad power supply, corroded cartridge slot, or dead capacitors. A multimeter and cleaning will fix 80% of them. But if the game boots but shows no video, or the screen flickers, then yes-you need an oscilloscope to check the video signal output. It’s the only way to know if the PPU (picture processing unit) is sending a clean signal.
Can I use a cheap multimeter from Amazon?
You can, but be careful. Many budget multimeters don’t handle high-frequency noise well, which can give false readings on game boards. A true RMS meter like the Fluke 117 or even a decent Hantek model will give you reliable readings. Avoid the $15 no-name brands-they’re dangerous if you’re measuring live circuits.
Are test carts still made today?
Yes, but mostly by hobbyists and small shops. Companies like Retro-Bit and Arcade-Mods produce modern versions of classic test carts for NES, SNES, Genesis, and arcade boards. They’re not cheap-often $200-$500-but they save hours of troubleshooting. For collectors and repair shops, they’re essential.
What’s the most common failure in old game hardware?
Electrolytic capacitors. They dry out over time, especially in warm environments like game rooms or basements. You’ll see them bulging or leaking on power supply boards and video output circuits. An ESR meter can catch them before they kill the whole system.
Is thermal imaging worth it for home repair?
If you’re repairing more than a few systems a year, yes. It’s the fastest way to find overheating regulators or shorted ICs. A FLIR TG165-X costs under $200 and pays for itself in time saved. For one-off repairs, it’s nice but not critical.