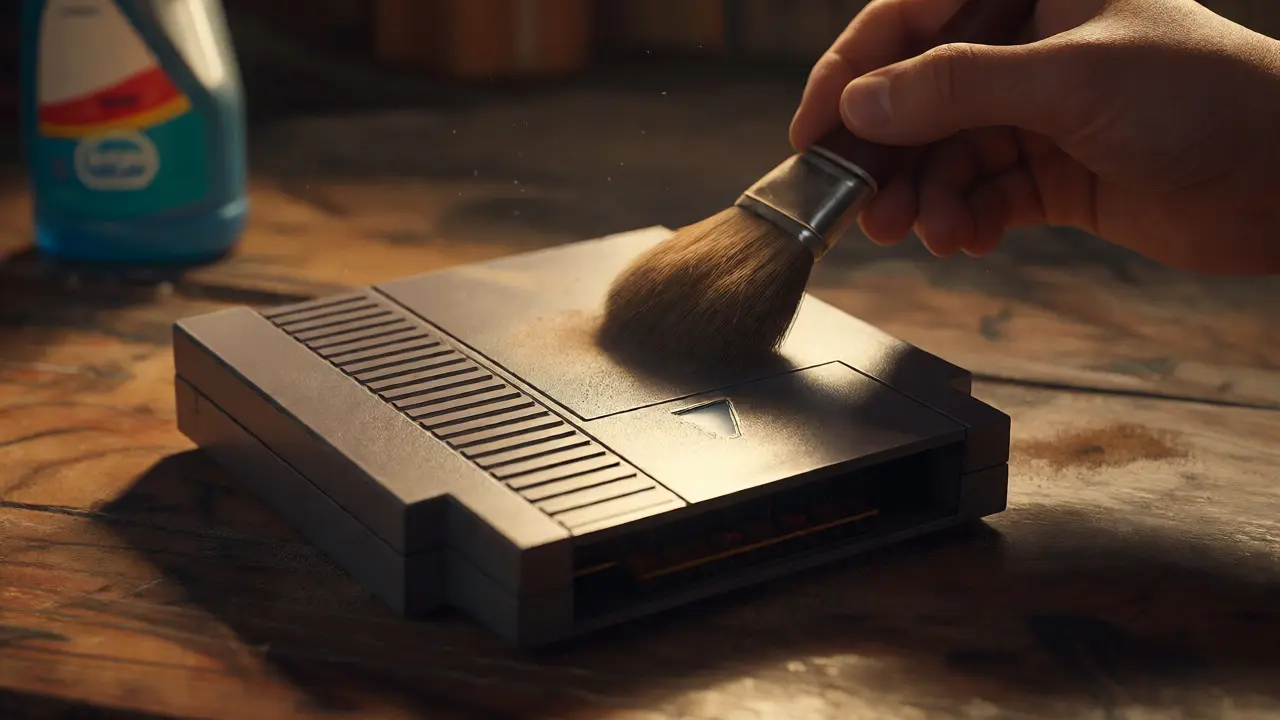
You just found a sealed copy of Super Mario Bros. at a garage sale for five bucks. Your heart races. You rush home, grab the nearest household cleaner, and scrub away thirty years of dust. Two weeks later, you get your grading report back: a 7.0 instead of the predicted 9.2. Why? Because you didn't clean it; you ruined it. The difference between a $50 card and a $500 card often isn't the rarity-it's the surface condition. And nothing kills value faster than improper cleaning.
If you are prepping video games for companies like Wata, VGA, or Heritage Auctions, you need to understand that these graders are not looking for "clean" in the way your mom taught you. They are looking for originality. A dirty game is a mystery; a cleaned-and-scratched game is a tragedy. Here is how to navigate the minefield of pre-grading prep without destroying your potential profit.
The Golden Rule: Less Is More
Before you touch anything, ask yourself this: does the dirt actually obscure the artwork or the barcode? If the answer is no, walk away. Professional graders prefer an untouched artifact over a aggressively polished one. They can spot micro-abrasions from cotton swabs or chemical residues from window cleaner under their high-intensity lamps. If you must clean, your goal is minimal intervention. Think of it as archaeological preservation, not housekeeping.
For loose cartridges, specifically those for systems like the Nintendo Entertainment System (NES) or Sega Genesis, the plastic shell is your first barrier. Over time, UV exposure causes yellowing, but physical grime is different. Use a dry, soft-bristled brush-like a fresh makeup brush or a dedicated camera lens blower-to remove loose dust. Never use paper towels. Wood pulp fibers scratch acrylic and polycarbonate surfaces with every swipe.
Disc Restoration: The Delicate Art
Optical media, whether it’s a CD-ROM for the PlayStation 1 or a DVD for the Xbox 360, requires extreme care. The data layer sits just beneath the top protective coat. Scratches here are fatal to playability and grade.
- Never wipe radially: Always wipe from the center hole outward to the edge. Circular scratches follow the spiral track of the data, making them harder for error-correction algorithms to fix.
- Avoid alcohol: Isopropyl alcohol can cloud certain types of optical disc coatings. Stick to distilled water or a specialized optical disc cleaning solution.
- Use microfiber only: Microfiber cloths designed for eyeglasses or cameras are safe. T-shirt cotton is too coarse.
If a disc has stubborn smudges, apply the cleaning fluid to the cloth, not directly onto the disc. Liquid seeping into the label area can delaminate the sticker, causing bubbling that cannot be fixed. Once the disc is dry, inspect it under a bright light. If you see rainbow patterns or haze, stop. That is likely chemical damage or deep abrasion. Do not try to polish it out with toothpaste or baking soda. Those abrasive pastes remove material, thinning the disc and potentially altering its balance during spin tests.
Cartridge Contacts: The Corrosion Trap
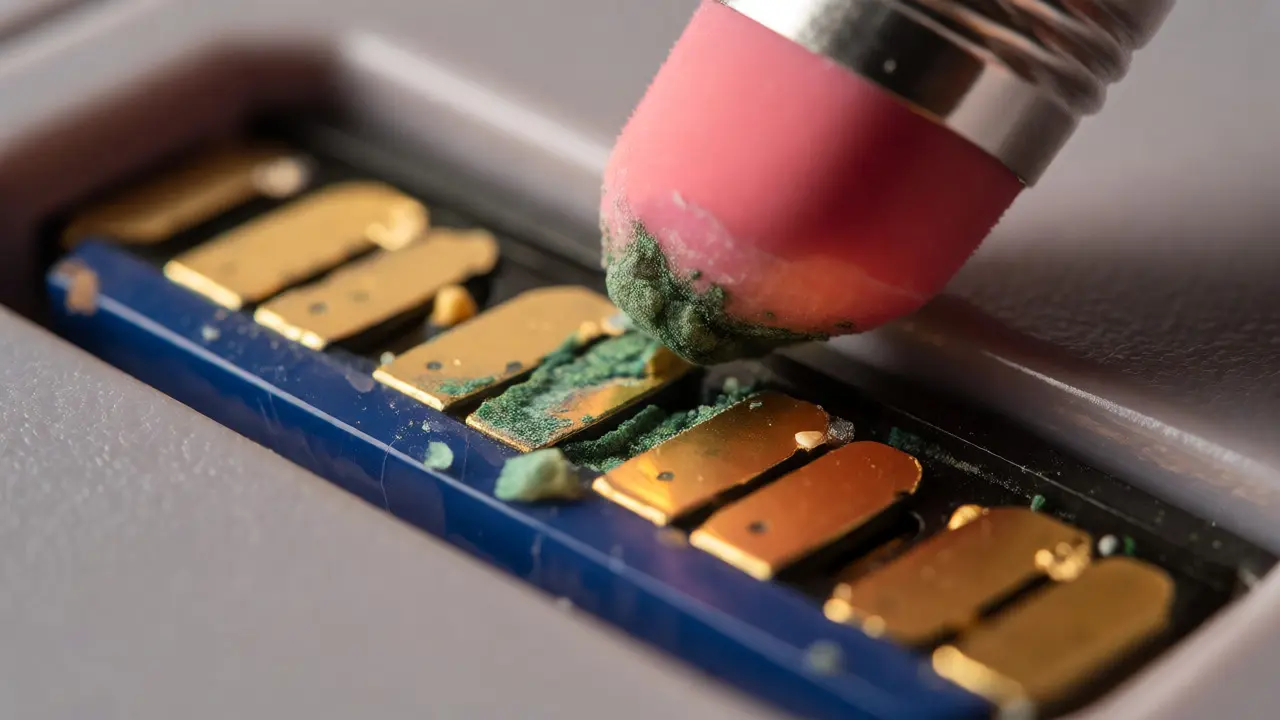
This is where most beginners mess up. NES and SNES cartridges have exposed metal contacts that oxidize over time, turning green or black. You might think, "I'll just scrape that off." Wrong. Scraping removes the gold plating, exposing the copper underneath, which corrodes faster. Instead, use a pencil eraser (the pink kind, not the white abrasive one) to gently rub the contacts. This lifts oxidation without removing metal.
After erasing, blow away the rubber debris. If residue remains, dip a cotton swab in 90%+ isopropyl alcohol and lightly dab the contacts. Let them air dry completely before inserting them into a console or case. Never use WD-40 or electrical contact cleaner sprays directly on the cartridge; they leave oily residues that attract more dust and can degrade the plastic casing over time.
Manuals and Inserts: Paper Fragility
Paper components are often the deciding factor in reaching a high grade like a 9.8 NM-MT+. Moisture is the enemy. If a manual has slight water staining, do not iron it or press it with heavy books while damp. You will create permanent creases. Instead, place it between sheets of acid-free archival tissue paper and let it air dry in a low-humidity environment.
| Component | Safe Method | Forbidden Substance | Risk Level |
|---|---|---|---|
| Plastic Cartridge Shell | Dry microfiber, mild soap water | Acetone, Window Cleaner | High (Clouding) |
| Optical Disc Surface | Distilled water, Optical cleaner | Alcohol, Abrasives | Critical (Data Loss) |
| Metal Contacts | Pencil eraser, IPA 90% | WD-40, Steel Wool | Medium (Corrosion) |
| Instruction Manual | Air drying, Archival sleeves | Moisture, Tape | High (Staining) |
Box Inspection: Hiding Flaws vs. Creating Them
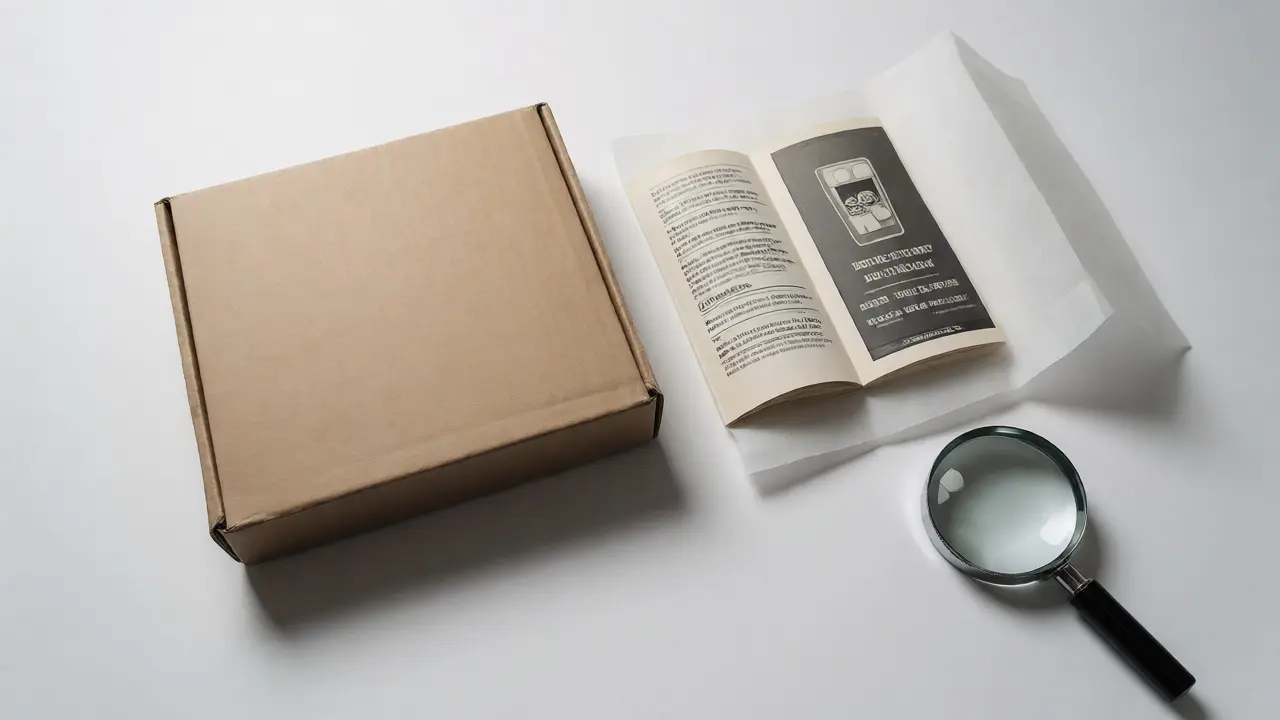
When grading Complete In Box (CIB) sets, the box condition carries significant weight. Many collectors try to hide corner dings by pressing the cardboard flat. This often cracks the printed ink along the fold lines. If a corner is bent, leave it alone. Graders assess the severity of the bend. If you try to "fix" it and crack the color, you drop from a minor flaw to a major defect.
Check for tape residue. Old price stickers leave adhesive behind. Do not peel this off with your fingernail if it feels resistant. Use a small amount of lighter fluid (naphtha) on a Q-tip to dissolve the glue, then immediately wipe with a clean dry cloth. Test this on an inconspicuous area first. Some vintage inks are solvent-sensitive and will lift right off.
The Final Check Before Sealing
Once you’ve done minimal cleaning, let everything sit for 24 hours. This allows any moisture from cleaning agents to fully evaporate. Trapped humidity inside a sealed grading slab can cause fogging or mold growth months later. Inspect each item one last time under a magnifying glass. Look for stray lint from your cleaning cloth. A single piece of fuzz stuck to a disc label can cost you points.
Remember, grading services charge for authentication and encapsulation, not restoration. They want to know what the game looked like when it left the factory. By keeping your hands light and your tools specific, you preserve the integrity of the item. You aren't trying to make it look new; you're trying to prove it was never abused. That distinction is worth hundreds of dollars.
Can I use Windex to clean my game case?
No. Most window cleaners contain ammonia, which can react with the polycarbonate or acrylic used in game cases, causing them to become brittle or cloudy over time. Stick to mild dish soap diluted in distilled water if necessary, or simply use a dry microfiber cloth.
Should I clean the inside of a cartridge?
Generally, no. Opening a cartridge breaks the factory seal, which can lower the grade if the service considers it tampered. Only open a cartridge if there is visible debris affecting the pins, and even then, use compressed air rather than liquids.
What if I accidentally scratched a disc?
If the scratch is superficial and radial (center to edge), it may not affect the grade significantly. Deep circular scratches usually result in a lower score because they impact read reliability. Do not attempt professional resurfacing yourself unless you have the equipment; DIY kits often remove too much material.
Is it better to submit a dirty game or a cleaned game?
It depends on the type of dirt. Loose dust should be blown off. Sticky residue from old labels should be carefully removed. However, if the dirt is ingrained and requires harsh chemicals to remove, it is often safer to submit it as-is. Graders can sometimes clean minor grime themselves, but they cannot undo chemical damage.
How do I handle yellowed plastic?
Yellowing is caused by UV exposure and bromine flame retardants in the plastic. Retro-brighting (using hydrogen peroxide and UV light) can reverse this, but it is a risky process that can weaken the plastic or alter the texture. For grading purposes, original yellowing is often accepted as part of the item's history, whereas aggressive retro-brighting can look artificial.