The Case for Capturing the Raw Signal
There is nothing quite like playing a classic console on a modern display, but there is something even better when you can preserve that experience exactly as intended. When you plug an old system into a contemporary television, the image usually suffers from blurring or artificial smoothing. You lose the sharp edges and distinct colors that made those games feel alive. The goal here is not just to play, but to archive. To capture original video game footage with upscalers and devices like the OSSC, you need a clear signal path that respects the hardware's limitations.
The Open Source Scan Converter, often called OSSC, is a hardware bridge designed specifically for this problem. It takes raw analog video signals-whether from an RCA cable on a Nintendo Entertainment System or a SCART connector on a Mega Drive-and converts them into a clean digital HDMI stream. Unlike your standard TV upscaling which guesses at missing pixels, this device performs precise integer scaling. This means every single pixel from the 1990s stays as a solid square on your 4K screen. For serious content creators, this is the foundation of professional-looking retro footage.
Understanding the Hardware Chain
You cannot connect an OSSC directly to a computer motherboard; you need a chain of components working together. Think of the setup as a relay race where the video signal runs from your console to the upscaler, then to the capture card, and finally into your recording software. If any link in this chain fails, your video will stutter or drop quality.
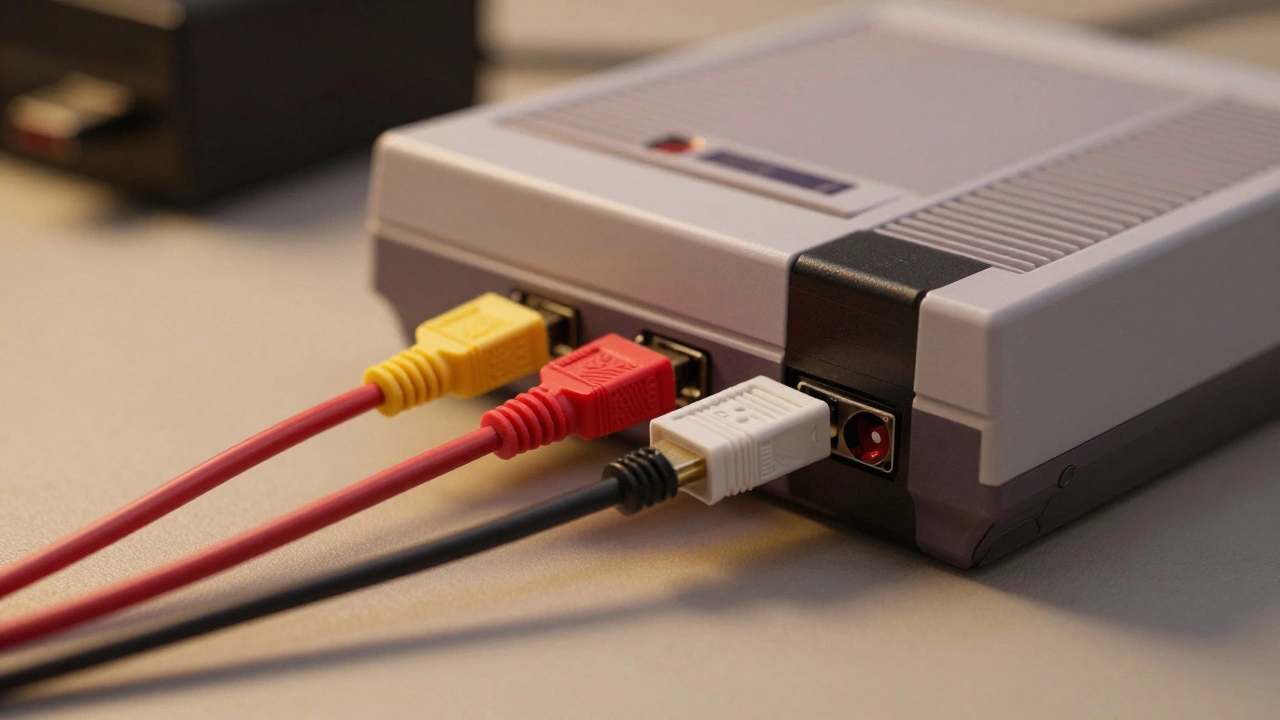
The first step involves choosing the right inputs for your source material. Most OSSC units accept component, composite, S-video, and RGB via SCART. If you have a Super Nintendo, you likely want to use the Multi-Out adapter for cleaner audio and video. Connect that red, white, and yellow bundle into the OSSC input port. Next, take an HDMI cable out of the back of the upscaler and run it into your HDMI Capture Card. This is the piece of hardware that acts as the translator for your computer. USB 3.0 is non-negotiable here because older USB 2.0 ports often struggle with the data bandwidth required for 1080p video streams.
Why does the type of capture card matter? Cheap adapters found in discount bins might claim 1080p support but only handle low framerates effectively. A reliable capture interface ensures you aren't introducing compression artifacts before the file even hits your hard drive. Once the physical cables are secured, power up your console, then the OSSC, and finally your computer.
Configuring the Upscaler for Capture
The beauty of this workflow lies in the control over the image itself. Using the remote control included with the unit, you can cycle through various scaling modes. The two most popular options are 3x and 5x modes. When you engage 3x mode, the device outputs a 720p signal. This keeps the frame perfectly intact for capture without cutting off any edges. However, many enthusiasts prefer 5x mode. This pushes the resolution up to 1080p. While it crops the very top and bottom slightly, it mimics how old CRT televisions displayed content naturally, hiding the overscan areas.
Scanlines are another critical variable. By default, the device may inject horizontal lines to simulate the texture of a tube monitor. For YouTube videos meant to look authentic, turning these on creates a nostalgic aesthetic. If you are capturing for modding communities or documentation purposes, you might want to reduce the scanline intensity until they disappear entirely. Experiment with the settings while previewing on your monitor. What looks good on your screen needs to look good on the capture timeline too.
| Mode | Output Resolution | Best Use Case | Crop Behavior |
|---|---|---|---|
| 3x Integer Scale | 720p | Safest Capture, Full Image | No cropping |
| 5x Integer Scale | 1080p | High Quality Recording | Minor vertical crop |
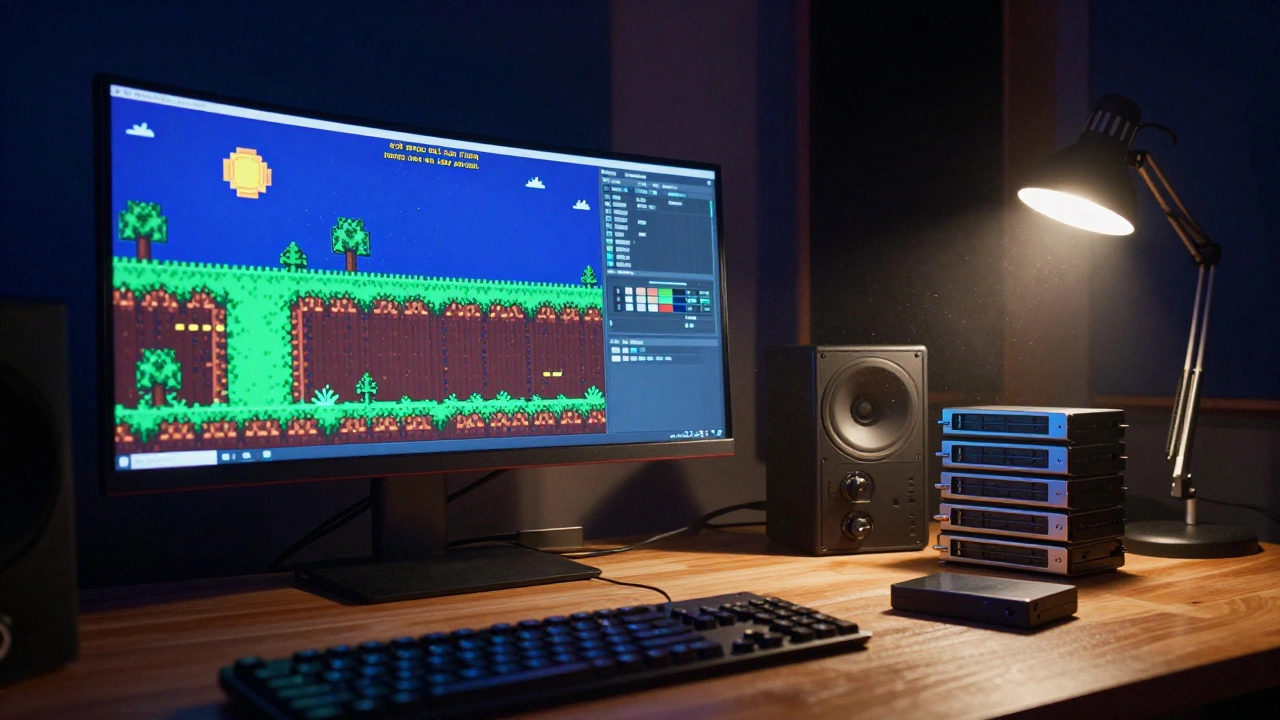
Setting Up the Recording Software
Once your signal flows into the computer, you need software to intercept it. Most people jump straight to OBS Studio because it is free and open-source. However, simply plugging everything in does not guarantee a perfect recording. The real challenge involves synchronization. Consoles from the past ran at specific refresh rates that modern computers do not natively support.
If you try to record a PlayStation 1 game running at a non-standard framerate, OBS will try to force the data into 60 frames per second. This causes dropped frames. Over a thirty-minute recording, those missing seconds add up to audible glitches and visual stutters. To prevent this, you must configure the output bitrate and FPS settings manually. You need to match the framerate down to the micro-hertz precision. For example, a specific NTSC console might run at roughly 59.94 Hz, but some region-specific games demand exact values like 598261/10000 Hz.
It sounds tedious, but it is necessary for frame-perfect preservation. Go into your output settings and disable automatic bitrate adjustments. Set the encoder to x264 and choose a 'slow' preset for better quality retention. This requires more CPU power from your recording machine, but the resulting MP4 or MKV file will remain uncompressed and sharp. Remember, the effort you put into configuring the software defines the quality of the archive you leave behind.
Troubleshooting Common Display Issues
Even with the right hardware, things can go wrong. Black levels often get crushed, meaning dark scenes turn into muddy voids instead of deep blacks. This happens because of incorrect HDMI handshake negotiations between the upscaler and the TV. If you see this, try toggling the dynamic range setting on the upscaler menu. Some units offer a dedicated 'PC' output mode that handles color space differently than standard TV modes.
Another frequent issue is audio sync. Sometimes the video lags behind the sound or vice versa. This usually indicates the audio isn't coming through the HDMI cable correctly. Check if your OSSC has separate optical audio outputs. If it does, route the video via HDMI and the audio via the optical port to your capture card. It adds an extra cable, but it guarantees the lip-sync remains tight throughout the entire session.
Be aware of compatibility limitations regarding modern displays. The OSSC is mature hardware, but it is not compatible with every television model. Some newer OLED panels might reject the 480p-to-1080p conversion signal initially. If your screen flickers on startup, try a different HDMI port or insert a dummy box converter if the connection is finicky.
Considering Alternative Solutions
While the OSSC holds a dominant spot in the community, alternatives exist. RetroTink products, for instance, offer advanced capabilities like shading pure blacks and whites differently to help display saturated levels. They also incorporate built-in filters that make recorded content appear as if displayed on a CRT television. These are generally pricier and considered top-tier for scaling, often preferred by purists who prioritize cinematic visuals over utility.
However, for most users starting out, the cost-performance ratio of the OSSC cannot be beaten. It allows you to connect VHS-DVD combos to 4K TVs if you own legacy media collections. It serves as a flexible hub rather than just a single-purpose recorder. Ultimately, testing is the only way to know which device suits your specific console library.
Preserving Your Work Correctly
After you finish recording, the process shifts to archiving. Do not compress your raw files immediately. Upload the original large-capacity files to a backup drive. Then, create smaller versions for online distribution. This dual workflow protects your work against data loss and storage failures. By treating the captured footage as a permanent asset, you contribute to the long-term history of interactive art.
Precision in this hobby pays off in the final product. Whether you are streaming live commentary or creating edited documentaries, starting with a clean signal makes editing significantly easier later. You avoid fighting against blurry pixels or ghosting images during post-production.
Can I use this setup for streaming live?
Yes, the OSSC output works fine for live streaming platforms like Twitch. You simply set OBS to stream at the same framerate as the capture source. Latency is typically low enough for interactive gameplay.
Do I need a powerful PC for this?
For basic recording, a standard mid-range PC is sufficient. However, if you plan to edit the footage heavily in 1080p, having a dedicated graphics card helps with encoding speeds and playback smoothness.
What if my console has a bad video output?
You can improve signal quality by replacing old RF or Composite cables with high-quality SCART or Component cables before connecting to the upscaler. The hardware improves what is sent, it does not fix damaged cables.
Is the OSSC Pro better than Classic?
The Pro version offers enhanced scaling modes and better audio processing options. For general capture work, the Classic version handles all essential tasks adequately.
Will this work with emulators?
Technically yes, if you output video from your emulator host via HDMI to the upscaler, though direct recording from the host computer is usually simpler and higher quality.