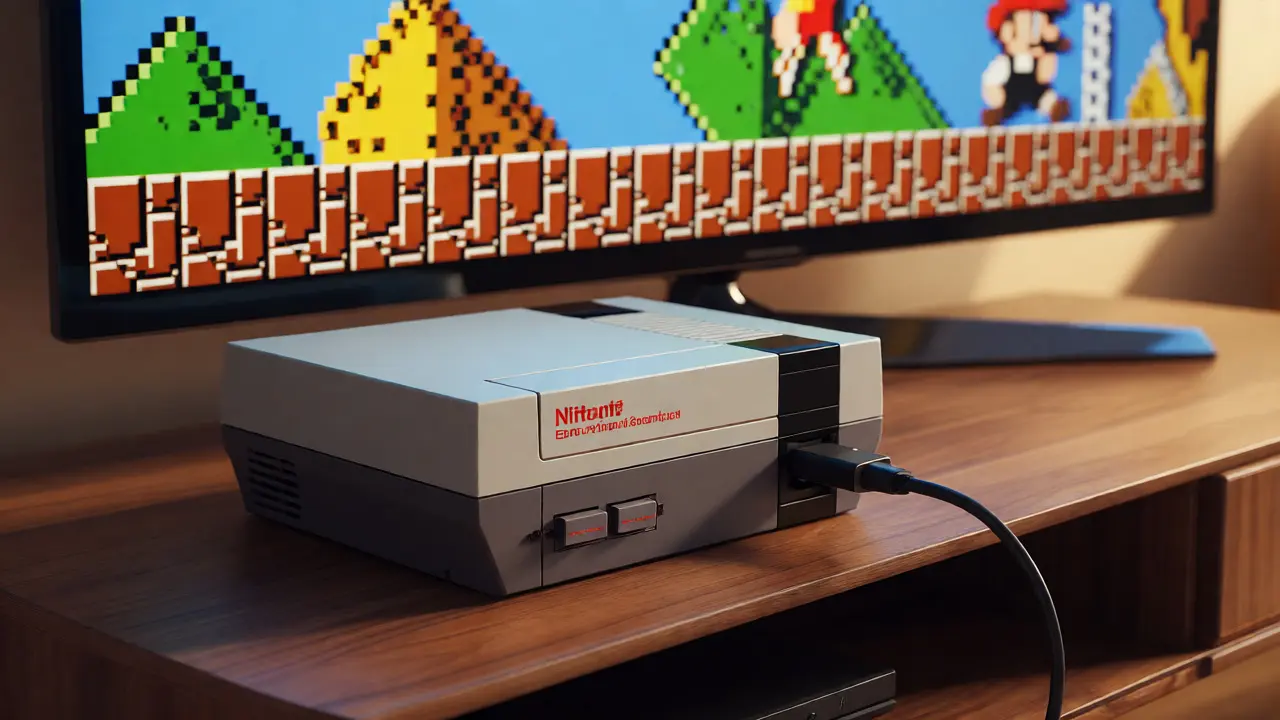
There is nothing quite like the frustration of hooking up a vintage Nintendo Entertainment System or Sega Genesis to a modern 4K TV. You plug in the composite cables, adjust the rabbit ears antenna, and stare at a blurry, washed-out mess that looks like it’s being viewed through a dirty window. The nostalgia hits hard, but the visual fidelity doesn’t match your memory. This is where HDMI mods come in. These hardware modifications replace the original analog video output with a digital high-definition signal, transforming fuzzy pixels into crisp, vibrant images without altering the actual game code.
But before you grab your soldering iron, let’s manage expectations. Installing an HDMI mod isn’t just plugging in a new cable. It involves opening your console, desoldering old components, and often installing a new circuit board or chip directly onto the motherboard. It’s a delicate process that carries risk, but for many retro enthusiasts, the payoff of seeing *Super Mario Bros.* in sharp definition on a large screen is worth every minute of careful work.
Why Upgrade Your Retro Console Output?
You might ask, "If I have a CRT television, why bother?" Fair question. If you still own a working Sony Trinitron or a Panasonic tube TV, you likely already get the best possible image quality those consoles were designed for. However, most people don’t have space for a 30-pound CRT anymore. Modern flat-panel TVs struggle with low-resolution analog signals. They try to upscale them digitally, which often results in lag, ghosting, or strange color artifacts.
An HDMI mod converts the raw RGB or component video signals generated by the console’s Picture Processing Unit (PPU) into a stable digital HDMI stream. This bypasses the messy analog-to-digital conversion done by your TV, sending a clean, pixel-perfect signal straight to your display. The result? Zero input lag compared to software emulation, perfect colors, and a setup that fits seamlessly into a modern living room.
Types of HDMI Modifications: Which One Do You Need?
Not all HDMI mods are created equal. The type you need depends entirely on your specific console model and how much modification you’re willing to tolerate. Here are the three main approaches:
- Plug-and-Play Replacements: These are external boxes or dongles that replace the RF cartridge or AV multi-out port. They require no internal soldering. Examples include the Retrotink 5X (which requires an external RGB source) or specific USB-powered adapters for newer systems like the PS2. Great for beginners, but they can add latency or fail to capture true RGB if the console only outputs composite.
- Internal Digital Encoder Boards: These small PCBs are installed inside the console. They tap into the internal video lines and convert them to HDMI. Popular examples include the UltraHDMI for the NES or the RetroRGB line for various consoles. This offers the best balance of image quality and convenience but requires moderate soldering skills.
- Chip Swaps and FPGA Upgrades: The most complex option. You physically remove the original video encoder chips and replace them with modern equivalents or Field-Programmable Gate Array (FPGA) modules. This provides the highest fidelity but demands advanced micro-soldering skills and precision tools.
Essential Tools and Preparation
Before you crack open that dusty shell, gather your gear. Doing this with inadequate tools leads to stripped screws, burned traces, and tears.
| Tool | Purpose | Pro Tip |
|---|---|---|
| Temperature-Controlled Soldering Iron | Melting solder joints safely | Set between 350°C-400°C. Avoid cheap irons that overheat easily. |
| Solder Sucker or Wick | Removing old solder from pads | Wick is better for surface mount components; suckers for through-hole. |
| Flux Paste | Cleaning oxidation and improving flow | No-clean flux is ideal to avoid residue buildup later. |
| Isopropyl Alcohol (90%+) | Cleaning boards after soldering | Use a toothbrush to scrub away flux residue gently. |
| JBC or Hakko Tips | Precision contact points | Keep a variety of tip sizes (conical, chisel, hoof). |
You’ll also need a set of security bit drivers (Tri-wing, Gamebit, or Hex depending on your console), anti-static wrist strap, and plenty of patience. Work in a well-lit area, preferably with a magnifying lamp. Trying to solder tiny surface-mount pads with naked eyes is a recipe for disaster.
Step-by-Step Installation Guide (General Process)
While every console differs, the general workflow remains similar. Let’s walk through the process using a common scenario: installing an internal HDMI board in a Super Nintendo (SNES).
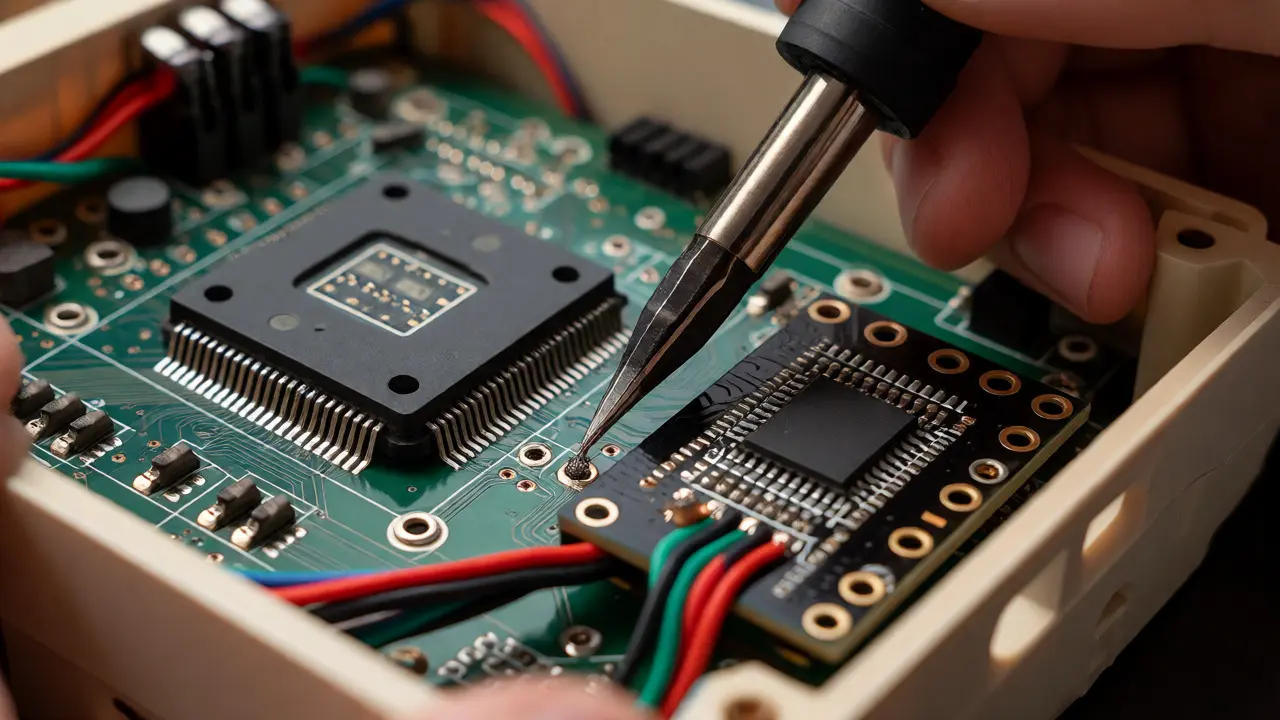
- Disassembly: Remove the outer shell. For the SNES, this usually means unscrewing six Tri-wing screws. Keep them organized in a magnetic tray. Lift the top casing carefully to expose the motherboard.
- Locate Connection Points: Identify the RGB sync and ground pins on the motherboard. Most HDMI kits provide a diagram showing exactly which test points or resistor legs to connect to. In the SNES, these are often near the PPU chip.
- Desolder Old Components (If Required): Some mods require removing existing resistors or capacitors to prevent signal interference. Apply flux, heat the joint, and use your solder sucker to clear the hole.
- Prepare Wires: Strip about 1mm of insulation from the ends of the thin gauge wires provided with your kit. Tin the tips with a small amount of solder. This makes attaching them to the board much easier.
- Solder Connections: Apply a tiny dot of flux to the target pad. Place the tinned wire end on the pad. Touch the iron tip to both simultaneously for 1-2 seconds until the solder flows. Do not leave the iron there too long, or you’ll lift the pad off the board.
- Secure the Board: Mount the HDMI breakout board inside the case. Use double-sided foam tape or standoffs to keep it from shorting against other components. Ensure the HDMI port aligns with a cutout in the case (you may need to Dremel one out).
- Test Before Closing: Plug in the power, controller, and HDMI cable. Turn it on. If you get a picture, great! If not, check your connections immediately while the board is still accessible.
- Reassemble: Once testing passes, clean the board with alcohol, reattach the shell, and tighten the screws. Don’t overtighten plastic threads.
Troubleshooting Common Issues
It rarely works perfectly the first time. Here are the usual suspects when things go wrong:
- No Signal: Check your HDMI cable and TV input. Verify that the mod is receiving power. On some kits, you must bridge two pins to enable power delivery.
- Black Screen with Sound: Usually indicates a missing sync signal. Double-check the HSync and VSync wire connections. Polarity matters here-ensure you didn’t swap positive and negative.
- Flickering Image: Often caused by loose grounds or insufficient shielding. Ensure your ground wire is soldered to a solid metal shield or ground plane, not just another random point.
- Color Tint (Green/Purple): A bad connection on one of the R, G, or B lines. Resolder that specific channel. Sometimes the resistor values need adjustment if the kit instructions vary by console revision.
Which Consoles Benefit Most?
Not every system needs an HDMI mod. The PlayStation 1, for example, has decent component output options that look good enough on modern screens without surgery. But systems locked to RF or Composite benefit massively.
| Console | Mod Difficulty | Visual Gain | Recommendation |
|---|---|---|---|
| NES / Famicom | High | Massive | Essential for RGB purity. Look for UltraHDMI or NESRGB. |
| SNES | Medium | High | Great for eliminating blur. Multi-out versions need care. |
| N64 | Low-Medium | Moderate | Good for stability, though N64 graphics are inherently low-res. |
| GameCube | Very Low | Low | Component cables are usually sufficient unless you want convenience. |
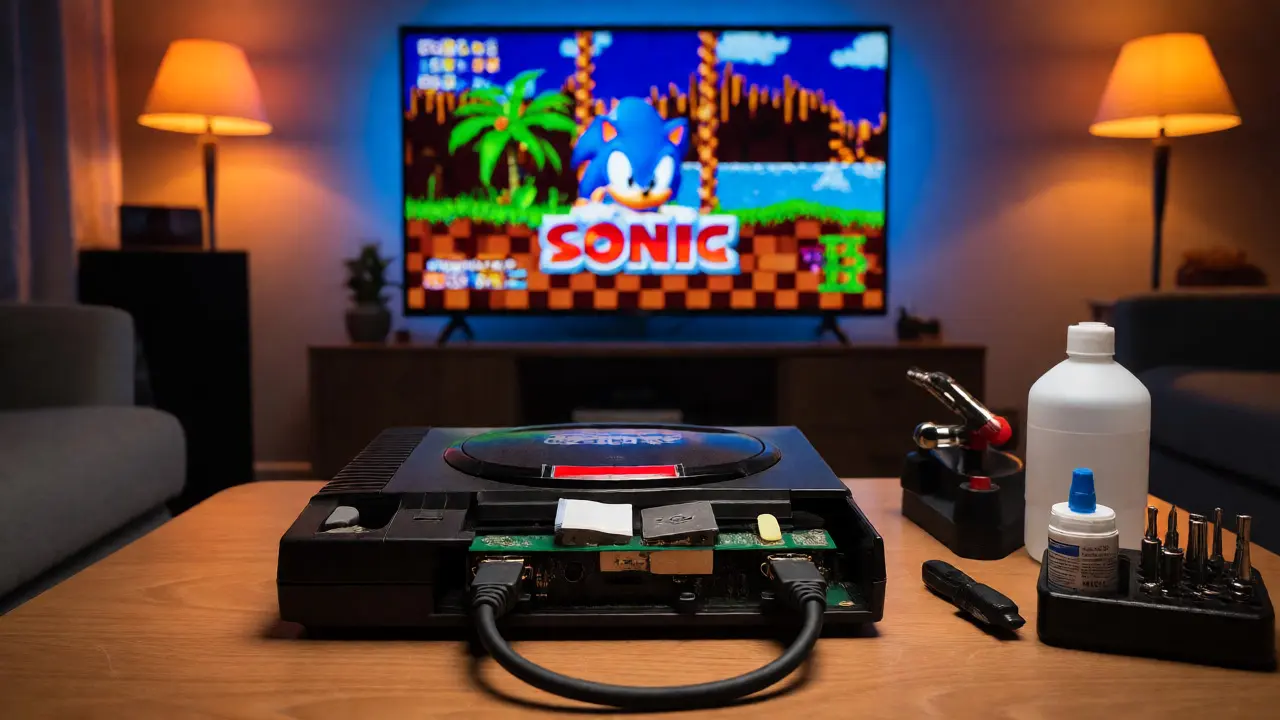
| Sega Genesis | Medium | High | Fixes the notorious composite bleed. Highly recommended. |
The NES is arguably the biggest winner. Its native output is notoriously muddy due to poor encoding. An HDMI mod reveals details in sprites and backgrounds you literally never saw before. Conversely, the GameCube already outputs progressive scan via component, so the jump to HDMI is less dramatic visually, though more convenient.
Final Thoughts on Risk vs. Reward
Installing an HDMI mod changes your console forever. It’s not reversible without effort. If you own a rare, mint-condition collector’s item, consider keeping it stock and using a high-quality scaler box instead. But for the daily driver you actually play? The clarity, lack of lag, and single-cable simplicity make it one of the best upgrades you can give your retro library. Start with a cheaper console to practice your soldering skills, then move on to your prized possessions once you’ve built confidence.
Will an HDMI mod change the gameplay experience?
No, the gameplay itself remains identical. The game logic runs on the original hardware. However, the visual clarity can make games feel smoother and more responsive because you aren't fighting against blurry analog noise. Input lag is typically lower than using a modern TV's built-in scalers, which can improve reaction times in fast-paced games.
Do I lose audio quality with an HDMI mod?
Generally, no. Most HDMI mods pass the audio signal digitally or via analog passthrough. Some higher-end mods even offer digital audio extraction, which can reduce hum and interference compared to running separate RCA audio cables. Always check if your specific mod kit supports audio over HDMI or if you still need to plug in separate audio jacks.
Can I install an HDMI mod on a laptop or handheld?
Yes, but it is significantly harder. Handhelds like the Game Boy Advance SP or PSP have tiny, densely packed motherboards. Micro-soldering is required, and space is extremely limited. There are specialized kits for devices like the GBA SP, but the margin for error is very slim compared to desktop consoles.
What happens if I burn a trace on the motherboard?
If you lift a copper trace, you can often repair it by running a thin jumper wire from the broken point to the next available connection node. It requires steady hands and fine-gauge wire. If the damage is severe, you might need professional board repair services, which can be costly. Practice on junk units first!
Are HDMI mods compatible with all TVs?
Most modern HDMI mods output standard 720p or 1080p signals, which are universally supported. However, older LCD TVs or projectors might have issues with non-standard refresh rates (like 60Hz NTSC). Check the specifications of your mod kit to ensure it matches your display's capabilities, especially if you plan to use it on a projector.