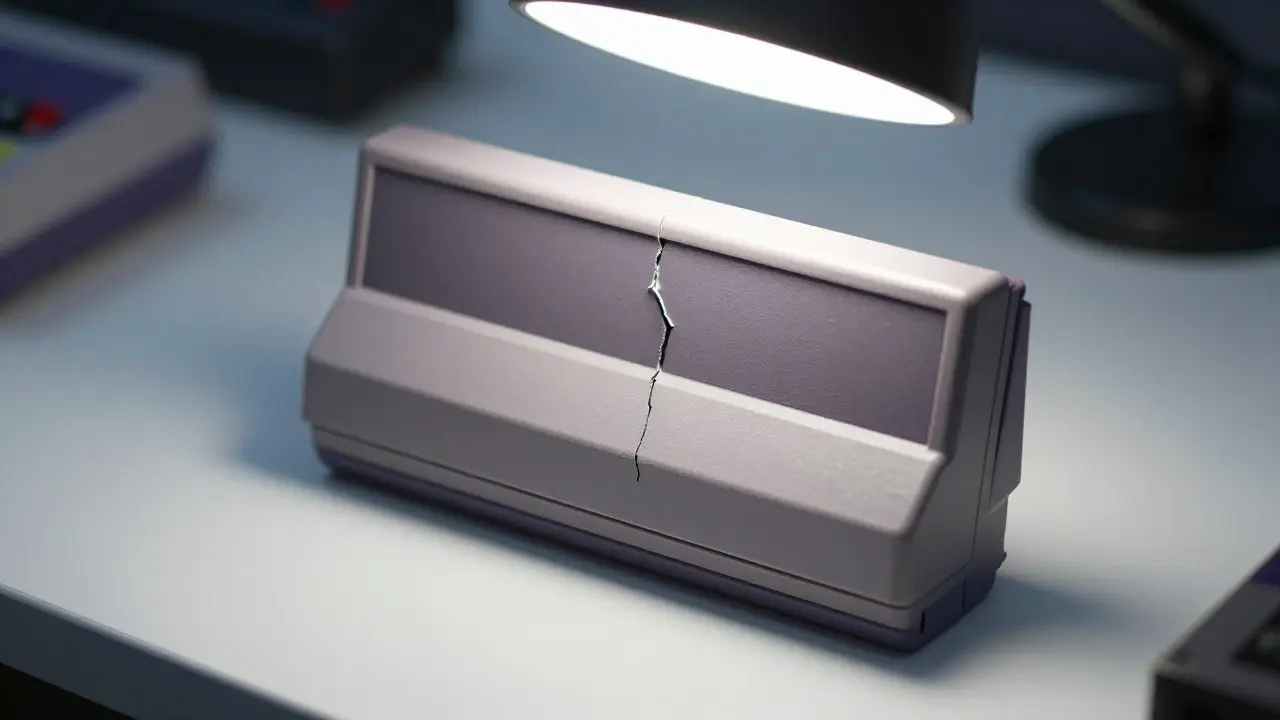
There is nothing quite like the heartbreak of pulling a favorite game from your shelf only to find a hairline crack running across the plastic shell or a label that has lifted at the corner. For collectors and casual players alike, these cosmetic defects can feel like the end of the line for a beloved item. But you don't have to toss it in the bin. With a few household items and some patience, you can restore cracked video game cartridge shells to near-mint condition without damaging the internal circuitry.
This guide walks you through the specific techniques for fixing both the hard plastic exterior and the delicate paper or vinyl labels found on systems ranging from the NES to the PlayStation 2. We will cover safe adhesives, heat application methods, and how to avoid common mistakes that make things worse. By the end, you’ll know exactly which tools to grab and when to stop working before you cause irreversible damage.
Assessing the Damage Before You Start
Before touching any glue or heat, you need to understand what you are dealing with. Not all cracks are created equal, and applying the wrong fix can shatter the cartridge further. Take a bright light and inspect the crack closely. Is it just on the surface, or does it go all the way through? Does it expose the gold contacts or the internal ribbon cable? If the crack exposes the internal electronics, stop immediately. These require professional soldering or replacement, as moisture or dust entering there will kill the game forever.
If the crack is purely structural on the outer shell, you are in luck. Most cartridges from the 8-bit and 16-bit eras use two-piece plastic shells that snap together. The goal here is not just to hold them together, but to ensure the seal remains tight so no dust gets inside. Check the label separately. Is it peeling? Is it cracked? Or is it completely missing? Each scenario requires a different approach, so keep these two components distinct in your mind as you move forward.
Tools and Materials You Will Need
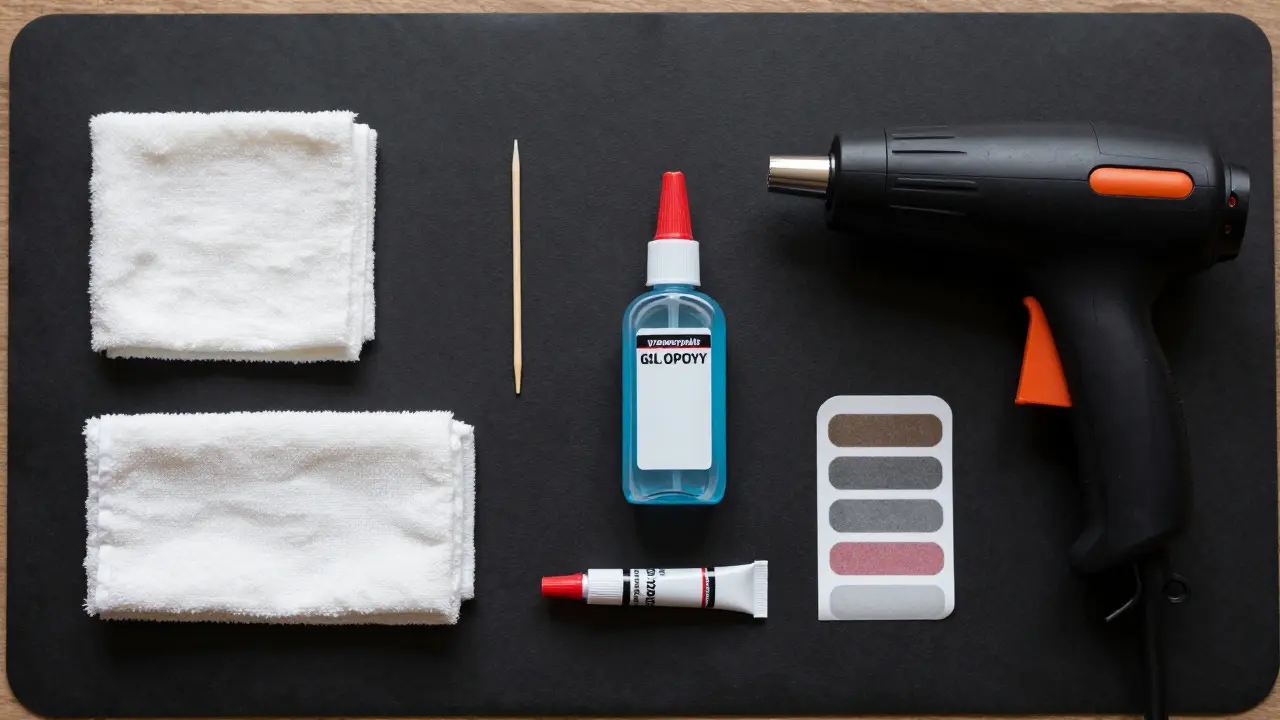
You do not need a professional workshop to fix these items. In fact, using industrial-strength adhesives is often a mistake because they leave white residue or melt the thin plastic. Here is the minimal kit that works for 90% of cases:
- Cyanoacrylate Gel (Super Glue) A gel-formula super glue is essential because it does not run down the sides of the cartridge while curing.
- Isopropyl Alcohol (90% or higher) Used to clean surfaces before gluing and to remove old adhesive residue.
- Heat Gun or Hair Dryer For gently warming the plastic to allow it to flex back into shape or to soften old glue.
- Microfiber Cloths Soft cloths to wipe away dust and excess glue without scratching the surface.
- Printable Vinyl or Label Paper High-quality adhesive backing for replacing damaged labels.
- Toothpick or Plastic Spudger For applying tiny amounts of glue into narrow gaps.
Avoid using standard liquid super glue, as it tends to flash-set too quickly and creates brittle bonds. Also, stay away from epoxy unless the break is massive; epoxy is thick and difficult to clean up from small gaps.
Repairing the Cracked Plastic Shell
Start by cleaning the area around the crack with isopropyl alcohol. Any dirt or oil will prevent the glue from bonding properly. Let it dry completely. Now, take your cyanoacrylate gel and apply a very thin bead along one side of the crack. Do not fill the gap yet. Instead, align the two pieces carefully. Use a toothpick to press the edges together gently. The gel will wick into the crack via capillary action, filling the void automatically.
Hold the pieces together for about 30 seconds. If the cartridge is large, like a PlayStation 1 or 2 disc case, you might need to clamp it with rubber bands or binder clips. Leave it for at least an hour to cure fully. Once cured, check the seam. If there is a visible ridge of excess glue, use a fingernail or a plastic spudger to scrape it off gently. Avoid metal tools, which can scratch the glossy finish. If the crack was caused by impact and the plastic is warped, you can apply low heat from a hair dryer to the area while gently pressing it flat against a hard surface. This relaxes the plastic memory and helps it sit flush.
Restoring Peeling or Cracked Labels
Labels are often more fragile than the plastic itself. Old adhesive dries out over time, causing corners to lift. If the label is intact but lifting, do not tear it off. Clean the area under the lifted edge with a cotton swab dipped in isopropyl alcohol. Apply a tiny dot of clear nail polish or a specialized archival glue stick to the underside of the lifted flap. Press it down firmly and place a heavy book on top for 24 hours. This re-bonds the original label to the shell without adding bulk.
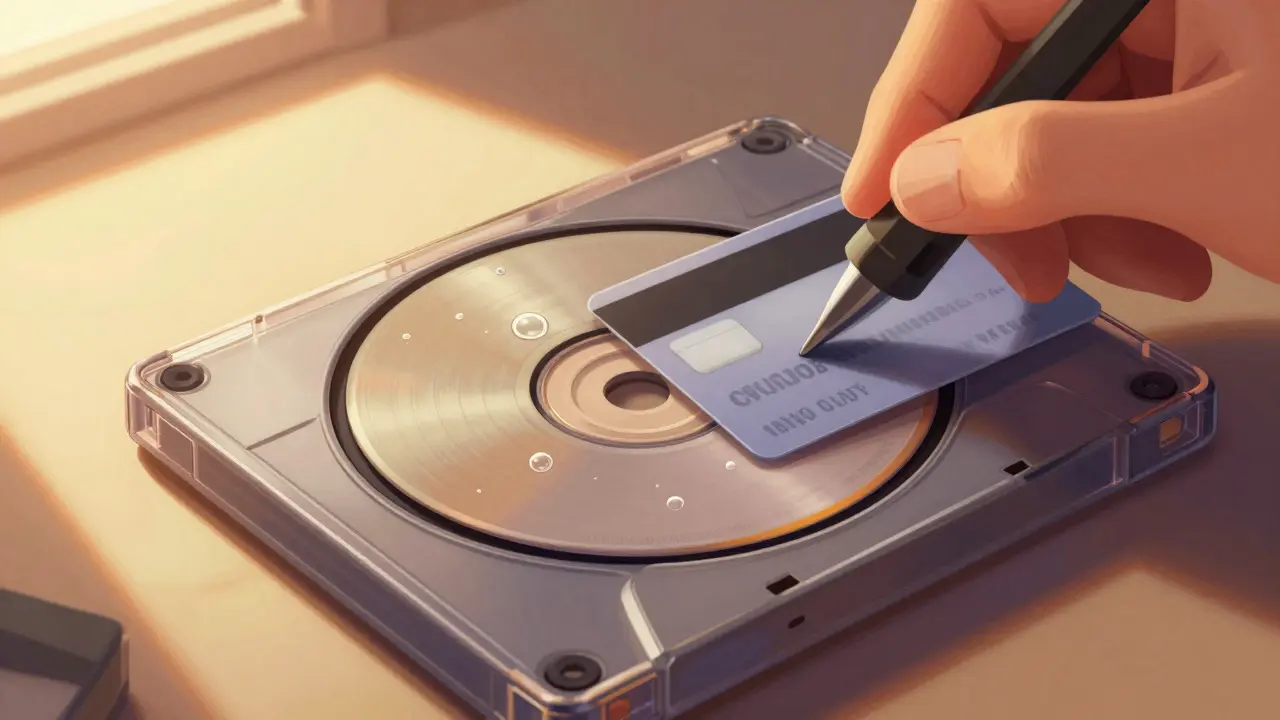
If the label is cracked or torn beyond repair, it is time to replace it. Measure the exact dimensions of the label area. Print a new design on printable vinyl or high-gloss photo paper. Cut it out with sharp scissors, leaving a 1mm margin. Peel the backing slowly. Align the new label with the edges of the cartridge shell. Use a credit card to smooth out air bubbles from the center outward. For a professional look, trim the excess vinyl with a craft knife. This method preserves the visual integrity of the game while protecting the underlying plastic.
Common Mistakes to Avoid
Many people ruin their repairs by rushing. The most frequent error is using too much glue. Excess glue squeezes out onto the front of the cartridge, creating a cloudy, permanent mark that looks worse than the original crack. Always start with less than you think you need. Another mistake is heating the cartridge too much. The internal chip can be sensitive to extreme temperatures. Keep the heat source moving and at a distance of at least six inches. Finally, do not ignore the connector pins. When reassembling a split shell, ensure the pins are not bent. A single bent pin can render the game unplayable, regardless of how perfect the shell looks.
Comparison of Repair Methods
| Method | Best For | Durability | Risk Level |
|---|---|---|---|
| Cyanoacrylate Gel | Small hairline cracks | High | Low if applied thinly |
| Epoxy Resin | Large breaks or missing chunks | Very High | Medium (messy cleanup) |
| Clear Nail Polish | Lifting label corners | Medium | Low |
| Printable Vinyl | Torn or faded labels | High | Low (removable option) |
When to Seek Professional Help
While most shell and label issues are DIY-friendly, some problems require expert hands. If the crack extends into the connector area where the gold pins are located, or if the internal ribbon cable is exposed, consider sending the item to a specialist. These repairs involve micro-soldering and precision alignment that are difficult to achieve at home. Additionally, if you are restoring a rare collectible worth thousands of dollars, the risk of a DIY mistake may outweigh the cost of professional conservation. Professionals use archival-grade materials that do not yellow or degrade over decades, ensuring long-term preservation.
Frequently Asked Questions
Can I use regular super glue on my cartridge?
It is not recommended. Regular liquid super glue runs easily and sets too fast, making it hard to control in small gaps. Gel formula cyanoacrylate is much better because it stays where you put it and allows for better alignment before curing.
Will heat damage the game chip inside?
Low heat from a hair dryer is generally safe if kept at a distance. However, avoid using a heat gun on high settings directly on the cartridge. Prolonged exposure to high temperatures can warp the plastic or stress the internal electronic components.
What should I do if the label is completely gone?
You can print a replica label using printable vinyl or high-quality sticker paper. Ensure the print resolution is high to match the original graphics. This is a common practice among collectors who want to maintain the aesthetic value of their collection without relying on the original aged paper.
Does repairing a cartridge affect its resale value?
Generally, a well-repaired cartridge holds its value better than a broken one. Collectors prefer items that are complete and functional. As long as the repair is clean and invisible, it usually adds value or maintains the status quo compared to a cracked version.
How long should I let the glue dry?
Initial set takes about 30 seconds to a minute, but full strength develops over 24 hours. It is best to leave the cartridge undisturbed for at least an hour before handling it, and ideally overnight before playing the game.