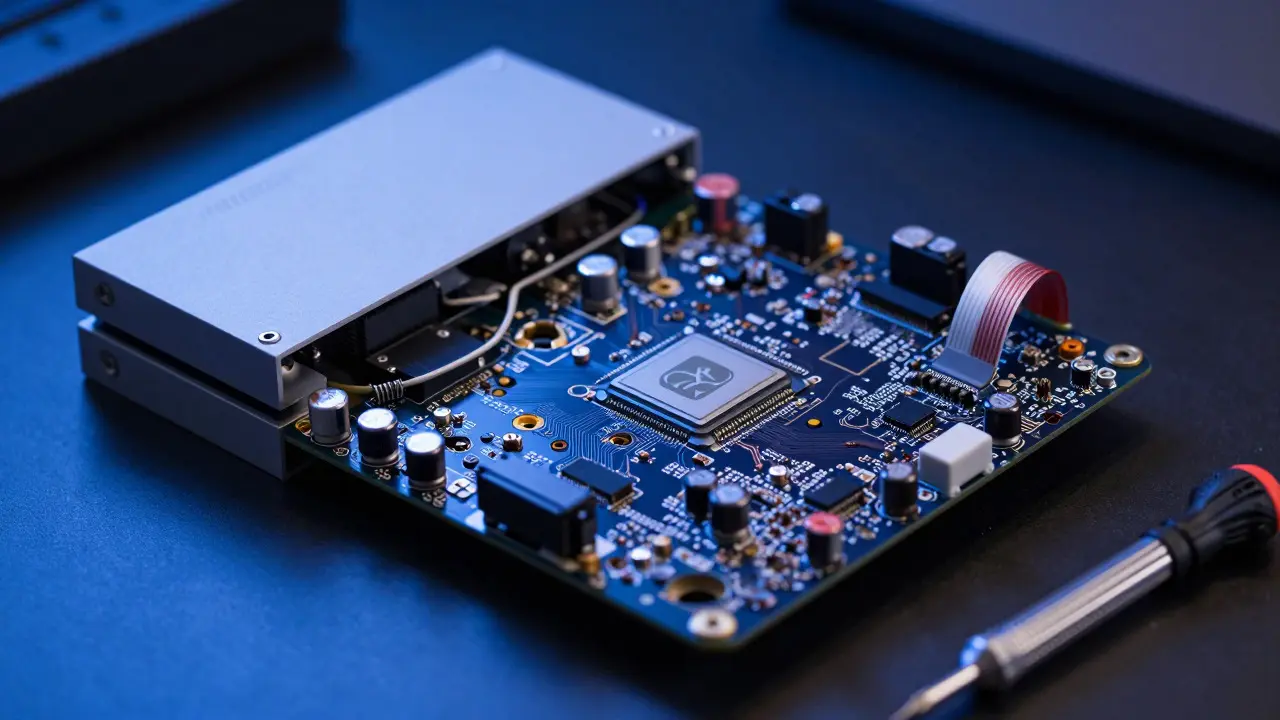
Nothing kills the vibe faster than a console that refuses to boot or a controller with a drifting stick. You don't need a new device; you just need the right piece of plastic or circuitry. But finding authentic replacement parts for video games is tricky. The market is flooded with cheap knock-offs that fail within weeks, while genuine OEM (Original Equipment Manufacturer) components can be hard to track down once a system hits the end of its life cycle.
This guide cuts through the noise. It explains where to find real parts, how to verify they are legit, and which platforms offer the best balance of price and reliability for both modern and retro systems.
Why Authenticity Matters More Than Price
You might think a $5 part from an overseas marketplace is fine if it looks identical. In reality, material quality varies wildly. Cheap capacitors on a motherboard can leak electrolyte fluid, destroying your board permanently. A non-OEM power supply unit (PSU) might deliver unstable voltage, frying your graphics card or drive.
- Longevity: OEM parts use industrial-grade materials tested for thousands of hours of operation.
- Compatibility: Generic parts often have slight dimensional differences. A generic disc tray latch might not click securely, leading to ejection errors.
- Warranty: Most third-party sellers offer no warranty. If a part fails, you’re out of pocket again.
For high-value consoles like the PlayStation 5 or Xbox Series X, using authentic parts protects your investment. For retro systems, authenticity preserves collector value.
Identifying the Right Part Number
Before you buy anything, you need the exact part number. Guessing based on visual similarity is a recipe for disaster. Every console model has specific revisions. A part for a PS4 Slim won’t fit a PS4 Pro, even if they look similar externally.
- Check the Model Number: Look at the label on the bottom of your console. Note the exact model code (e.g., CFI-1000A for PS4).
- Locate the Failing Component: Is it the HDMI port? The fan? The optical drive? Identify the specific assembly.
- Search by Part Number: Use the manufacturer’s service manual or community databases to find the specific SKU.
If you can’t find the part number online, take a clear photo of the component with the label visible and post it in a dedicated repair forum. Community members often spot the correct part instantly.
Top Sources for Genuine Components
Where you buy matters as much as what you buy. Here are the most reliable channels for sourcing authentic hardware.
| Source Type | Pros | Cons | Best For |
|---|---|---|---|
| Official Manufacturer Stores | Guaranteed authenticity, full warranty | Expensive, limited stock for older models | Current-gen consoles (PS5, Xbox Series) |
| Specialized Retro Shops | Curated inventory, expert advice | Premium pricing, niche selection | Nintendo 64, Sega Genesis, early PS1 |
| eBay (Verified Sellers) | Huge variety, competitive prices | Mixed quality, shipping risks | Discontinued parts, rare revisions |
| AliExpress/Taobao | Cheapest option, bulk availability | Slow shipping, inconsistent QC | Generic controllers, simple mechanical parts |
Official Manufacturer Channels
For current-generation hardware, go straight to the source. Sony and Microsoft occasionally sell replacement fans, HDMI cables, and even motherboards through their support sites. While pricey, these are the safest bet. If your console is under warranty, always use authorized service centers first to avoid voiding coverage.
Specialized Retro Gaming Retailers
Sites like Ratchet & Clank or local brick-and-mortar retro shops curate their inventory carefully. They often test parts before listing them. This is your best option for pre-2010 hardware. The markup is higher, but you’re paying for curation and testing.
The eBay Strategy
eBay is a goldmine for discontinued parts, but you need to filter smartly. Look for sellers with over 95% positive feedback who specialize in electronics. Avoid "New" listings for obscure parts unless the seller provides proof of origin. Often, "Used - Pull" parts from working consoles are better than brand-new generics because they’ve been stress-tested in the wild.
Verifying Authenticity: Red Flags to Watch For
Even reputable sellers make mistakes. How do you know if a part is fake?
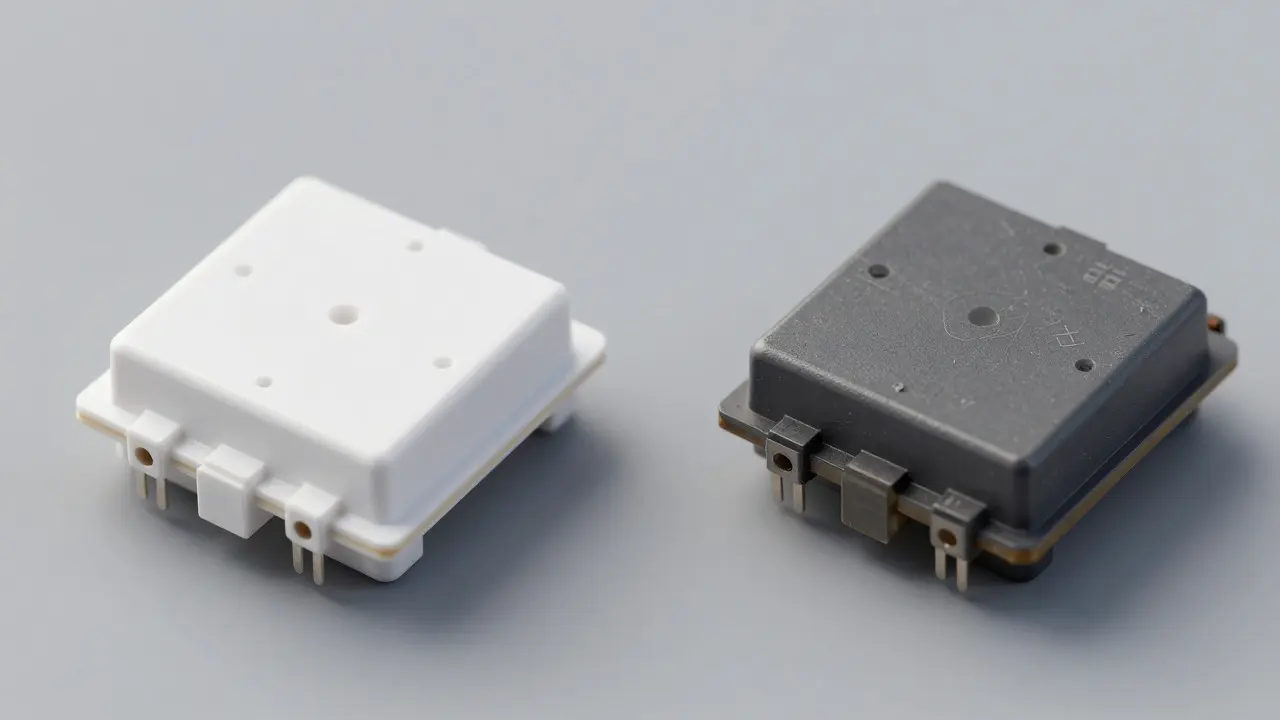
- Print Quality: OEM text is crisp and evenly spaced. Counterfeits often have blurry fonts or misaligned labels.
- Material Feel: Plastic parts should feel rigid, not brittle. If a button feels spongy or cracks easily, it’s likely made from inferior ABS plastic.
- Connector Pins: Check the metal pins on ribbon cables or connectors. They should be straight and uniform. Bent or uneven pins indicate poor manufacturing.
- Pricing Anomalies: If a part costs half the average market price, ask why. There’s usually a reason-defective batch, used core, or counterfeit.
When in doubt, request multiple photos from different angles before purchasing. Ask the seller specifically about the condition of internal components if buying a complete assembly.
Repair-Specific Considerations by Console Generation
Different eras of gaming hardware present unique challenges for part sourcing.
Modern Consoles (PS4/PS5/Xbox One/Series)
These systems are modular. Fans, power supplies, and drives are designed for easy replacement. However, soldered components like RAM or GPUs require professional reflow work. For DIY repairs, focus on thermal paste, fans, and optical drives. Always check the thermal interface material (TIM) type required; using the wrong paste can cause overheating.
Retro Consoles (SNES/N64/PS1/GameCube)
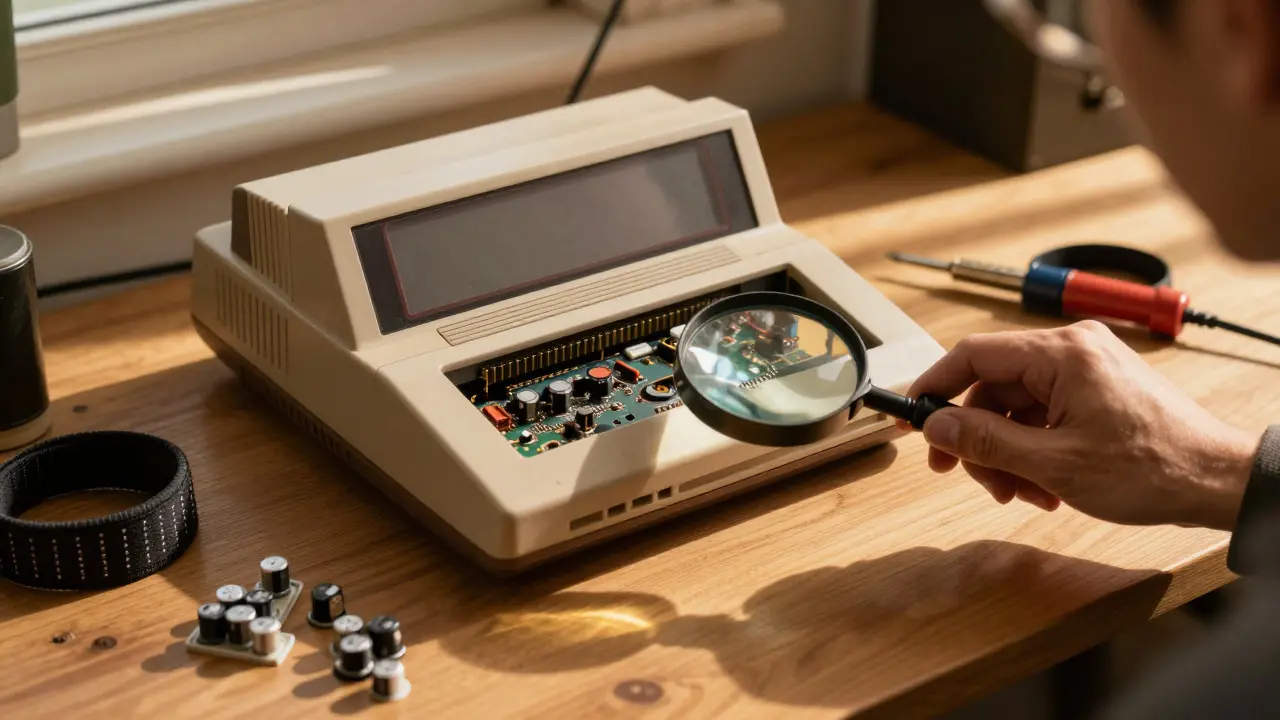
Retro repair is more about stabilization than replacement. Common issues include dead batteries, corroded contacts, and failing capacitors. You rarely need a whole new motherboard. Instead, look for:
- Capacitor Kits: Pre-soldered kits for common board failures.
- Joystick Modules: Replaceable analog sticks for controllers.
- Crystal Oscillators: Essential for fixing sync issues in CRT setups.
Many retro parts are now manufactured by third parties who reverse-engineered the originals. These are often better than original parts because they use modern, more durable materials. Just ensure the dimensions match exactly.
Tools and Preparation Before Buying
Don’t buy parts until you have the tools to install them. A $20 part is useless if you can’t open the case without stripping screws.
- Precision Screwdriver Set: Most consoles use Torx security screws (T6, T8, T9). Standard Phillips heads will strip them quickly.
- ESD Protection: Static electricity can kill sensitive chips. Use an anti-static wrist strap when handling boards.
- Thermal Paste: High-quality paste (like Arctic MX-4 or Noctua NT-H1) is essential for CPU/GPU cooling.
If you’re not comfortable with soldering, stick to plug-and-play replacements like fans, drives, and external ports. Soldering requires practice and the right temperature control.
Common Pitfalls and How to Avoid Them
Many enthusiasts waste money on parts that never arrive or don’t fit. Here’s how to protect yourself:
- Measure Twice: Take caliper measurements of your existing part. Compare them to the product listing specs. A 1mm difference can prevent installation.
- Read Reviews Critically: Ignore one-star reviews that complain about shipping speed. Focus on comments about functionality and fitment.
- Budget for Shipping: International shipping can double the cost of a cheap part. Factor this into your total budget.
- Keep Old Parts: Don’t throw away the broken component immediately. Keep it as a reference for orientation and as a backup if the new part fails.
Patience pays off. Waiting two extra weeks for a verified authentic part saves months of frustration compared to rushing into a cheap, incompatible alternative.
Frequently Asked Questions
Are third-party parts safe for current-gen consoles?
Generally, yes, for mechanical parts like fans and buttons. However, for electrical components like power supplies or motherboards, stick to OEM or highly rated specialists. Poor voltage regulation from cheap PSUs can damage other expensive components inside the console.
Where can I find schematics for older consoles?
Community forums like Resetter.nl for Nintendo or PSX-Scene for PlayStation host extensive libraries of service manuals and schematics. These documents provide exact part numbers and wiring diagrams that aren’t available on retail sites.
Is it worth repairing a console vs. buying a used one?
If the repair cost exceeds 30% of the console’s current market value, buying a used unit is often smarter. However, if you love the specific hardware or want to preserve a sentimental item, repair is worthwhile. Also, consider the labor time involved if you’re doing it yourself.
How do I identify a bad capacitor?
Look for bulging tops, leaking electrolyte fluid (brownish residue), or cracked casings. Bad capacitors cause intermittent power issues, screen glitches, or failure to boot. Replacing all capacitors on a board with one bad cap is recommended to prevent future failures.
Do I need to desolder old parts before installing new ones?
Yes, for surface-mount components (SMD), you must remove the old part completely to ensure proper contact with the pads. Leftover flux or solder bridges can cause short circuits. Use a solder sucker or wick braid to clean the area thoroughly before placing the new component.