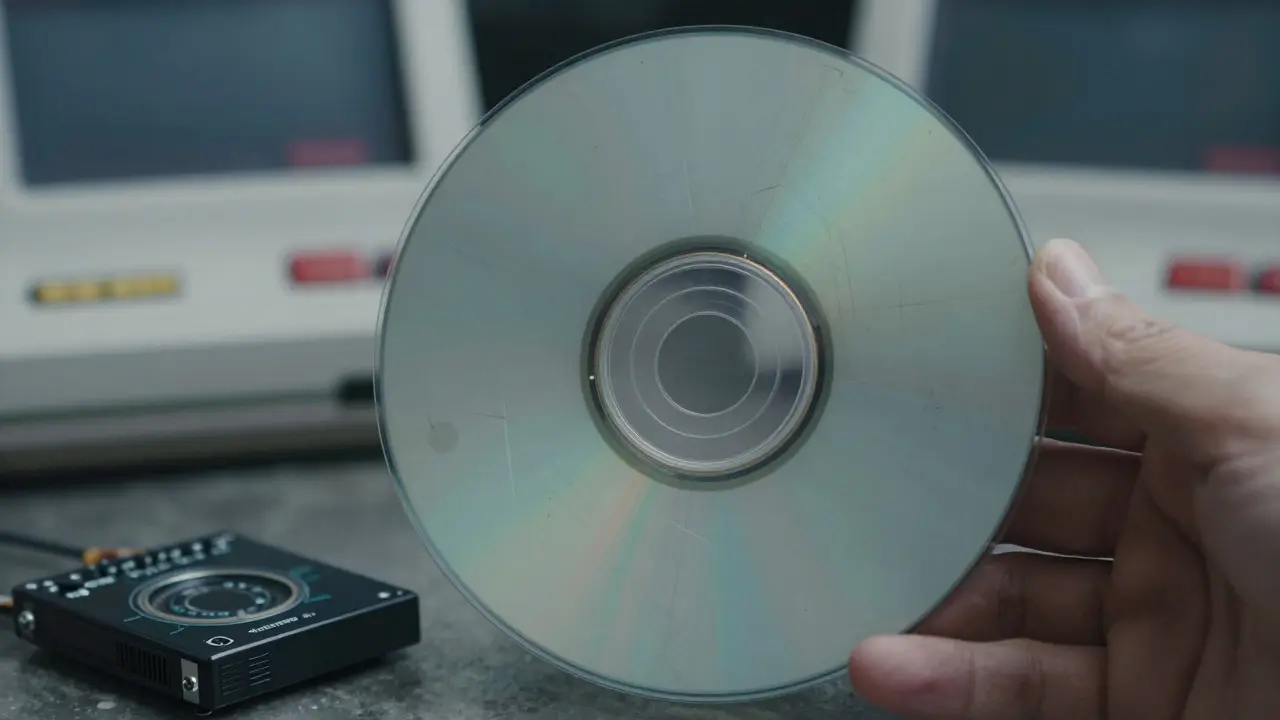
There is a specific kind of heartbreak reserved for the collector who opens their copy of Sonic Adventure or Shenmue, only to find the disc scratched beyond recognition. The laser can't read it, the data is fragmented, and suddenly, a piece of gaming history is just plastic. This is where optical drive emulators step in. They are not just convenience gadgets; they are essential tools for preserving the digital heritage of the late 90s and early 2000s.
If you own a console from this era, you already know the problem. Optical discs degrade. Dyes fade. Layers separate. Unlike cartridges, which are solid state and nearly indestructible, CDs and DVDs are chemical time bombs. An emulator replaces the physical spinning disc with a static digital file stored on a flash card. It solves the readability issue, but it also introduces new complexities regarding compatibility, region locking, and the legal gray area of "backups." Let's break down how these devices work, which ones actually function in 2026, and how to set them up without bricking your console.
How Optical Drive Emulators Work
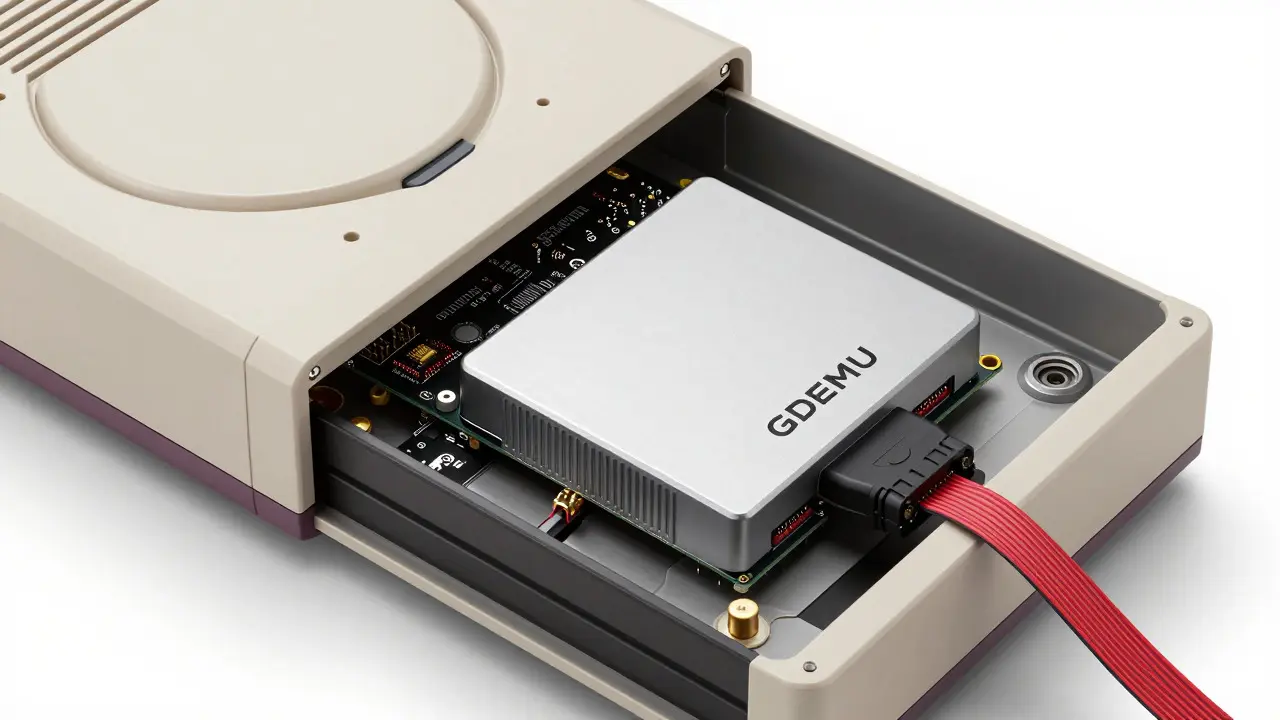
At its core, an optical drive emulator is a hardware device that mimics the behavior of a standard CD-ROM or DVD-ROM drive. In a normal setup, the console sends commands to the drive to read specific sectors of the disc. The drive spins, the laser reads the pits and lands, and the data is sent back to the CPU. With an emulator, you swap the mechanical drive for a small circuit board that connects to the same interface (usually IDE/ATA for Saturn/Dreamcast) but reads data from a memory card instead of a laser.
The process involves two main stages:
- Imaging: You use a working PC CD/DVD drive to create a perfect bit-for-bit copy of the original game disc. This file is often called an ISO image.
- Loading: You transfer this ISO file to the emulator’s storage medium (SD card, CF card, or USB stick). When you boot the console, the emulator presents the file as if it were a physical disc inserted into the tray.
This method eliminates wear and tear on the original media. You never have to put your pristine, sealed-in-plastic disc into the console again. Instead, you keep the original in a safe box and play from the digital copy. For rare titles like Duke Nukem 3D (Saturn) or Skies of Arcadia (Dreamcast), this is the difference between having a playable game and having a decorative paperweight.
Choosing the Right Hardware: GDEMU vs. Alternatives
Not all emulators are created equal. The market has shifted significantly over the last decade. While older solutions like the SD2SNES are great for Nintendo, the Sega ecosystem requires specific hardware due to unique security chips and region locking mechanisms.
The most popular solution today is the GDEMU is a versatile optical drive emulator compatible with multiple consoles including Sega Saturn, Dreamcast, and PlayStation. Originally developed by GameDevil, it has become the de facto standard for enthusiasts. Why? Because it supports both IDE and SATA interfaces, handles large files easily, and has a robust community for firmware updates.
However, there are nuances. For the Sega Saturn, you need to be careful about the version. The Saturn uses a proprietary IDE connector. Most modern GDEMU units come with an adapter cable, but you must ensure it matches your specific model (PAL, NTSC-U, or NTSC-J). For the Dreamcast, the situation is slightly different because of the GD-ROM format. Standard CD emulators won't work out of the box. You need a GDEMU configured specifically for Dreamcast, often requiring a modified BIOS or a specific firmware version that emulates the GD-ROM layer structure.
| Feature | GDEMU (Standard) | GDEMU (Dreamcast Mod) | Older IDE Emulators (e.g., SD2SATA) |
|---|---|---|---|
| Sega Saturn Compatibility | Excellent (with adapter) | Good | Variable (often flaky) |
| Dreamcast Compatibility | Poor (needs mod) | Excellent | Poor |
| Storage Capacity | Up to 2TB (USB/SD) | Up to 2TB (USB/SD) | Limited (CF/SD max 32GB typically) |
| Region Lock Bypass | Yes (via firmware) | Yes (via firmware) | No |
| Price Range (2026) | $40 - $60 | $50 - $70 | $30 - $50 |
Step-by-Step Setup for Sega Saturn
Setting up a Saturn emulator is straightforward if you follow the right order. Many users make the mistake of trying to load games before updating the firmware, leading to boot loops.
- Prepare the Firmware: Download the latest stable firmware for GDEMU from the official repository. Use a tool like GDEMU Flash Tool on your PC to write the firmware to the emulator’s internal memory or SD card.
- Connect the Hardware: Open your Saturn console. Remove the original hard drive or CD drive. Connect the GDEMU unit using the provided IDE ribbon cable. Ensure the power connector is seated firmly.
- Load the ISO: Format your SD card as FAT32 (not exFAT, as older firmware may not recognize it). Copy your .iso files to the root directory or a designated folder like /games.
- Configure Region Settings: If you are playing a Japanese game on a US console, you must enable the region bypass in the GDEMU menu. This is usually done by holding a button during boot or accessing the configuration menu via a virtual keyboard overlay.
- Test Boot: Power on the console. The GDEMU should detect the first ISO in the list. If the screen stays black, check the IDE cable orientation. A reversed ribbon cable is the most common cause of failure.
A pro tip: Keep your ISO filenames simple. Avoid special characters and spaces. Some older Saturn games have buggy file path handling, and renaming "My Favorite Game.iso" to GAME1.iso can solve mysterious crash issues.
Special Considerations for Dreamcast GD-ROMs
The Dreamcast presents a unique challenge because its GD-ROMs are not standard CDs. They use a dual-layer format with a lower layer that acts as a standard CD and an upper layer with higher density data. Standard emulators struggle to emulate this dual-layer structure accurately.
To get reliable performance, you need a GDEMU unit that has been flashed with Dreamcast-specific firmware. This firmware tells the emulator to present the ISO as a GD-ROM rather than a CD-ROM. Without this, many games will either fail to boot or exhibit graphical glitches, particularly in cutscenes or fast-paced action sequences.
Additionally, the Dreamcast has a built-in BIOS that checks for the presence of a valid disc ID. The emulator must spoof this ID correctly. Most modern GDEMU firmwares handle this automatically, but if you encounter a "Disc Not Found" error, try re-imaging the disc with a different ripping software. Tools like Alcohol 120% or ImgBurn allow you to adjust the sector spacing and header information, which can sometimes trick the console into accepting the backup.
Legal and Ethical Preservation
Let’s address the elephant in the room: Is it legal to use an optical drive emulator? In most jurisdictions, making a backup of a game you own for personal use falls under "fair use," especially when the original media is deteriorating. However, distributing these backups online is a different story and often infringes on copyright.
For preservation purposes, the ethical approach is simple: Buy the game. Rip it yourself. Store the ISO locally. Do not rely on torrent sites unless you want to risk corrupted files or malware. By creating your own archive, you ensure data integrity. A corrupted ISO from a shady website might look fine until you hit a specific level in Jet Set Radio where the texture mapping fails. Your own rip, verified against the original disc, guarantees a faithful experience.
Furthermore, supporting the secondary market helps keep prices reasonable. If everyone rips and plays, demand for physical copies drops, which can ironically hurt preservation efforts by reducing the number of people willing to invest in proper storage solutions. Buying physical copies keeps the supply chain alive for collectors and archivists alike.
Troubleshooting Common Issues
Even with the best hardware, things go wrong. Here are the three most common problems I see in forums and how to fix them.
- Console Doesn’t Recognize Emulator: Check the IDE cable. The red stripe on the ribbon cable must align with pin 1 on both the console and the emulator. If it’s reversed, the pins short out, potentially damaging the motherboard. Always double-check this before powering on.
- Game Crashes During Cutscenes: This is often a timing issue. Try lowering the emulator’s clock speed in the firmware settings. Sometimes, running the emulation too fast causes the CPU to miss frames during heavy video decoding.
- Audio Stuttering: Ensure your SD card is Class 10 or UHS-I rated. Slower cards cannot keep up with the data stream required for audio tracks, leading to choppy sound. Upgrade to a faster card if you’re using an older Class 4 or 6.
If you are still stuck, join the community. Forums dedicated to retro hardware preservation are full of experts who have solved every possible combination of hardware quirks. Sharing your logs and error messages can help others diagnose the issue quickly.
Frequently Asked Questions
Do I need to modify my Sega Saturn console to use an emulator?
No, you do not need to solder or modify the motherboard. You simply replace the optical drive with the emulator unit using the existing IDE connector. However, you must open the case to access the drive bay.
Can I play multiplayer games with an optical drive emulator?
Yes, as long as each player has their own console and emulator setup. Since the emulator acts as a local drive, it does not interfere with network or link cable connectivity. Just ensure both consoles are running the same firmware version to avoid sync issues.
What is the best storage media for storing game ISOs?
A high-quality microSD card (Class 10 or UHS-I) is the most convenient option. For maximum reliability and archival longevity, consider using a CompactFlash card or an external SSD connected via USB, though this requires more space inside the console case.
Will an optical drive emulator work with Sega Saturn Hard Drive models?
Yes, but you need to configure the emulator to act as a CD drive, not a hard drive. The Saturn recognizes both via the IDE bus, so you must tell the GDEMU firmware which mode to emulate. Most default to CD mode, which is what you want for standard games.
Is it worth buying a used optical drive emulator?
It can be risky. Older units may have failing flash memory or damaged connectors. If you buy used, ask the seller for photos of the firmware version and test the unit with a known good ISO before finalizing the purchase. New units are only slightly more expensive and come with warranty support.