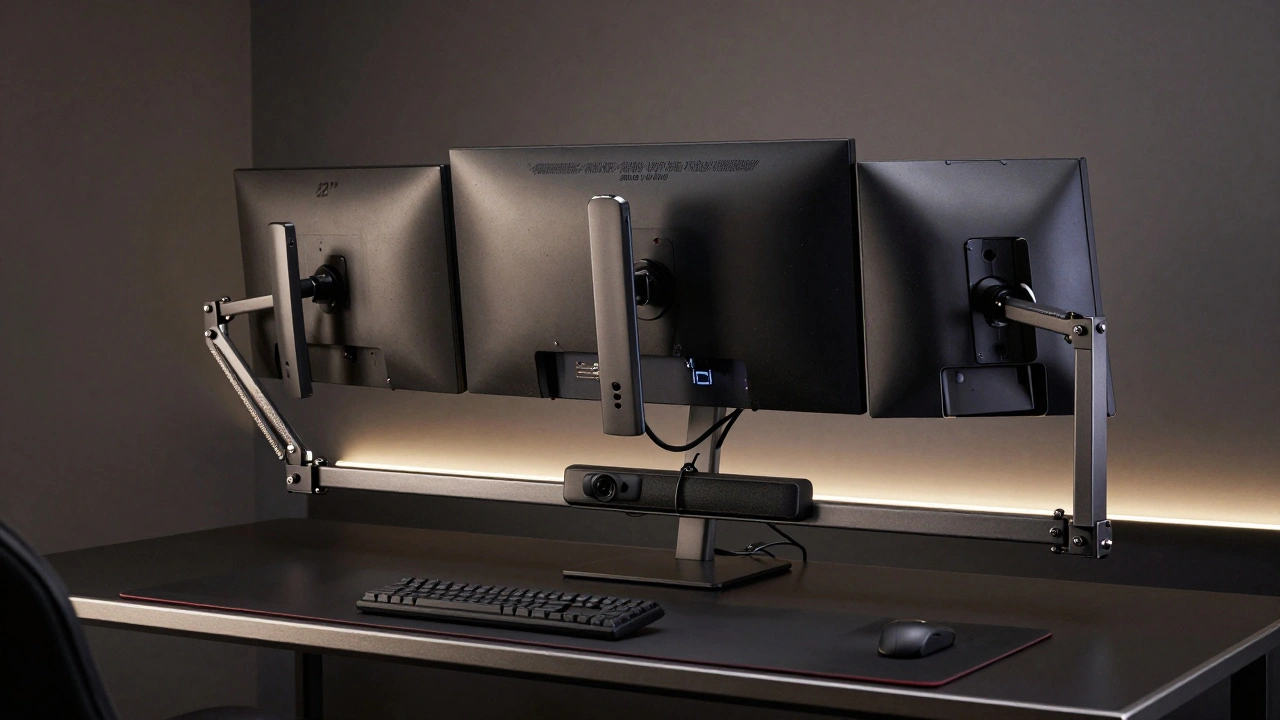
Ever set up a triple-monitor gaming rig, only to have one of the screens wobble when you turn your head too fast? Or worse-feel the whole desk shift when you lean back during a big play? It’s not just annoying. It’s a safety issue. Video game displays aren’t just screens. They’re heavy, expensive pieces of equipment that need serious support. If you’re running dual 34-inch ultrawides or stacking 4K panels, the weight adds up fast-and so does the risk.
Most 32-inch gaming monitors weigh between 7 and 9 kilograms (15-20 pounds). That might not sound like much. But stack three of them, add a soundbar, a webcam, and a cooling pad, and you’re easily pushing 30 kilograms (66 pounds) or more. Now imagine that weight hanging off the edge of your desk, 20 inches out from the support. That’s not just load. That’s torque. And torque turns a stable desk into a ticking time bomb.
Why Weight Distribution Matters More Than You Think
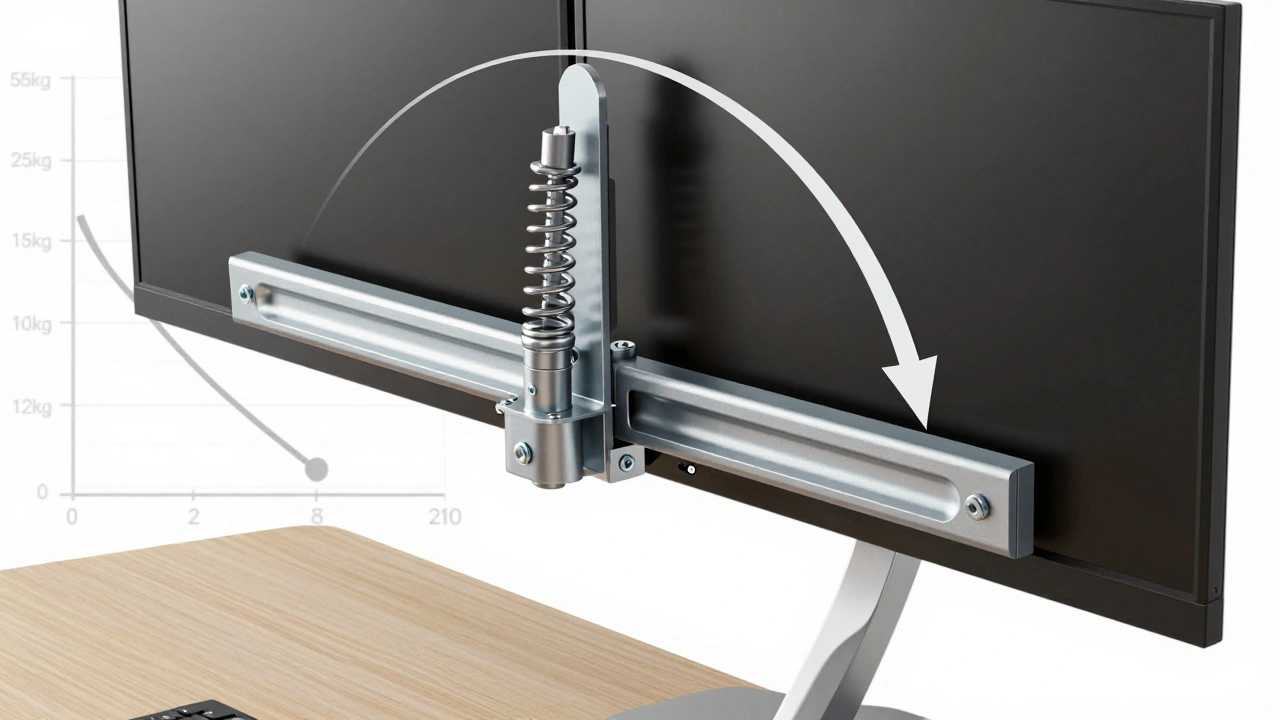
It’s not enough to just buy a mount that says “supports 25 lbs.” You need to understand how that number works. Mount manufacturers test weight capacity with the arm fully retracted, close to the base. But when you extend the arm out 18 inches to get that perfect peripheral view, the effective load doubles-or even triples-because of leverage. Think of it like a seesaw. The farther the weight is from the pivot, the harder it pulls down.
A study from a professional esports hardware lab in 2024 found that 68% of monitor failures in high-end setups happened not from poor materials, but from misjudging extended-arm stress. A mount rated for 22 lbs at 0 inches might only hold 12 lbs at 20 inches. That’s why you can’t just eyeball it. You need to calculate your total load, then add a buffer.
Here’s the formula that works: Total Weight Needed = Monitor Weight + Peripheral Weight + 20% Buffer. So if you’ve got two 8.5 kg monitors, a 2 kg soundbar, and a 1.5 kg webcam, that’s 12 kg. Add 20%? You need a mount rated for at least 14.4 kg. Round up to 15 kg. Always.
Mount Materials: Steel, Aluminum, or Plastic?
Not all mounts are created equal. The material makes all the difference.
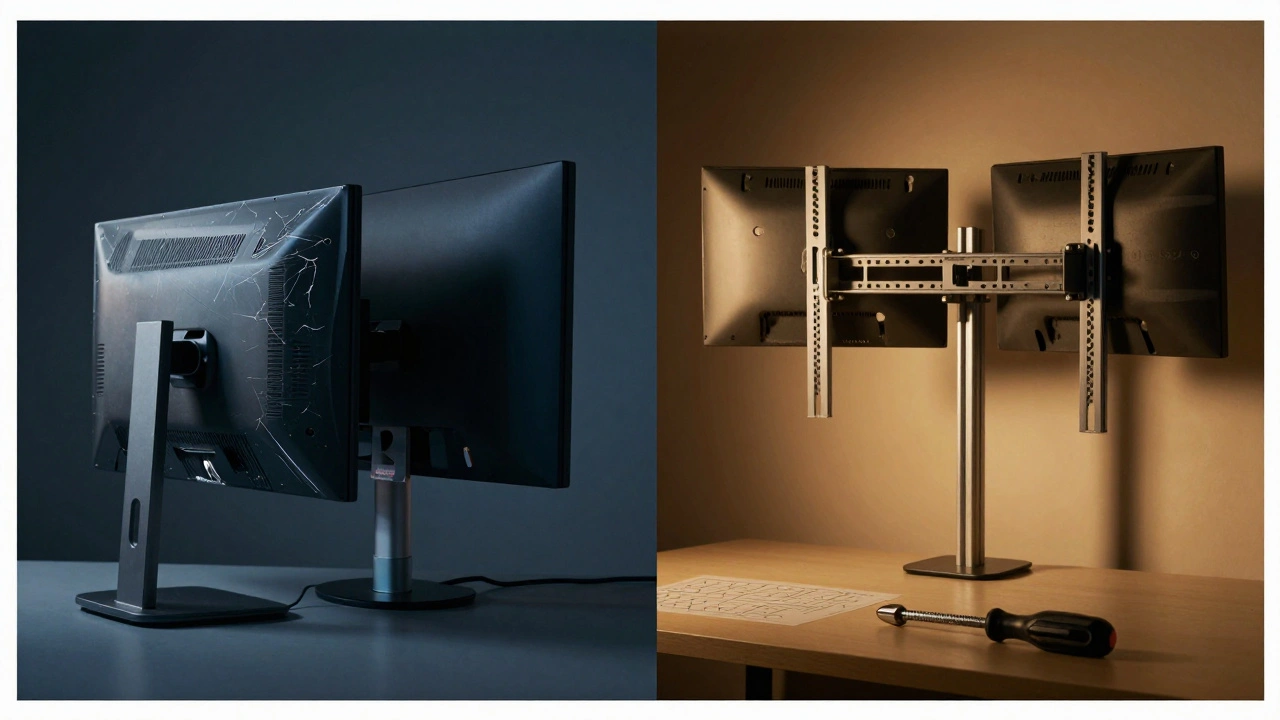
Steel mounts are the gold standard for heavy setups. They’re dense, rigid, and don’t flex under pressure. If you’re running triple monitors or a 49-inch ultrawide, steel is non-negotiable. These can handle 25 kg or more when properly installed. They’re heavier to install, sure-but that’s because they’re built to last.
Aluminum mounts are lighter and often cheaper. Good for single or dual 27-inch setups. But they start to flex under 18 kg, especially when extended. You’ll notice it when your screen slowly droops over time. Not ideal for 12-hour streaming marathons.
Plastic or composite mounts? Avoid them. Even if they claim to support 15 kg, the joints loosen after a few months. I’ve seen one collapse during a tournament stream because the plastic housing cracked under repeated tilt adjustments. Don’t risk your gear-or your reputation-on budget mounts.
VESA Patterns: The Hidden Key to Safety
Before you buy a mount, check the VESA pattern on the back of your monitor. That’s the square of four holes where the mount attaches. Most gaming monitors use 100×100 mm or 75×75 mm. But newer ultrawides? Some use 200×200 mm or even custom patterns.
If your monitor and mount don’t match, you can’t just force it. You’ll need an adapter plate. But even then, you’re adding stress points. The adapter adds weight, reduces rigidity, and can shift under load. The safest route? Match the VESA pattern exactly. If your new 42-inch monitor has a 200×200 pattern and your current mount only handles 100×100, don’t try to make it work. Buy the right mount.
Desk Stability: Your Foundation Matters
A wobbly desk means a wobbly screen. And a wobbly screen means missed shots, ruined streams, and maybe a cracked panel.
Most gaming desks are hollow or made of particle board. They look sleek, but they flex. When you mount heavy displays on the front edge, you’re pulling the whole desk forward. That’s why professional setups use desks with reinforced steel frames and dual-motor lift systems. Single-motor desks can’t handle the torque from heavy, extended mounts. They vibrate. They groan. And sometimes, they collapse.
Here’s what works: mount your displays directly over the desk’s main support beams. That’s usually the back third of the desk. Don’t put your main screen out on the front edge. Keep it centered, close to the center of gravity. Use a desk clamp with at least 5 cm of depth. If your desk has a grommet hole, use it. It anchors the mount to the desk’s structural core.
Installation: Don’t Skip the Details
Even the best mount fails if you don’t install it right.
- Always use the provided screws. Don’t swap them for hardware store replacements.
- Tighten each bolt in stages-don’t just crank one side all the way down. Alternate between bolts to evenly distribute pressure.
- After mounting, gently tug each monitor. It shouldn’t budge. If it does, recheck the bolts.
- Test tilt and swivel slowly. If it feels stiff or uneven, the internal springs might be misaligned. Adjust them before use.
One pro tip: use a torque screwdriver if you have one. Over-tightening can strip threads. Under-tightening leaves room for movement. The sweet spot? Snug, but not screaming.
Real-World Setups That Work
Let’s look at two common gaming configurations:
Dual 34-inch Ultrawides (for streaming or trading): Each monitor weighs 9.2 kg. Add a 1.8 kg webcam and 0.7 kg mic. Total: 20.7 kg. You need a dual-arm mount rated for at least 25 kg. Mount both screens directly over the desk’s center beam. Use steel arms with gas-spring support. Adjust tilt so the top of each screen is at eye level. This prevents neck strain during 8-hour sessions.
Triple 32-inch 144Hz Gaming Setup: Each monitor is 8.1 kg. Total screen weight: 24.3 kg. Add a 2.5 kg hub, 1.2 kg LED strip, and 0.9 kg capture card. Total: 28.9 kg. You need a triple-arm system with steel construction and dual-motor desk support. Mount the center screen directly in front. Angle the side screens at 15 degrees inward. Use a mount with 18-20 inches of vertical travel so you can lower the screens for resting your eyes.
Future-Proofing Your Setup
Gaming displays keep getting bigger, heavier, and higher-res. A 48-inch 4K 240Hz monitor? That’s already on the market. It weighs over 12 kg. Your current mount? Probably not built for it.
Don’t wait until your screen crashes to upgrade. When you buy your first mount, plan ahead. Choose one with 20-30% more capacity than you need now. That way, when you upgrade in two years, you don’t have to buy a whole new system. Just swap the monitors. As long as the VESA pattern matches, you’re golden.
Final Checklist
- Measure your monitor’s weight (check the manual or manufacturer’s site).
- Add weight of all peripherals (webcam, mic, hub, etc.).
- Calculate total + 20% buffer.
- Confirm VESA pattern matches mount.
- Choose steel mount for setups over 15 kg.
- Mount displays over desk support beams-not the front edge.
- Use a dual-motor desk if total weight exceeds 20 kg.
- Test all adjustments before use.
Proper shelving isn’t about aesthetics. It’s about control. It’s about safety. It’s about making sure your gear lasts-and that you don’t end up with a $2,000 monitor on the floor because you cut corners. Take the time. Do it right. Your future self will thank you.