There is nothing quite like the feeling of plugging in a controller and seeing that familiar boot screen from 1994. But trying to run separate emulators for every console you own can turn your desktop into a mess of windows, configs, and missing files. RetroArch is a unified frontend for running multiple retro game systems through a single interface using libretro cores. It consolidates everything into one application, handling input mapping, save states, and visual enhancements across different hardware. If you want to build a clean, accessible library without juggling five different apps, this guide walks you through the exact steps to set it up properly.
Key Takeaways
- RetroArch acts as a hub, requiring specific 'cores' (emulator engines) for each console system you wish to play.
- Proper file organization is critical; keep your ROMs sorted by system in distinct folders before importing them.
- Configuration profiles allow you to save unique settings (like aspect ratios or filters) for each specific console.
- Using 'Save States' provides instant snapshots of your progress, which is far more reliable than traditional save files for modern PCs.
Preparing Your Hardware and Software
Before you download anything, check your PC specs. While RetroArch runs on almost anything, performance varies wildly depending on the system you emulate. For older systems like the NES or Game Boy, even a laptop from 2015 will handle it with ease. However, if you plan to tackle PS1 or N64 titles, you need a dedicated graphics card with at least 2GB of VRAM and a multi-core CPU from the last five years.
You also need the actual games. Legally acquiring ROMs usually means dumping discs from cartridges you already own, though many people use existing digital backups. Regardless of source, create a master directory on your hard drive called "Retro Games." Inside that, create subfolders for each system: "SNES," "PS1," "GameCube," etc. This structure saves you hours of headache later when configuring the content database.
Download the latest version of RetroArch from the official website. Avoid third-party bundles that often come with adware. Once installed, launch the app. The first thing you'll see is a dark, minimal interface. Don't panic-it looks barebones because it's waiting for you to tell it what to do.
Installing Libretro Cores
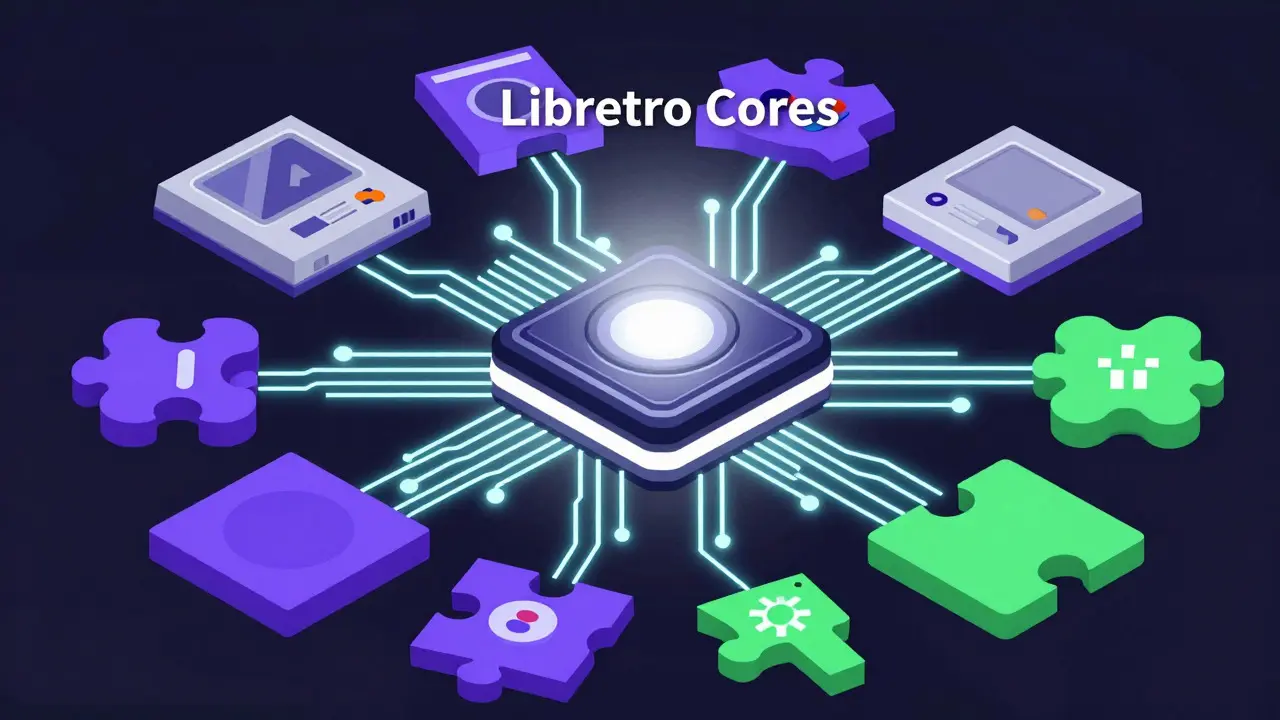
This is the step most beginners miss. Libretro Cores are the individual emulator engines that plug into RetroArch to decode specific console hardware. Without a core, RetroArch is just an empty shell. You don't install all of them; you only grab the ones for the systems you care about.
- Navigate to Online Updater in the main menu.
- Select Core Downloader.
- Browse the list and check the boxes next to the consoles you need (e.g., Snes9x for Super Nintendo, PCSX ReARMed for PlayStation).
- Click Install at the bottom right.
Wait for the download to finish. The speed depends on your internet connection, but these files are generally small, ranging from 5MB to 50MB per core. Once installed, they appear in your 'Load Content' menu automatically. Note that some systems have multiple core options (like MAME for arcade). Stick to the default recommendations unless you have specific technical needs.
Organizing Your Content Database
Now that you have the engines, let's feed them data. Go to Load Content and select Add Multiple. Navigate to your "Retro Games" folder. Here is where the magic happens: RetroArch can auto-detect the system based on the file extension or filename conventions.
If you named your files correctly (e.g., "Super Mario World.sfc"), RetroArch will likely assign them to the correct system automatically. If not, you can manually assign the system after adding them. Once added, go to Content Database in the main menu and select Update All. This scans your files, grabs cover art from online databases, and builds a searchable index.
Configuring Input and Video Settings
Out of the box, keyboard controls work, but nobody wants to press X, Y, A, B on a keyboard for hours. Connect your USB controller. Go to Settings > Input > Port 1 Device and select your controller. Then, map the buttons. Most modern controllers (like Xbox or DualShock) map automatically, but you may need to adjust the shoulder buttons.
For video, head to Settings > Video. Set the Fullscreen Mode to On. Next, look at CRT Shader. If you want that authentic scanline look, enable a shader preset like "CRT-Royale" or "Scanlines." However, be careful-shaders add processing load. If your FPS drops below 60, disable the shader or lower the internal resolution scale.
A crucial setting is Aspect Ratio. Set this to "Auto" or "21:9" depending on your monitor. If games look stretched, force the ratio to "4:3" for older consoles like the SNES or N64. This prevents the ugly pillarboxing issues that plague widescreen monitors.
Managing Saves and States
Traditional emulators often struggle with saving games, especially if you're using a modified BIOS or a weirdly formatted ROM. Save States solve this entirely. They capture the entire memory state of the emulator at that exact moment. Press F7 to save a state, F8 to load it. It’s instant and infallible.
To ensure your save states stay organized, go to Settings > System and enable Save State Per Game. This creates a folder inside your RetroArch directory for each game, keeping your saves tidy. Also, enable Automatic Save State if you want RetroArch to snapshot your progress every time you exit the game. It’s a safety net that has saved countless players from losing hours of progress due to power outages or crashes.
Troubleshooting Common Issues
Even with a perfect setup, glitches happen. Here are the three most common problems and how to fix them quickly:
- Audio Stuttering: This usually means your audio buffer is too small. Go to Settings > Audio and increase the Buffer Size to 50ms or higher.
- Black Screen: Often caused by driver conflicts. Try switching the Video Driver from OpenGL to Vulkan (or vice versa) in the video settings.
- Controller Not Responding: Check if another application is grabbing the input. Close background apps like Steam or Discord overlays, then re-map the controller in RetroArch.
Frequently Asked Questions
Do I need to buy a special controller for RetroArch?
No. Any standard USB controller that works with Windows or Linux will function. Xbox One, PlayStation 4, and generic 2.4GHz wireless controllers are all supported out of the box. Bluetooth controllers may require extra configuration on Windows but work seamlessly on Linux.
What is the difference between a core and a ROM?
A core is the software engine that simulates the hardware (like the SNES chip). A ROM is the actual game data dumped from a cartridge or disc. You need both: the core to run the game, and the ROM to provide the content. You cannot run a ROM without the corresponding core installed.
Why does my PS1 game look blurry?
This is usually due to the internal resolution being scaled up. In the video settings, try lowering the Internal Resolution Scale to 1x or enabling Linear Filtering off. Alternatively, apply a pixel-perfect shader to maintain crisp edges instead of smooth interpolation.
Can I play multiplayer games on RetroArch?
Yes, local multiplayer is fully supported. Connect two controllers to your PC, then go to Settings > Input and configure Port 2. When launching a game, ensure the core supports multiplayer (most do) and the game itself allows local co-op or versus modes.
Is RetroArch free forever?
Yes. RetroArch is open-source software licensed under the GNU General Public License. There are no subscriptions, ads, or hidden fees. You only pay for the hardware (PC/console) and potentially the physical media if you dump your own games.